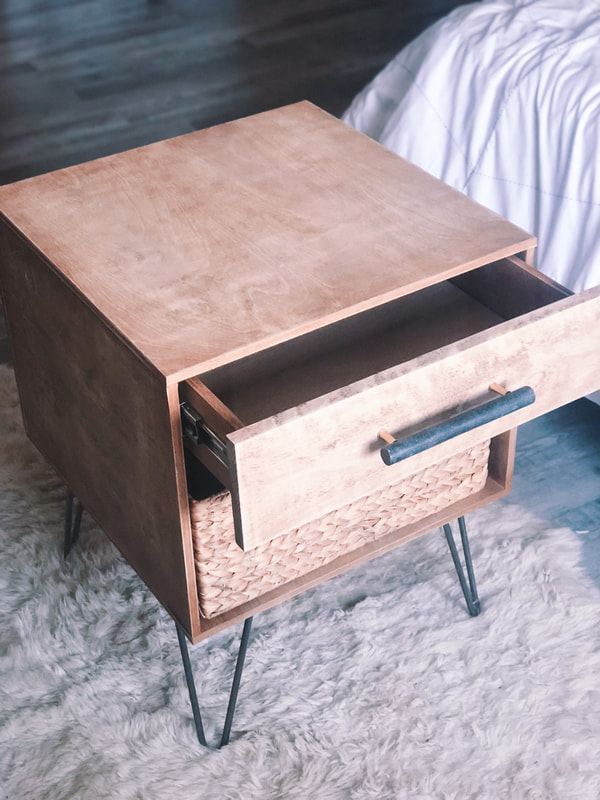
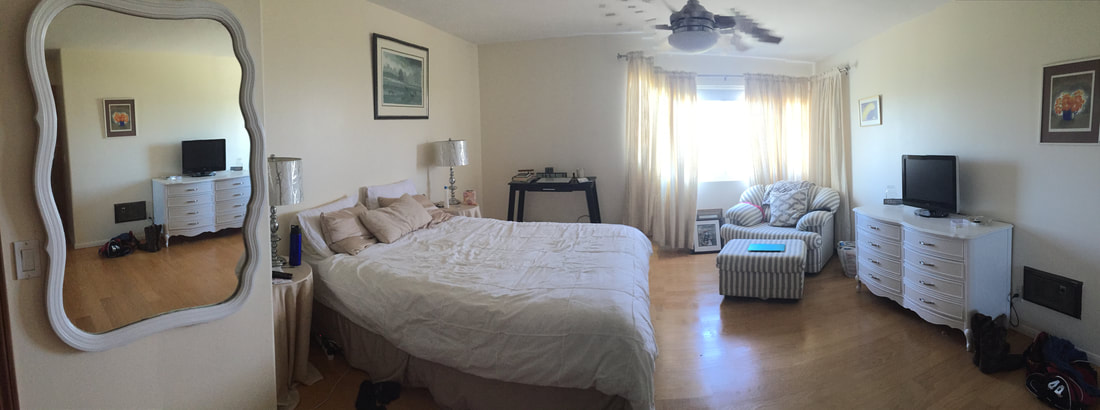
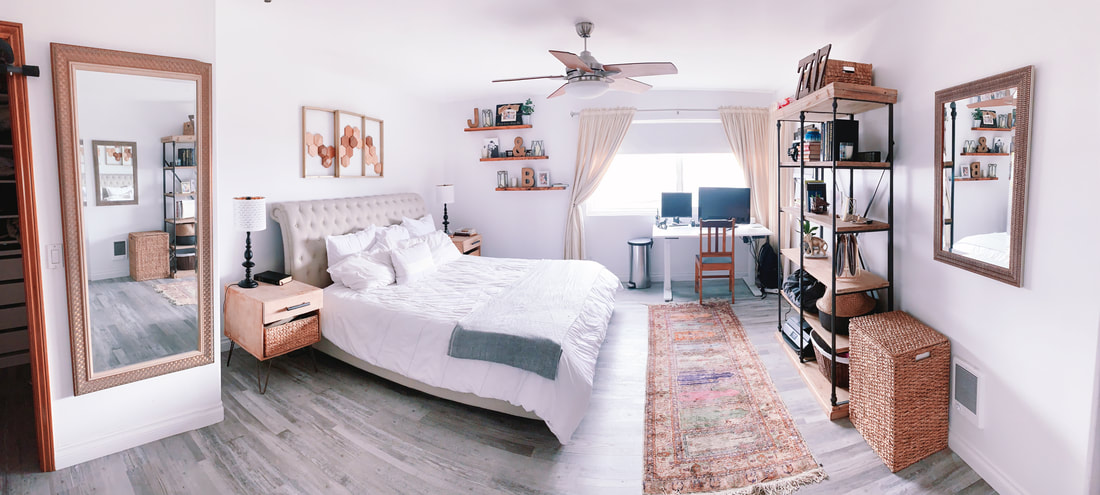
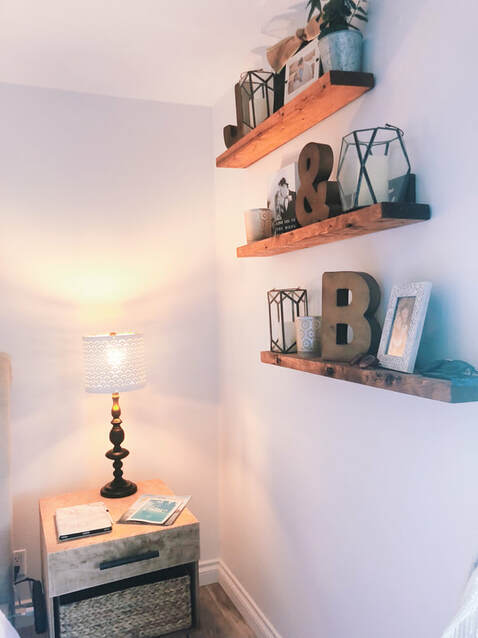
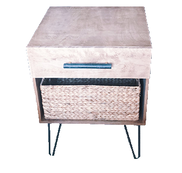
DIY NightstandsAbout a year and a half ago, I set out to transform my master bedroom. This was the first big room transformation I took on and my mid-century modern nightstands were the first big DIY project I took on. Yes, it was only 1 room, and only 1 project. I didn't do an entire renovation, I didn't knock down walls, but building the perfect nightstands for my husband and I to be able to fit all our things (and hide the junk) was the first step in making the room feel more practical, more calm, and more us. I originally posted about it right after the initial build, but I have learned so much since then and have also been getting lots of questions on some of the details so I thought I'd revamp this tutorial and give you the complete step by step guide. Here's what you'll need: SUPPLIES:
HARDWARE
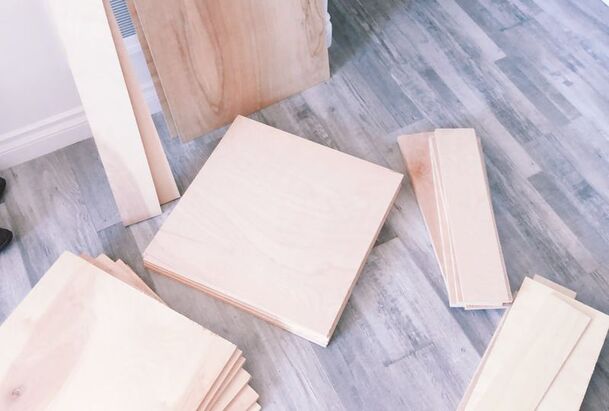
WOOD: Below is what you need for 1 nightstand with all the cuts and dimensions, double it for 2.
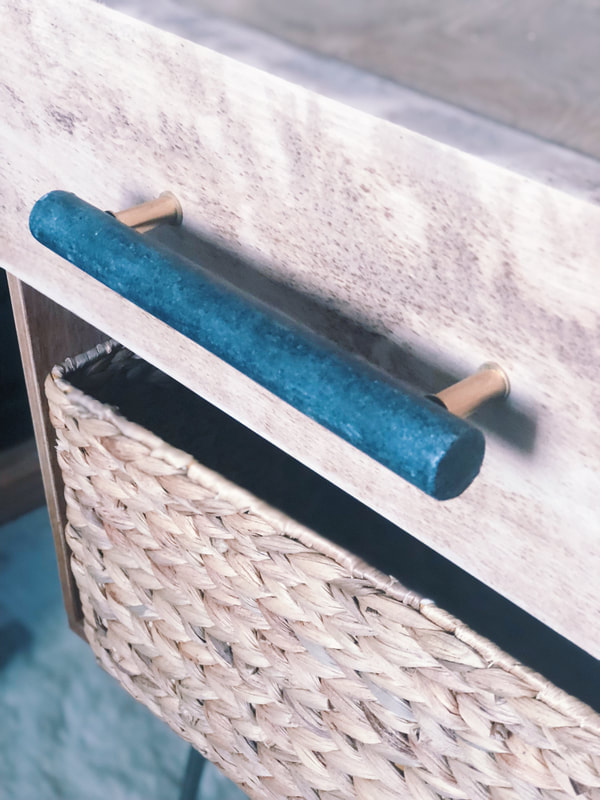
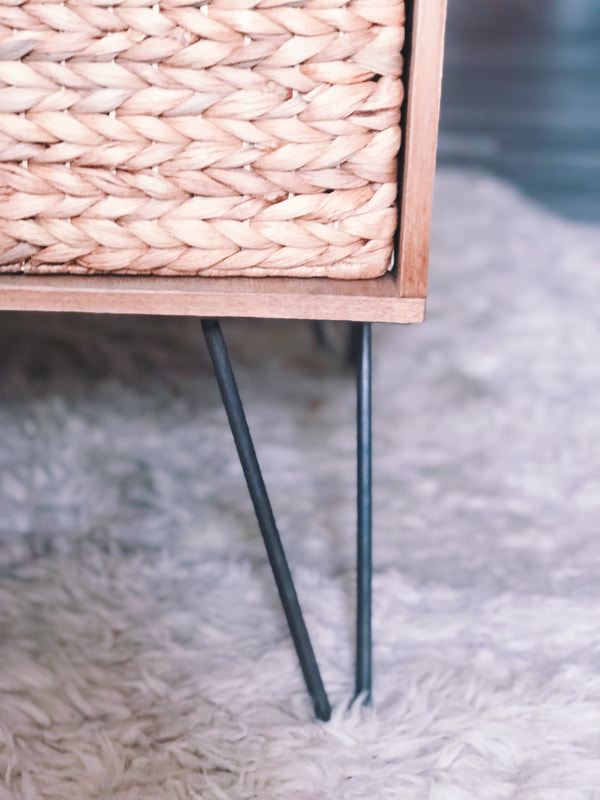
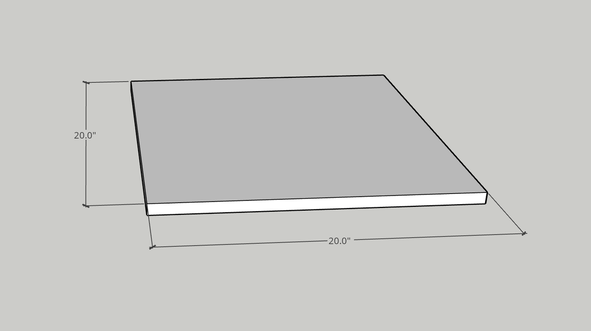
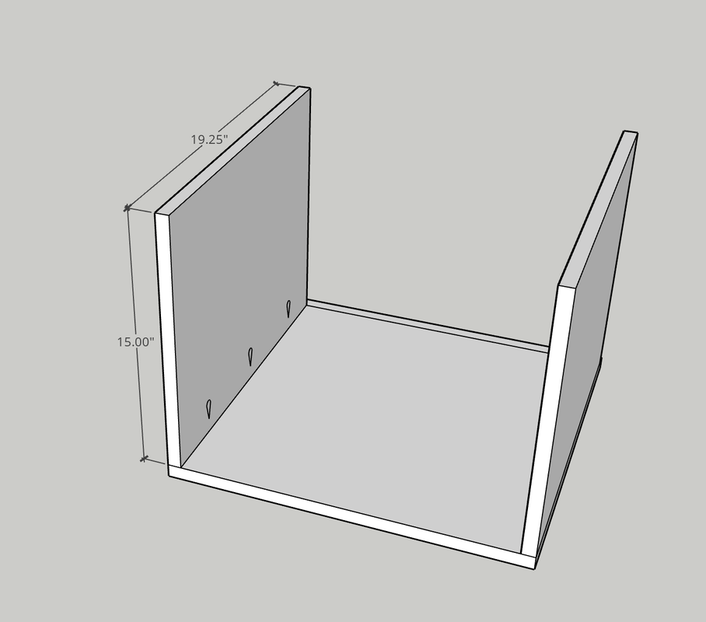
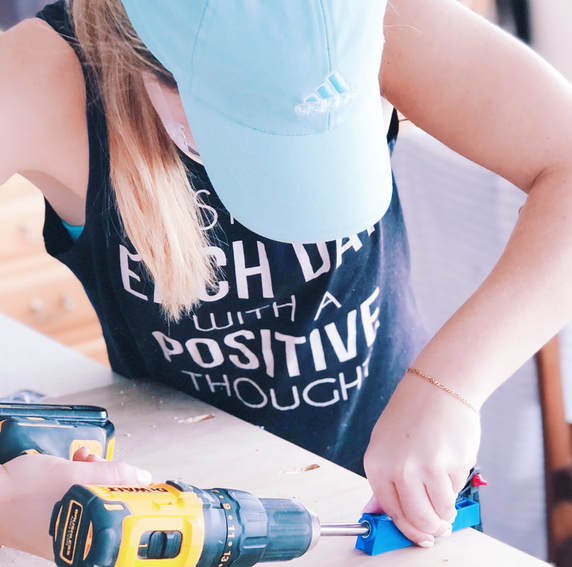
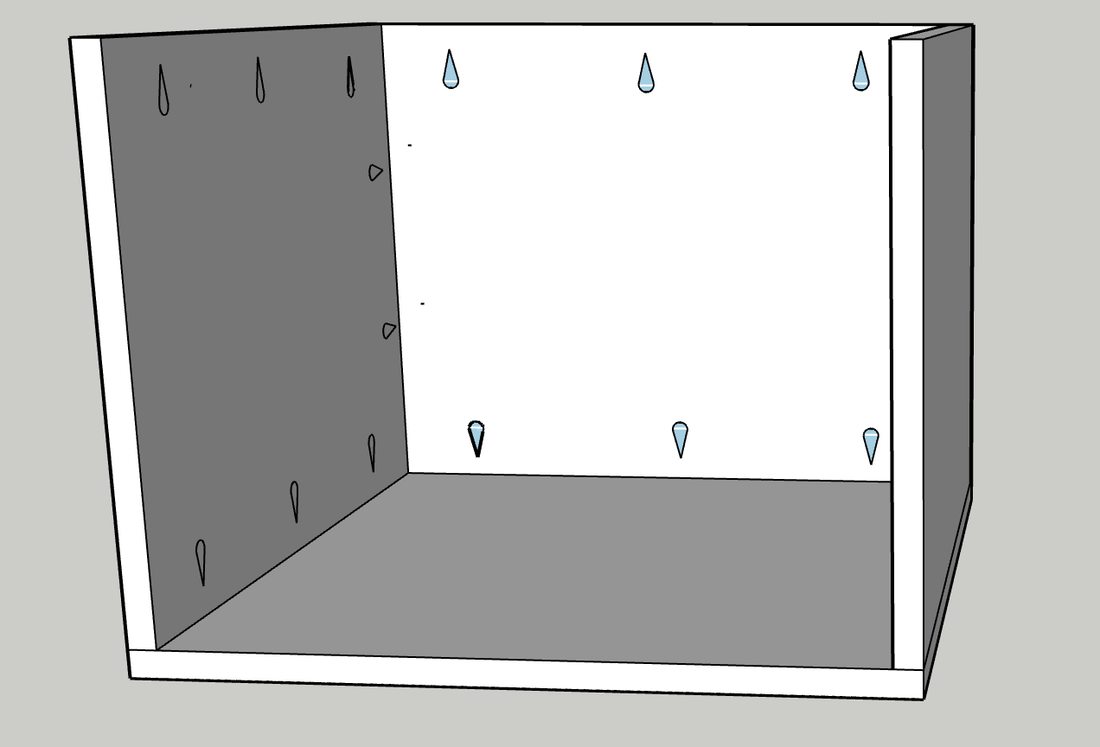
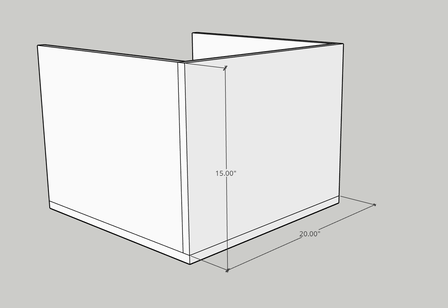
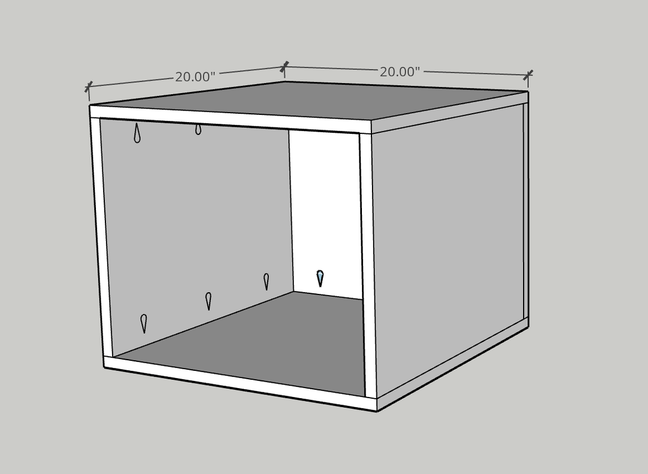
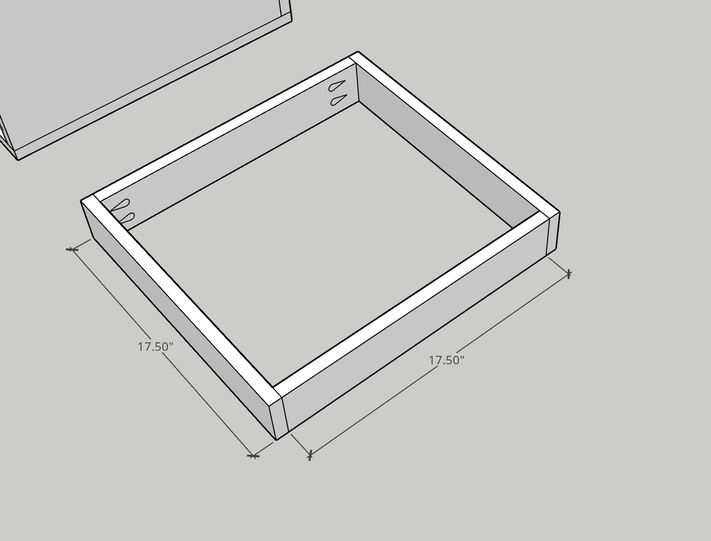
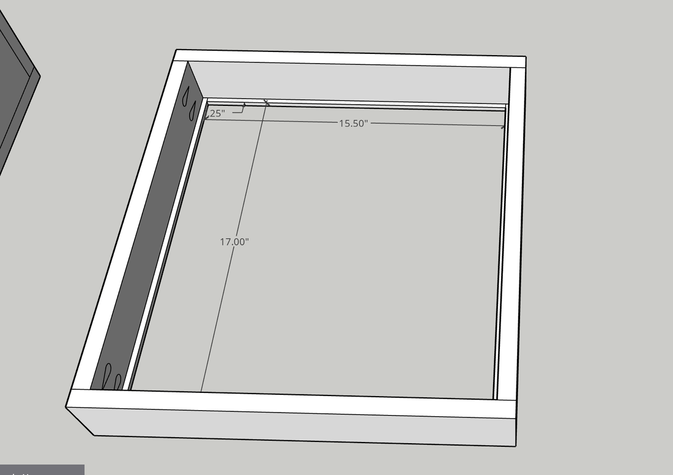
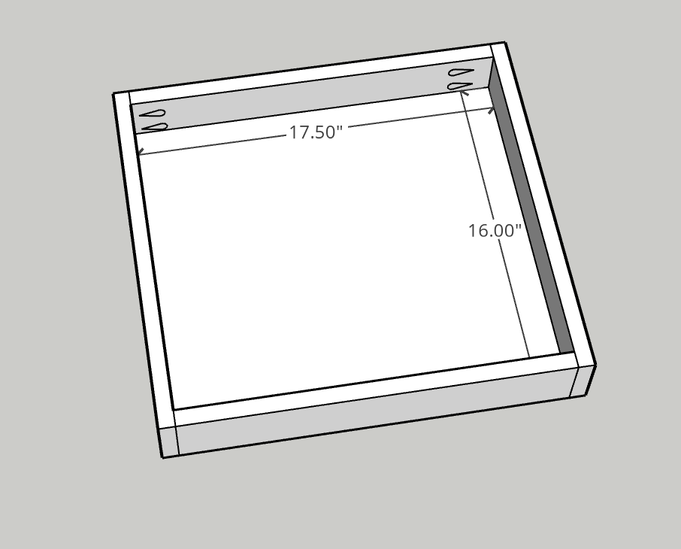
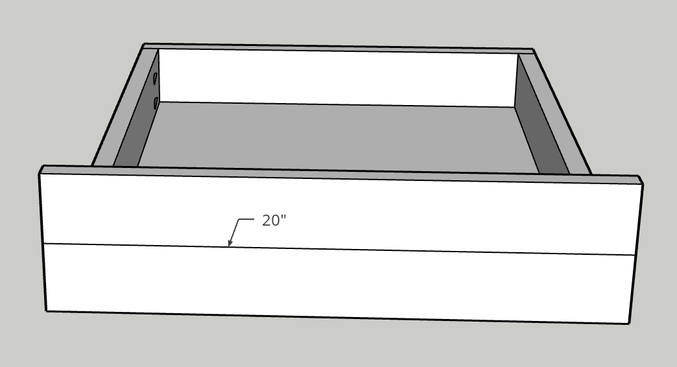
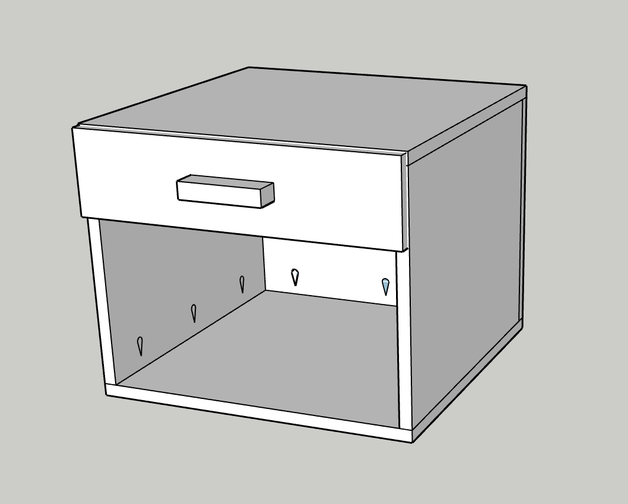
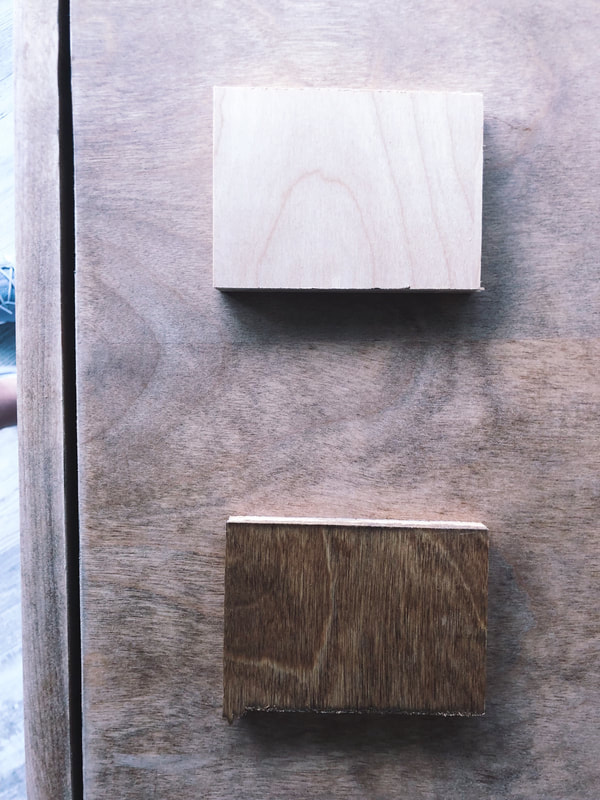
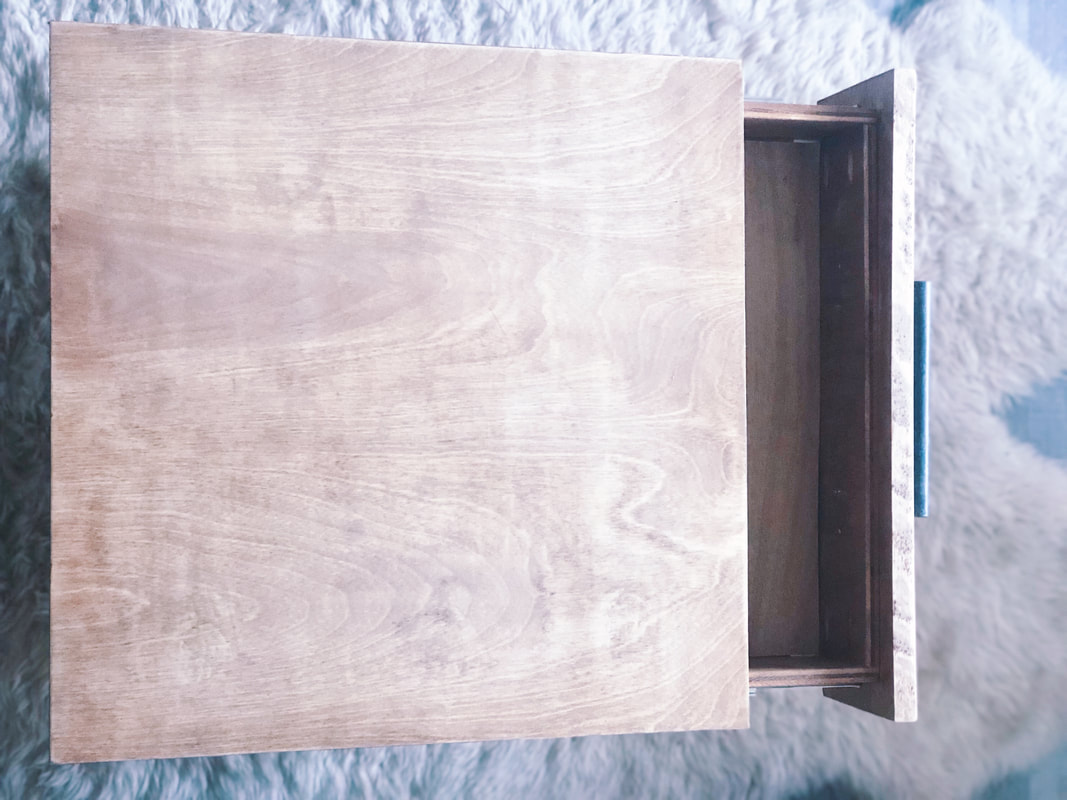
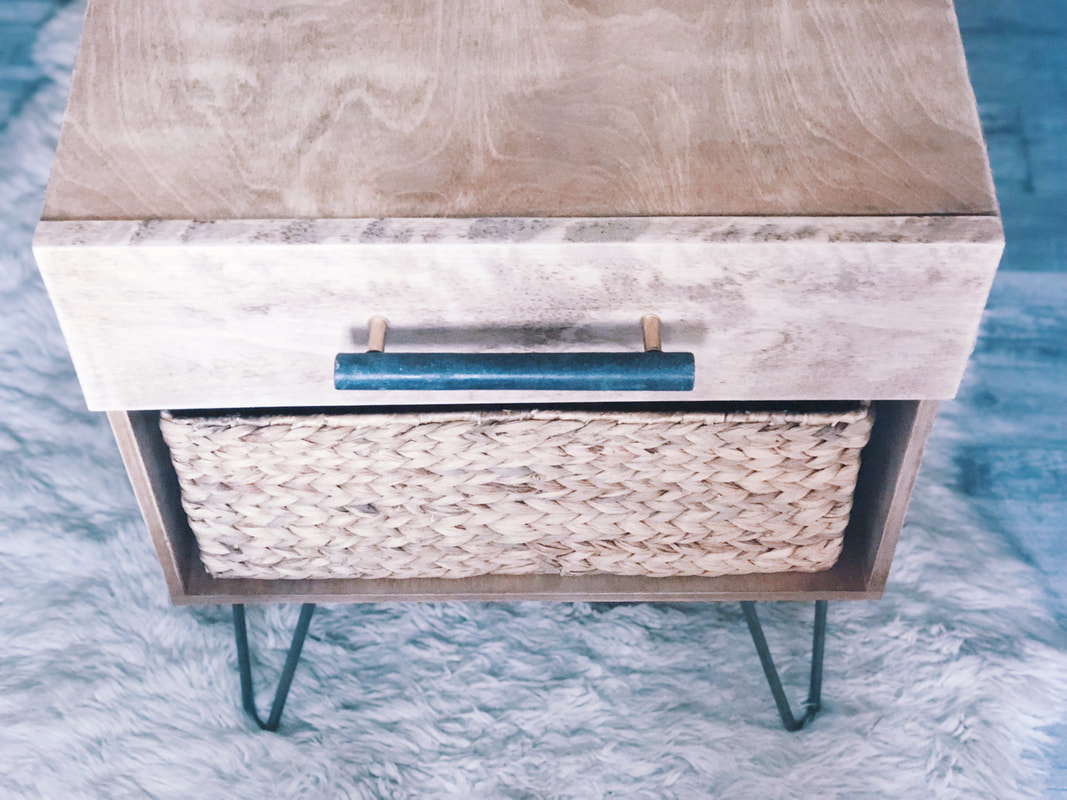
PLANS & INSTRUCTIONS: Start with the 20" x 20" base piece. Next, utilize the pocket hole technique for creating your joins on the 15" x 19.25" boards. You will need to make pocket holes on 3 of the sides of these pieces so don't attach until all holes are drilled. For the first connection point, you will want to drill your wholes about 6.5" apart and 4.5" from the edges. Repeat the pocket hole joineries on the back edge and upper edge to attach the beck and top of the nightstand. Keep the holes roughly a third apart. The next step is to make the drawer. Use the 17.5" x 3" pieces and connect them utilizing pocket holes on the side pieces that are spaced 1" apart and about 1/2" from the edge of the piece. ***Don't connect the pieces just yet, we will be hammering the drawer base prior to connecting. Next use the 1/4" pieces to create the drawer of your base. on the sides of the drawer, use 3-4 wire nails to connect the 17.5" pieces and on the front and back side of the drawer, use the 15.5" pieces. Once you have hammered in the nails, you can use the screws to connect the edges of the drawer at the pre-drilled pocket holes. Next, wedge the 17.50" x 16" underlayment into the drawer. It should be a snug fit and rest on the ledge created by the 1/4" strips. Gravity will secure this one for you so no joineries needed! Attach the front face of the drawer to the drawer by screwing through the back side of the drawer. Screw as close to the edges as possible so you leave plenty of space to choose what ever handle in the center you would like. Now, it's time to put it together. Use the drawer slides installation instructions to attache the slides both to the drawer and the cabinet. I placed mine about 2" down from the top of the cabinet to the center of the slide. Once the screws are in, you can just slide the drawer into place. Once you have all the pieces in place you can add your finish. Use a stain or sealer to get your wood to the ideal color. I stained and sanded twice to get the color I wanted. Then attach the legs of your choice with screws at the base and you are finished! I would say this DIY is intermediate to advanced. I did it as a total beginner though and with some persistence, it came together and turned out fantastically. They are still standing strong in our room 1.5 years later! I love building with all of you in this community and seeing you create things that make your home and work space feel fresh, fun, and YOU! Use the hashtag #beyondtheclock to share how you are making your home (and life) dreams happen today by taking action (no matter how small) and make sure to click here so you never miss a post or giveaway! (I promise, no spam and only the good stuff). Thanks for being here and following along! xoxo,
|
Archives
October 2019
CategoriesAll Accent Pieces Action Planner Basket Baskets Bathroom Bedroom Branch Floral Arrangements Bud Vase Candles Cherry Blossoms Curtains Cylinder Vase Decor Accents DIY Door Mat Family Flare Vase Floral Notebook Floral Water Bottle Flowers Flower Wreath Flower Wreaths Furniture Gifts Greenery Guest Room Home Home Decor Indoor Plants Jeans Living Room Mirrors Narrow Neck Vase Nightstand Outdoor Living Pastels Personal Development Productiity Rugs Seat Cushions Shelf Decor Shower Sneakers Spring Spring Decor Spring Ideas Storage Ideas Style With Time Styling Tips Sunglasses Table Lamp Throw Blanket Vase Vases |



 RSS Feed
