beyond the clock
  • HOME
  • BLOG
    • DECOR
    • LIFESTYLE
    • TRAVEL
  • PODCAST
  • HOME
  • BLOG
    • DECOR
    • LIFESTYLE
    • TRAVEL
  • PODCAST
Search by typing & pressing enter

YOUR CART

Imagine . design . enjoy

12/13/2018 0 Comments

DIY Candles with Momma Pots

Picture

RSS Feed

Picture
Picture
Melting the wax
Picture
Placing the wick
Picture
Picture
Picture
Picture
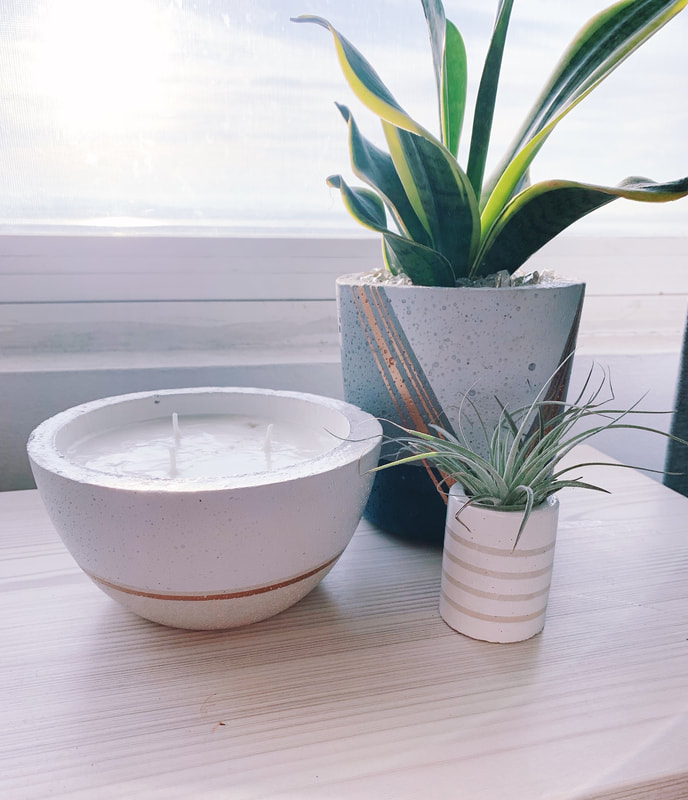
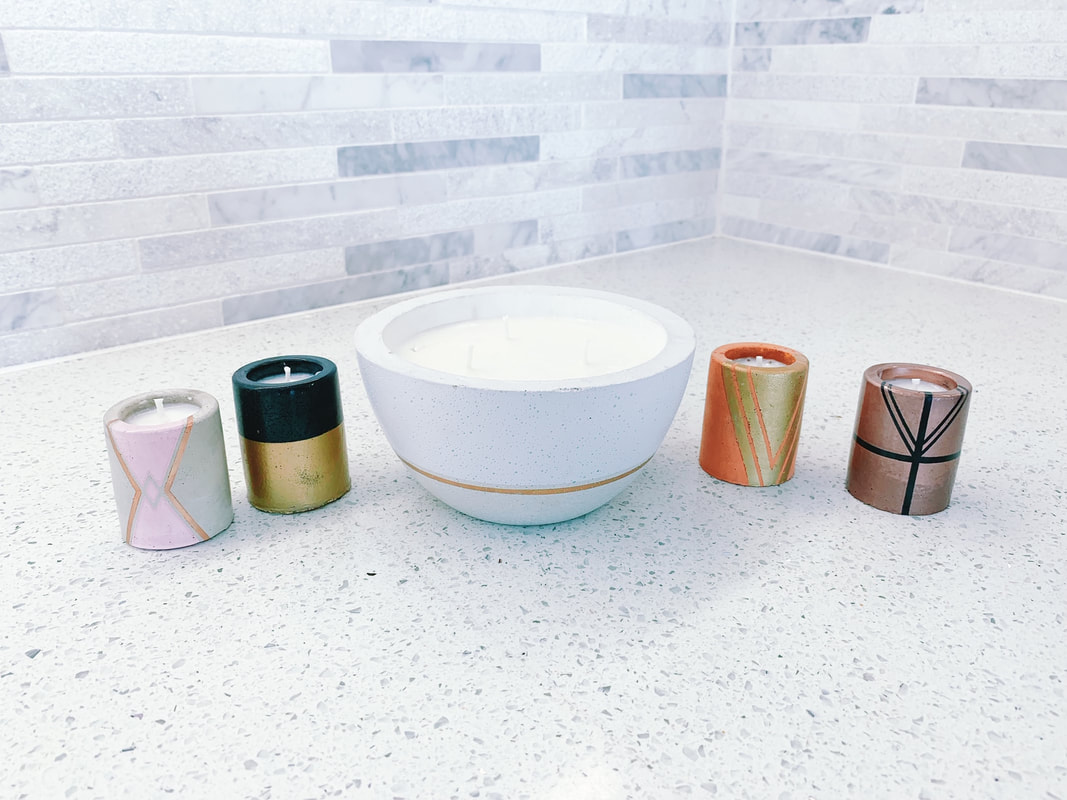
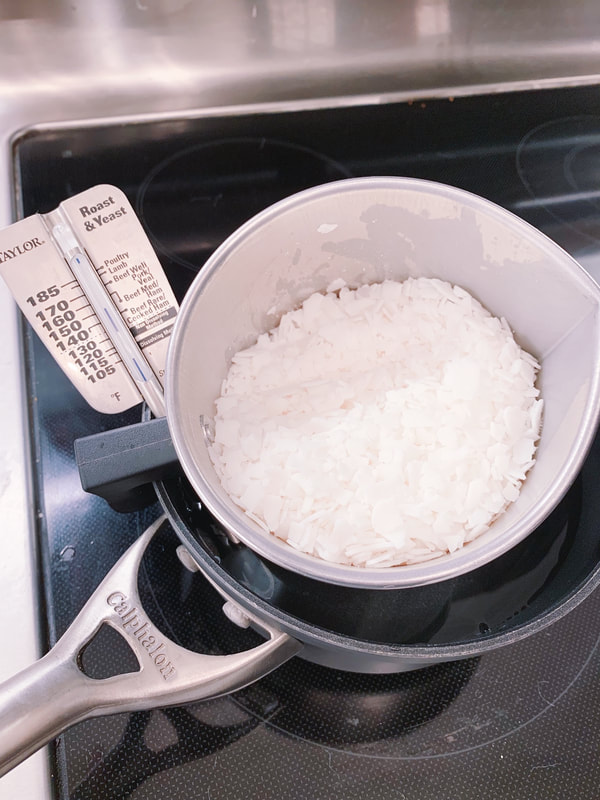
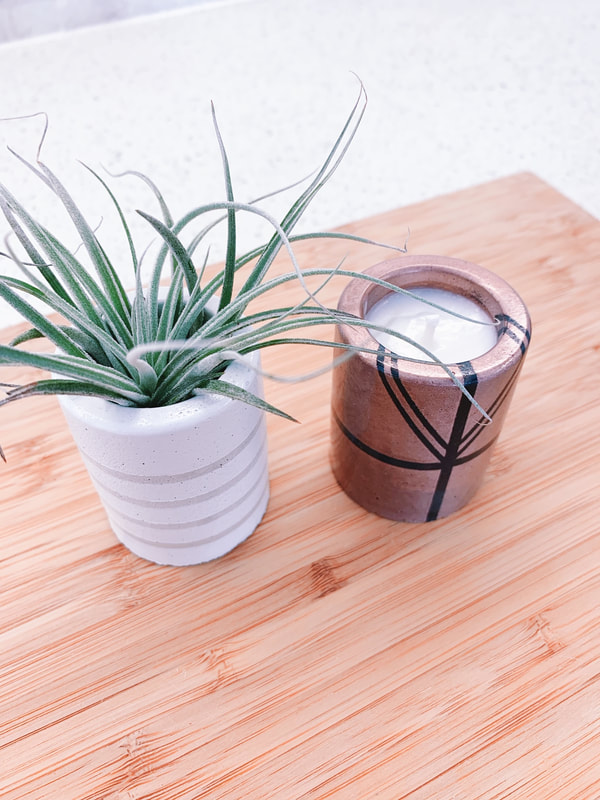
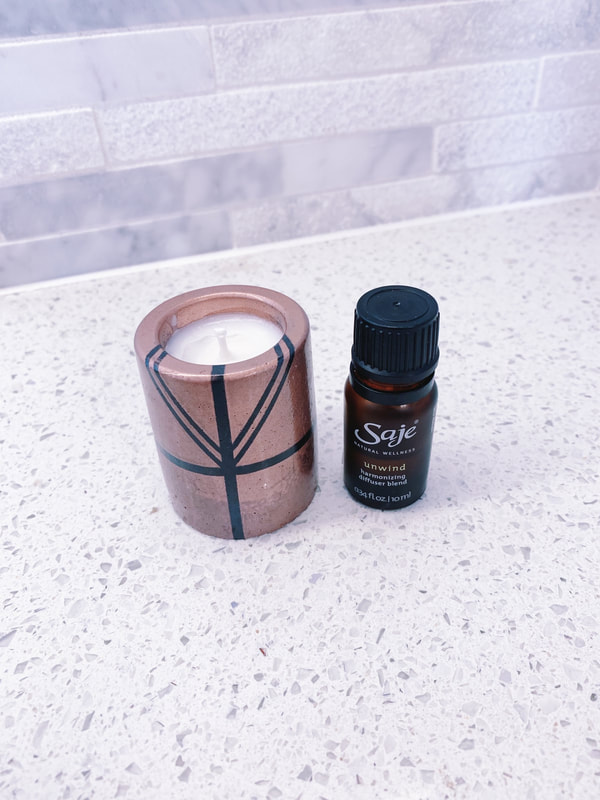
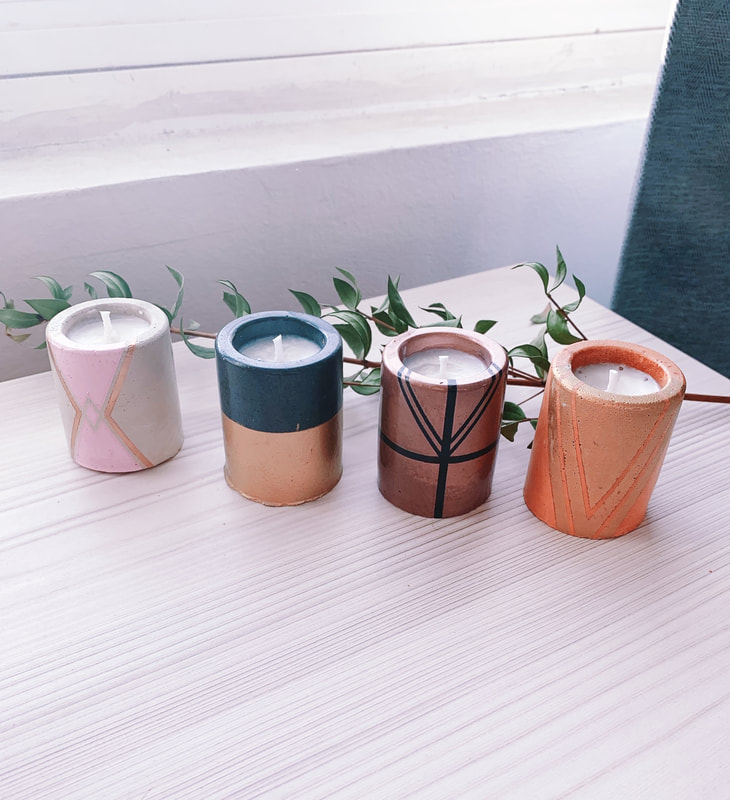
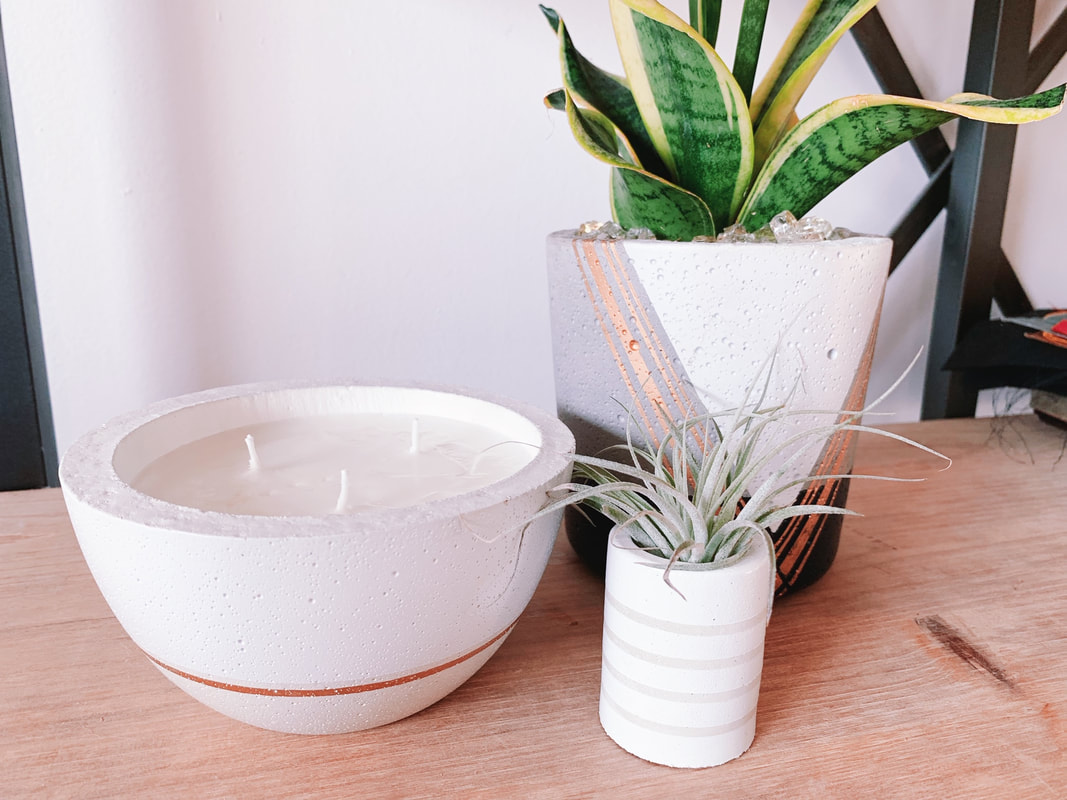
If you’ve been following me for a while, you know for sure that I am basically obsessed with candles. I just love how the perfect scented candle can refresh a space with a glow that melts stress away. I remember as a kid making candles at a birthday party and thought, why not try it again this holiday season as a fun gift for both myself and others. To help make it extra special, I teamed up with one of my absolute favorite local San Diego businesses that specializes in modern pots for the candle holder, Momma Pots, This way you can get a two for one out of your gift, once the candle burns out, you can pop out the wax and add in your air plant for a gorgeous accent to any space. 

Shopping List:

Wax
Wick
Essential Oils
Momma Pots
​Double Boiler/Pouring Can
Thermometer - I just used one I had in the kitchen but you could always grab one from Amazon if you don't have.

Toothpicks
Tape

How to:

  1. Prep Pots - Take a damp paper towel and lightly wipe out your container. Let dry for about 5 minutes. Use double stick tape and place a small piece underneath the metal bottom of the wick. Place the wick in the center of the container and use a pen or pencil to gently press the wick down into place. 
  2. Melt - Add about 1-2 inches of water to a pot and place on the stove over medium heat. Add your second pot/container for your double boiler and place the thermometer in the water to measure the temperature as the water heats up. Add wax to the second pot/container (1 cup of dry wax fills about 4-5 Momma Pots shooters). Keep the heat between 120-170 degrees Fahrenheit. Remember that wax is highly flammable so you want to ensure you don't get it too hot as you are working with it. 
  3. Scent - Once your wax is completed melted and you have no "white chunks" left, remove from the heat and add you scent. I really wanted something that was relaxing and had some holiday vibes to it so I chose the Unwind collection from sage. I used about 50 drops per 1 cup of wax but you can adjust to have a stronger or lighter scent according to your preference. P.S. The house smelled AMAZING while making these. The scent is stronger during the making process then when you burn it later so just keep that in mind when you think of adding more./less. 
  4. Pour - Gently pour your wax into the container. Make sure to take it slowly so that you don't overfill. Leave about half a centimeter of space between the top of the container and the wax top. 
  5. Center Wicks - A lot of videos wrap the wicks around a pen or pencil and balance that across the width of the container to center the wicks. I didn't want to wrap them and disrupt the wick too much, so instead I made a toothpick contraption to hold them center. Just take two toothpicks and hold them parallel right next to each other. Take a piece of tape and wrap it around the edge of both toothpicks on one side. This will make them a bit like chop sticks. Take the untaped side and slide it around the wick, centering it in the pot and then place the taped side on the edge, adding extra tape to the edge to reinforce it as a holder. 
  6. Cool - Let the candles cool for a few hours, 24 hours would be ideal. You will notice the wax turns from liquid to solid and from clear to white. Once cooled, trim the wick to about 1 cm above the wax top. Remember to trim a wick often to keep you candle fresh.
  7. Pair - To complete your gift set, pair your candle with a cute set of matches and an air plant for down the line.
I'm so excited about how these turned out and can't wait to do it again with some new scents. Do you guys have any favorite essential oils you would try?

xoxo,
​Jessica

0 Comments

    Archives

    October 2019
    September 2019
    August 2019
    July 2019
    June 2019
    May 2019
    April 2019
    March 2019
    January 2019
    December 2018
    October 2018
    September 2018
    July 2018
    June 2018
    May 2018
    April 2018
    March 2018
    February 2018
    January 2018
    December 2017

    Categories

    All Accent Pieces Action Planner Basket Baskets Bathroom Bedroom Branch Floral Arrangements Bud Vase Candles Cherry Blossoms Curtains Cylinder Vase Decor Accents DIY Door Mat Family Flare Vase Floral Notebook Floral Water Bottle Flowers Flower Wreath Flower Wreaths Furniture Gifts Greenery Guest Room Home Home Decor Indoor Plants Jeans Living Room Mirrors Narrow Neck Vase Nightstand Outdoor Living Pastels Personal Development Productiity Rugs Seat Cushions Shelf Decor Shower Sneakers Spring Spring Decor Spring Ideas Storage Ideas Style With Time Styling Tips Sunglasses Table Lamp Throw Blanket Vase Vases

    RSS Feed

Powered by Create your own unique website with customizable templates.