|
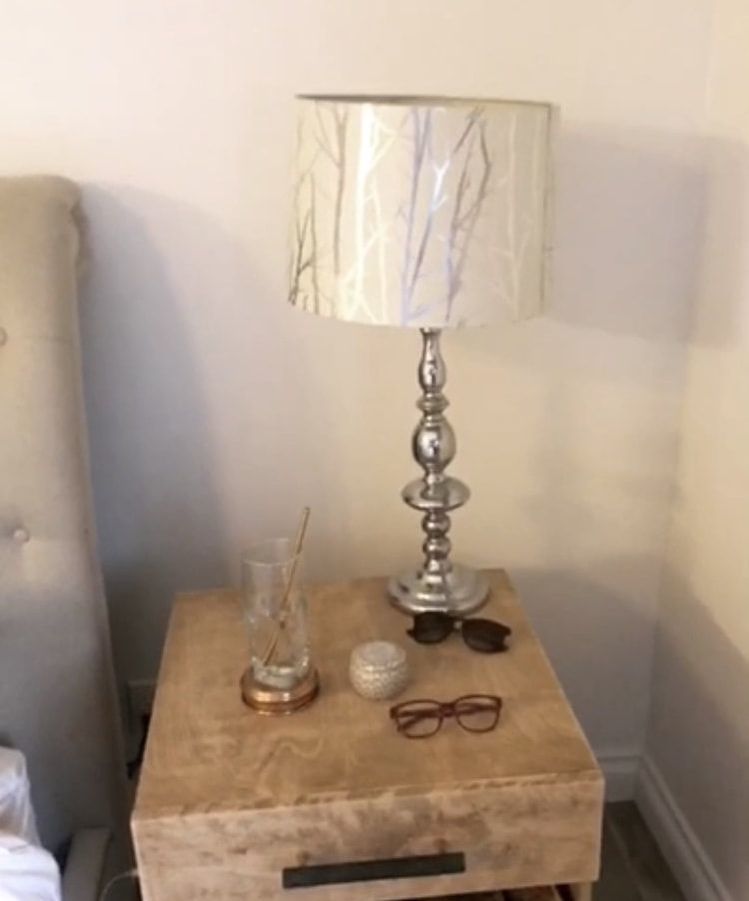
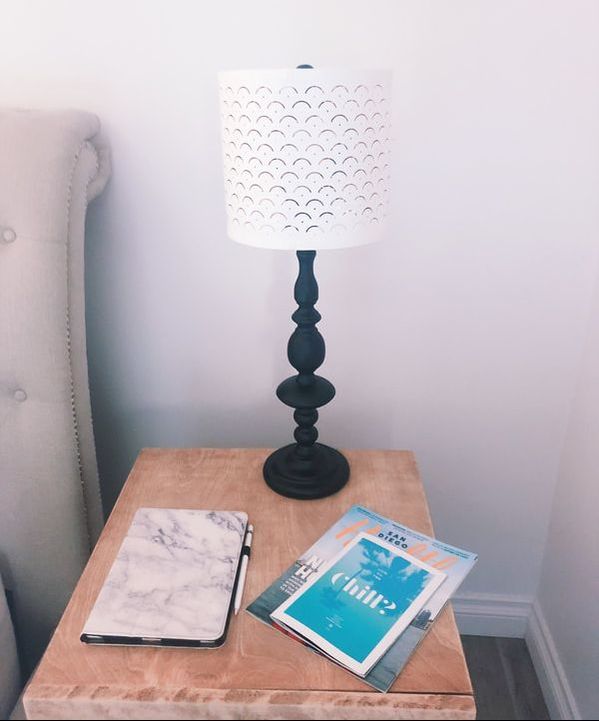
6/12/2018 0 Comments DIY Table Lamp UpgradeThis post contains affiliate links. See affiliate disclaimer here.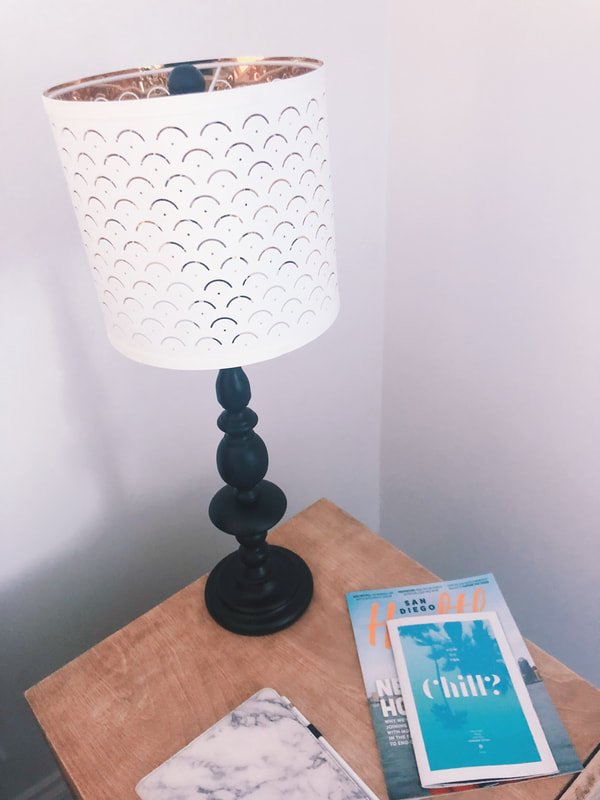 
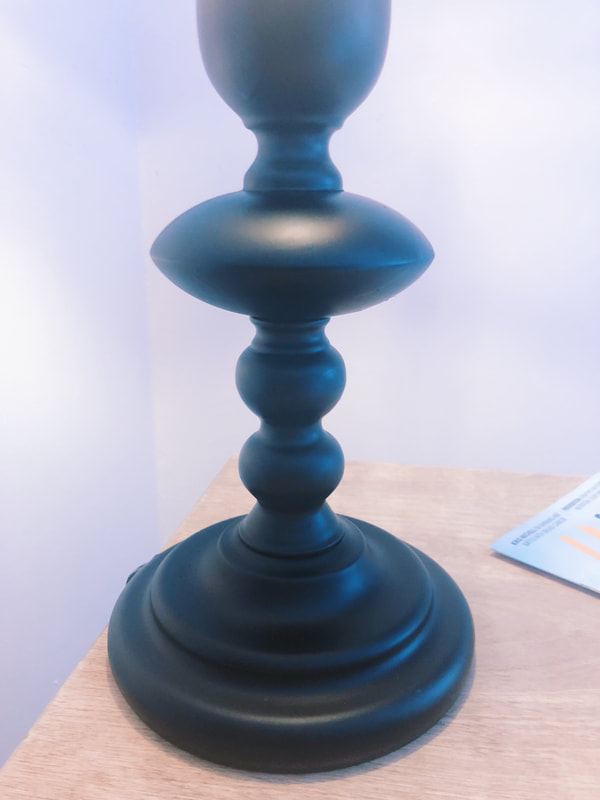 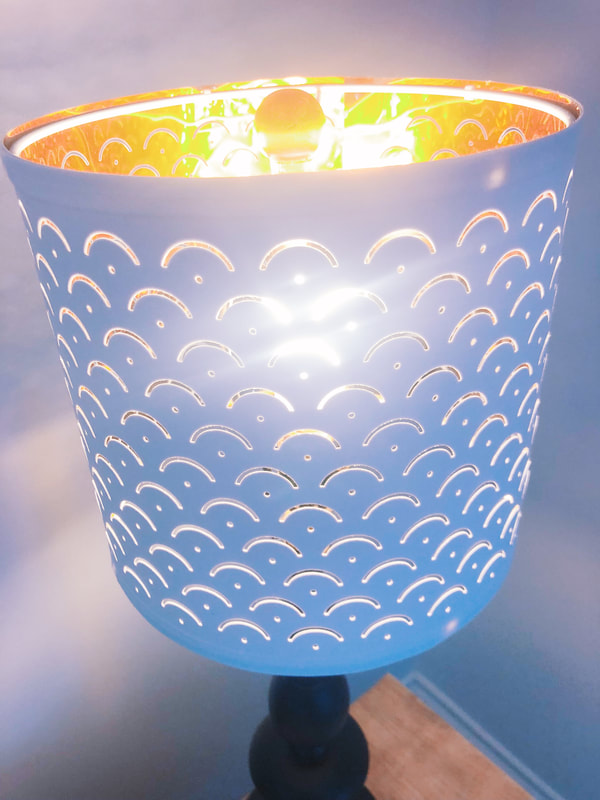 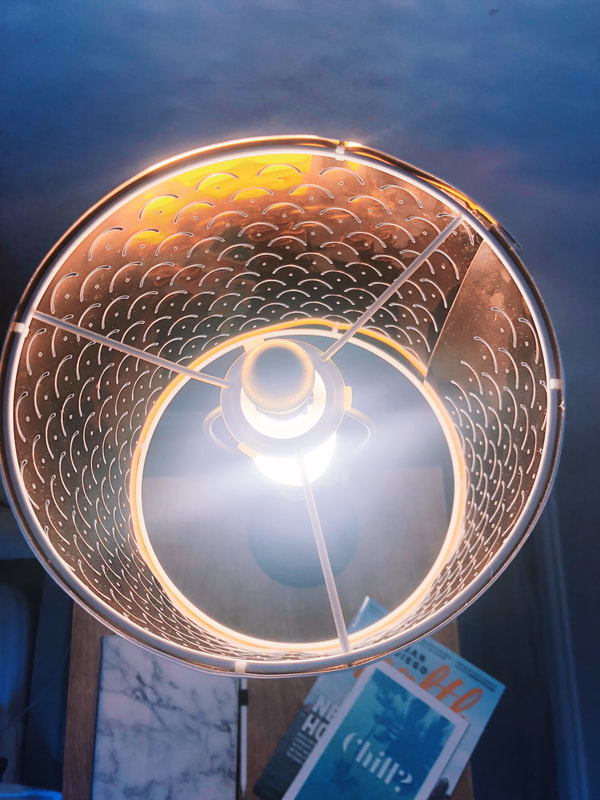 For those of you who have been following along my master bedroom upgrade, you know that I've been looking for creative ways to refresh the space (see the DIY night stands here). Just like with the night stands, I had been looking for a while to find some lamps that combined the industrial and airy modern look to go with the rest of the room. Sadly, once again I was coming up either empty or looking to spend $350 per lamp. The pair that I fell in love with was on sale over Easter weekend and I was ready to go on a big purchase when my dad talked some sense into me and said, "you DIY tons of things anyways, why not just DIY to upgrade the lamps you already have". I started brainstorming immediately that if I found the perfect shade, I could repaint the stand and add a contraption so that the switch was much easier to use. That's what led to this project and I have to say it was super quick and easy to do and cost less than $50. See the step by step below and check out the video tutorial here. Supplies
Stand
Shade and Electrical
If you have any lamps needing a refresh, send a picture to [email protected] and I'll help source the perfect upgrades. Have a great Tuesday! xoxo,Jessica
0 Comments
Leave a Reply. |
Archives
October 2019
CategoriesAll Accent Pieces Action Planner Basket Baskets Bathroom Bedroom Branch Floral Arrangements Bud Vase Candles Cherry Blossoms Curtains Cylinder Vase Decor Accents DIY Door Mat Family Flare Vase Floral Notebook Floral Water Bottle Flowers Flower Wreath Flower Wreaths Furniture Gifts Greenery Guest Room Home Home Decor Indoor Plants Jeans Living Room Mirrors Narrow Neck Vase Nightstand Outdoor Living Pastels Personal Development Productiity Rugs Seat Cushions Shelf Decor Shower Sneakers Spring Spring Decor Spring Ideas Storage Ideas Style With Time Styling Tips Sunglasses Table Lamp Throw Blanket Vase Vases |
 RSS Feed
