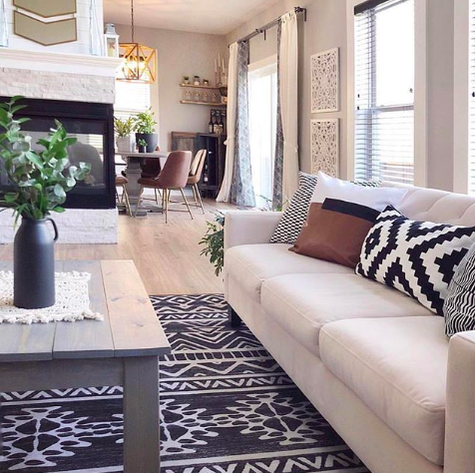
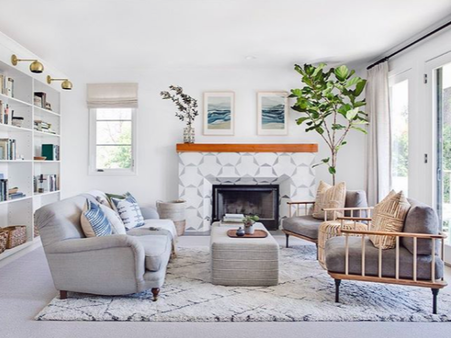
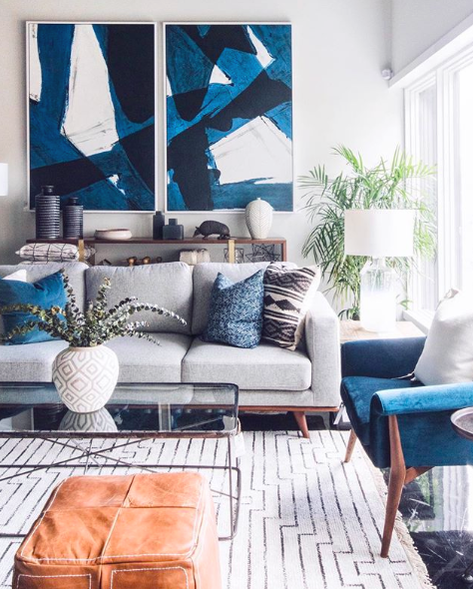
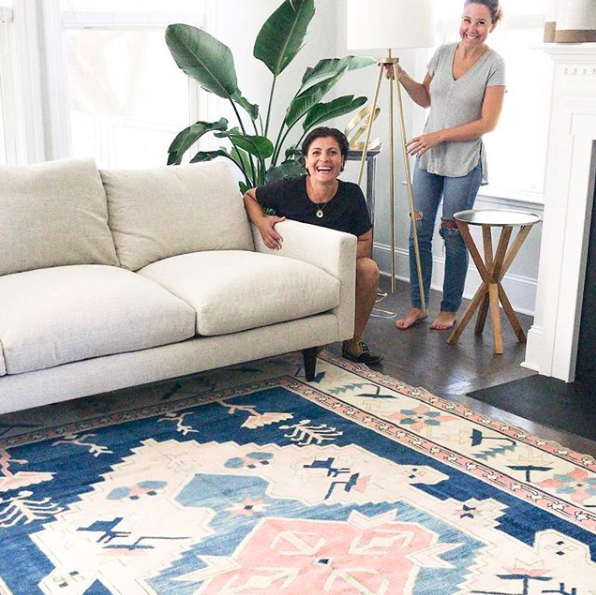
Classic Rugs for Your Living Room Isn’t it funny how rugs can make a room. To me they serve a few key purposes.
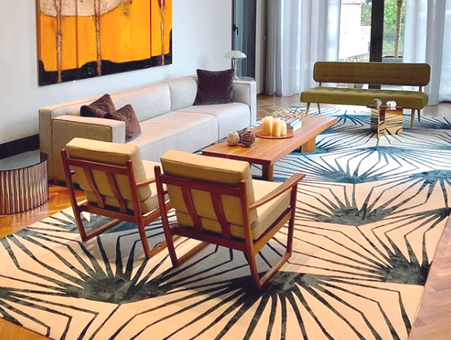
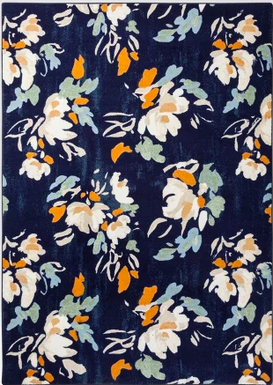
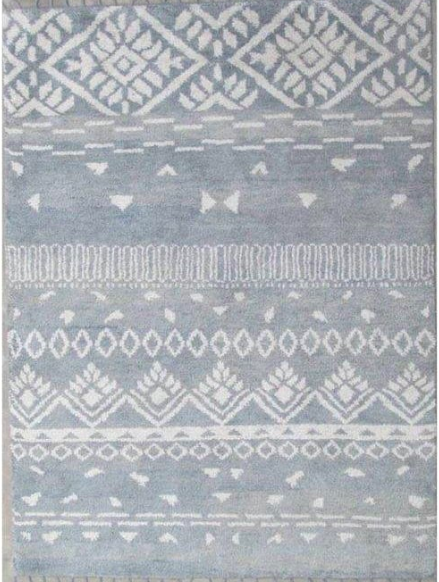
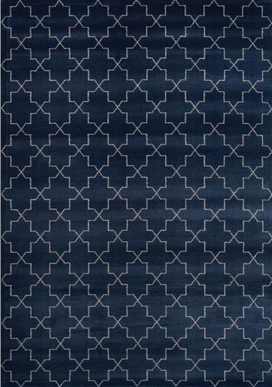
Once you know that you need a rug, a few questions come rushing in. What size do you I get, what type (shaggy, jute, woven), and then how do I place it, under the couch. Here are a few of my go-to rules for find the perfect size rug and how to place plus a few of the rugs I can’t get enough of right now! I found this little "cheat sheet" from the HomeEdit and it's the perfect starting point to help get a sense of size. In most of the below examples you can see that the sofa is either fully on or partially on the rug. I like this rule 90% of the time, but sometimes I want to show off gorgeous wood floors with some lifted mid-century modern furniture. In those cases I like to put one side of furniture on the rug and one side off. It keeps the balance of organic, while still enhancing the features of the room. 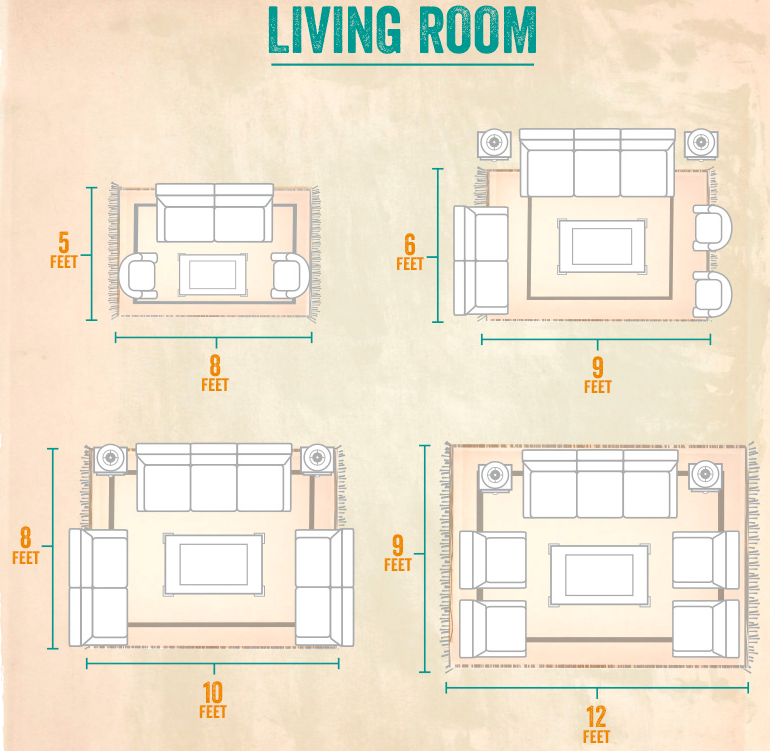 A few of my favorites!I can't get enough of these blue rugs! Hope you find the perfect rug and if you want to share, be sure to tag @beyondtheclock for how you styled your room! xoxo,Jessica
0 Comments
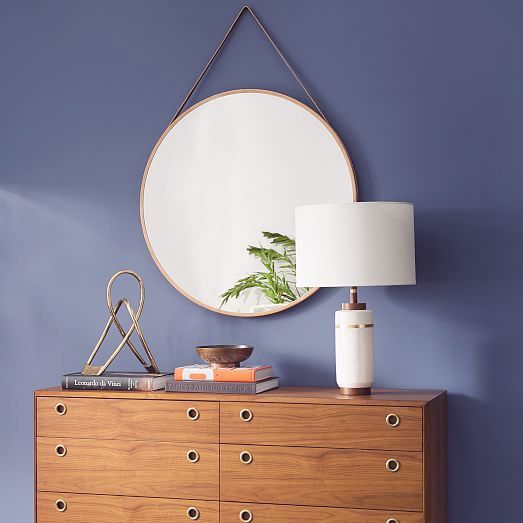
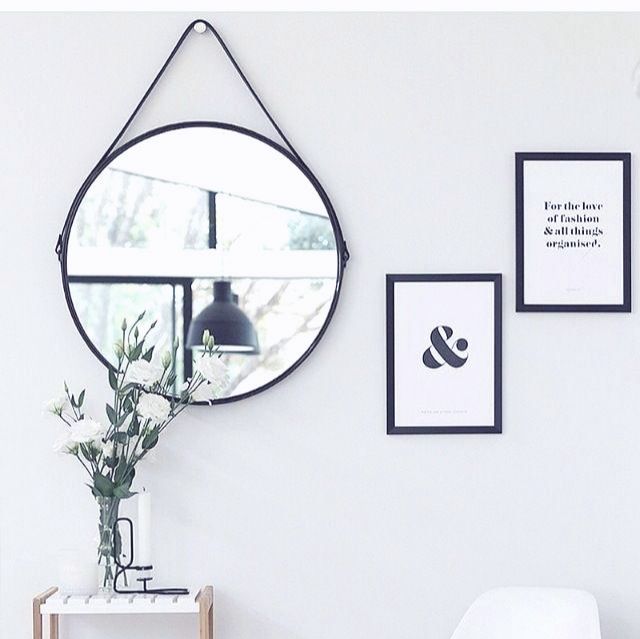
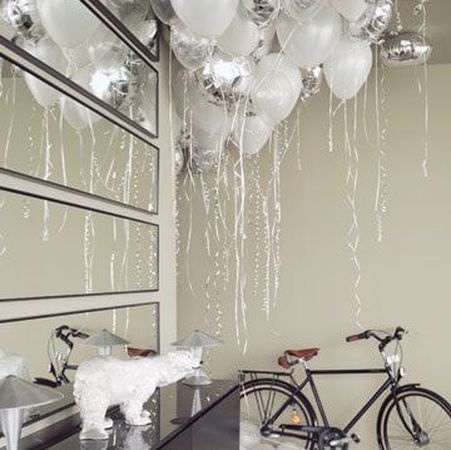
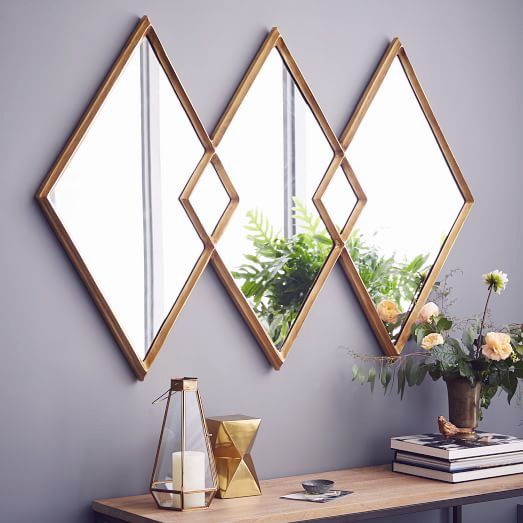
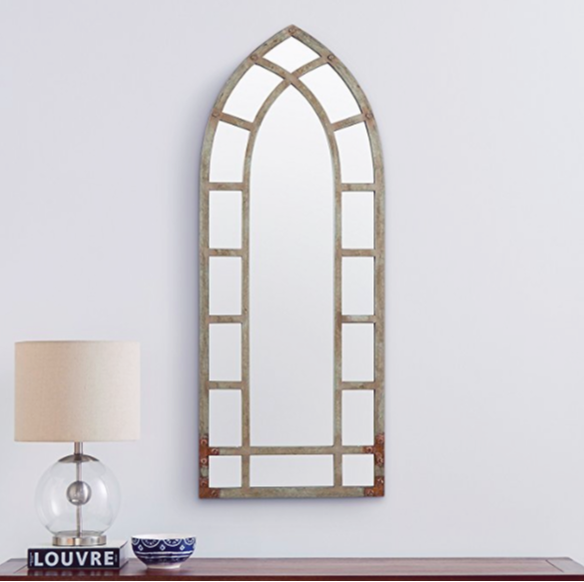
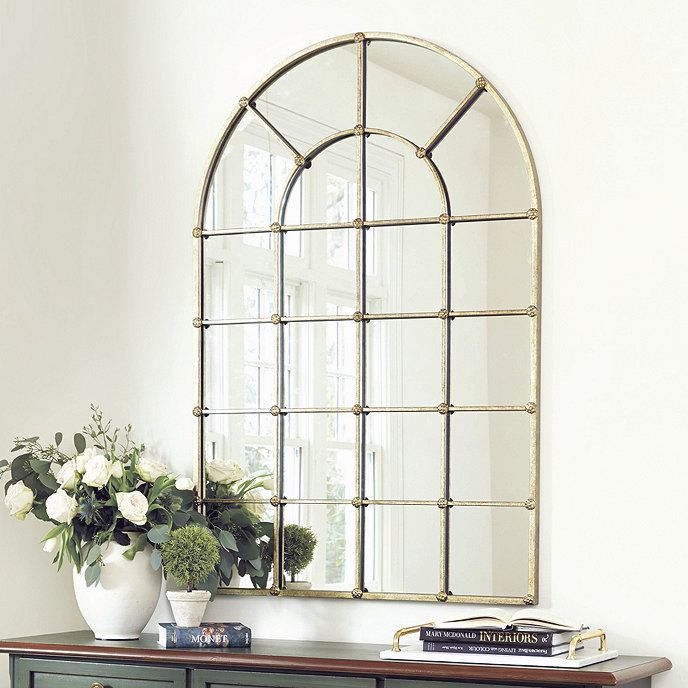
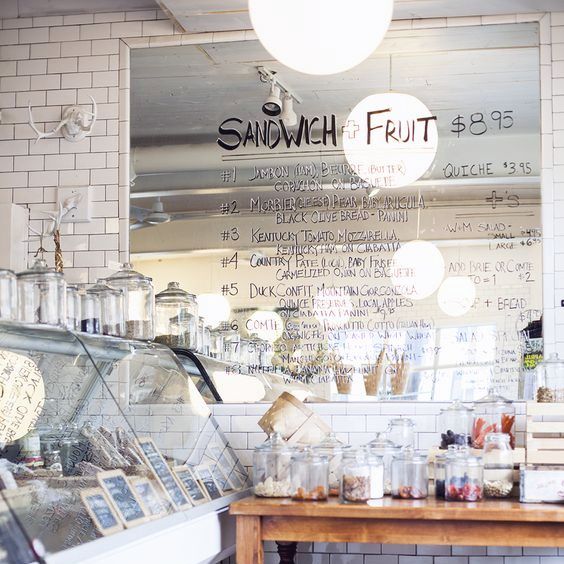
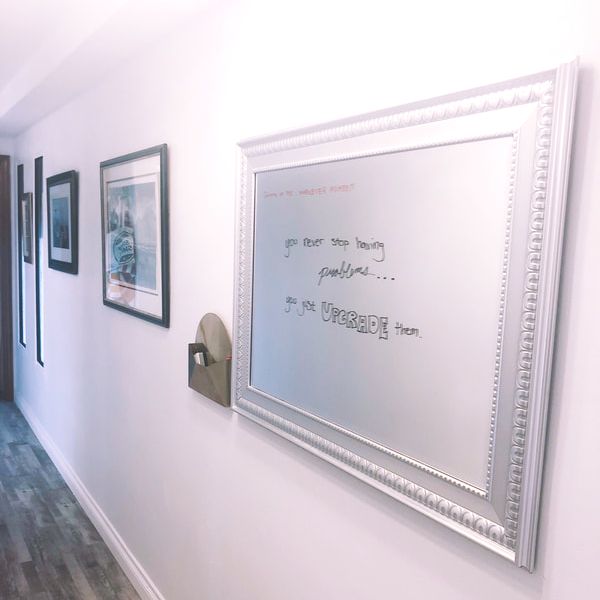
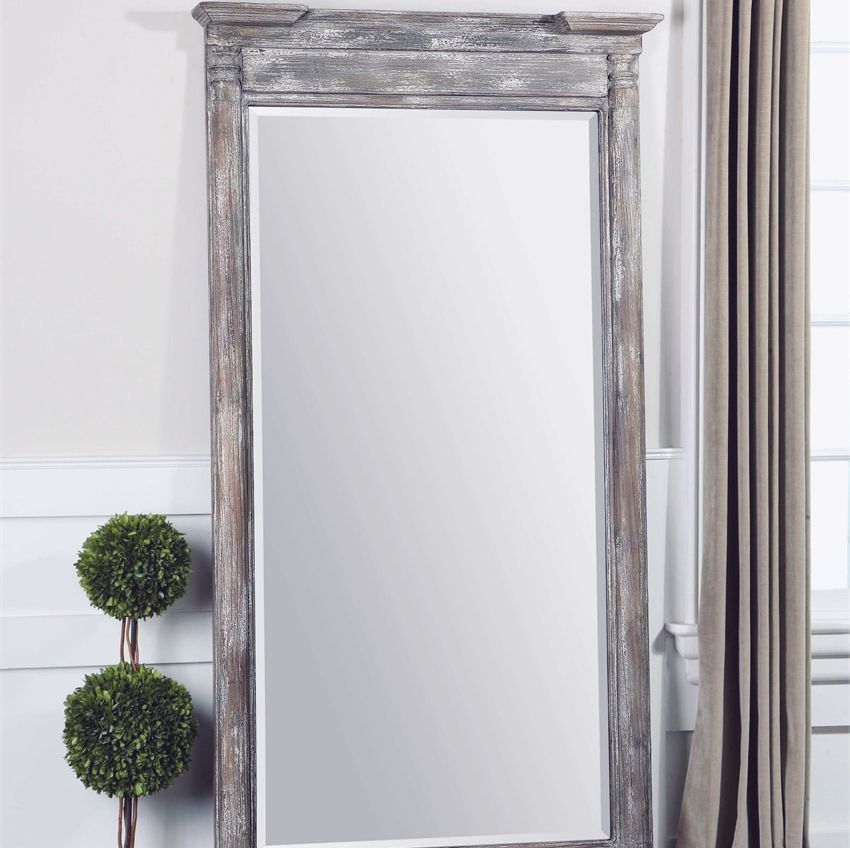
I have a bit of a love hate relationship with mirrors. There are times where they can totally make a room by bringing in more light, making a room bigger, or adding a unique detail with a frame or hanging. Then there are other times, mostly in older homes or small spaces, where people go mirror overboard and make the feature tacky rather than classy. You know what I’m talking about, those full mirror walls that make a living room look more like a dance studio. Thank goodness, mirror details have come a long way. Here are some of my favorite ways to use mirrors in your home or office 1. Leather hanging round mirrorThis modern look is perfect in a bathroom or entryway to add a bit of character with the rounded shape. It's also a less expensive way to make the feature bigger by having the hanging materials be a part of the masterpiece. 2. Triple Horizontal Catch-allWhether you place these pieces in an entryway above a "catch=all" table as I like to call it or in a dining room above a side-board. These triple combo mirrors are statement pieces that will give your room both art and depth. They can also be really affordable using inexpensive behind the door mirrors for this lux stacked mirror look. 3. Antique Arched MirrrosI love these pieces to bring some vintage details into your home while still keeping things modern and fresh. The are also great accents to a farmhouse style. My favorite place to use mirrors like these is behind nightstands in a bedroom or picking up two to flank a TV or feature in the living room. 4. Hallway or Office WhiteboardTraditional whiteboards can really make a place look more like a classroom than a home, but they are SO functional. This is a great blend to keep your space looking fresh and modern while allowing you a place to write your family's menu and to-do list. It's also great in commercial spaces like cafe's and office lunch rooms. Almost all mirrors work for this use, I picked mine up at home goods. Then stock up on some dry-erase pens and you will be good to go.
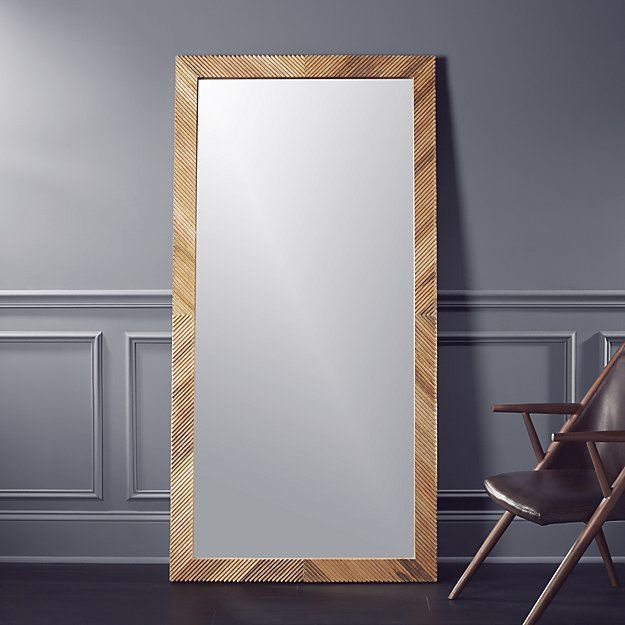
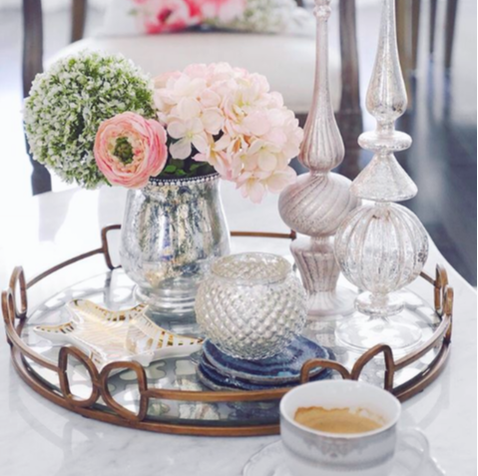
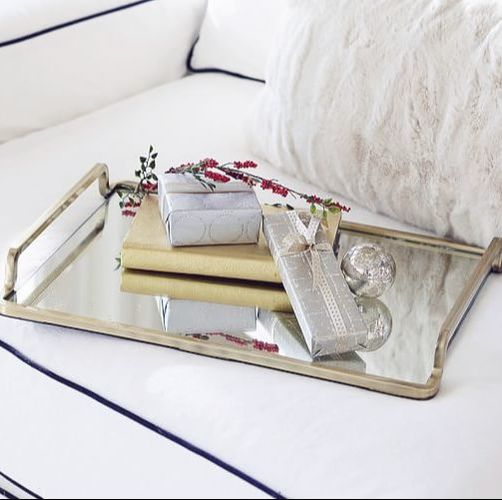
5. Giant Leaning Floor MirrorsEver wonder how bloggers get such good mirror selfies... these are the answers. Oversized floor mirrors are great for a bedroom or near a garage door to get a final look on your way out the door. 6. Glass TraysGlass trays are a my favorite way to glam up a space. I like it best for a guest room or bathroom to display little trinkets for your guests. It's also the perfect add to a coffee table.
Can't wait to hear about your favorite ways to use mirrors. I'd love to see how you styled it. #beyondtheclock when you post to instagram so we can see your creative uses! xoxo,Jessica
How to keep a healthy budget by styling a room with key pieces overtime., plus a checklist!
If you missed it last month, I kicked off the series for styling a room overtime. (Check out Living Room Tips Here). With summer approaching, it can be so tempting to go out and get the latest and greatest items (and for a few items you totally should - you deserve it), but it may help your overall budget to do just a little planning. Don't worry we have a guide below to help.
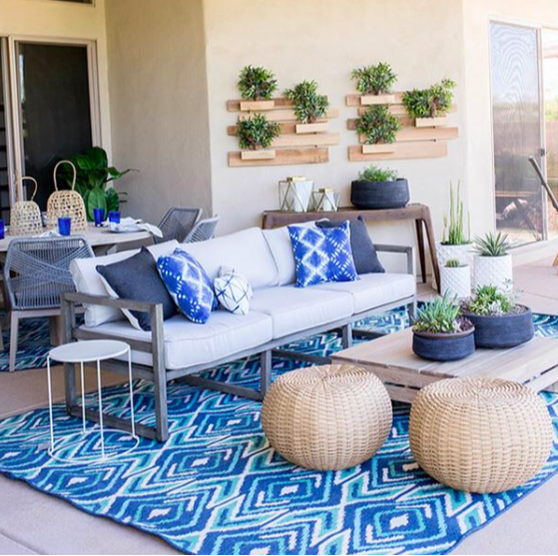
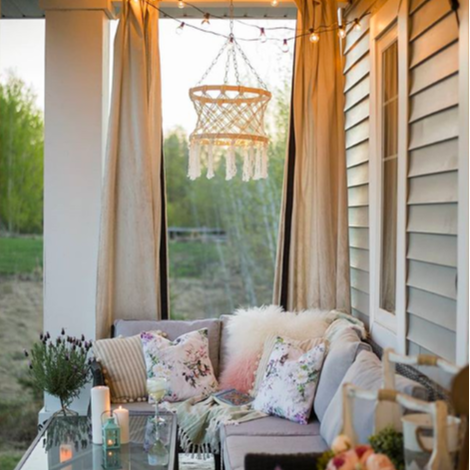
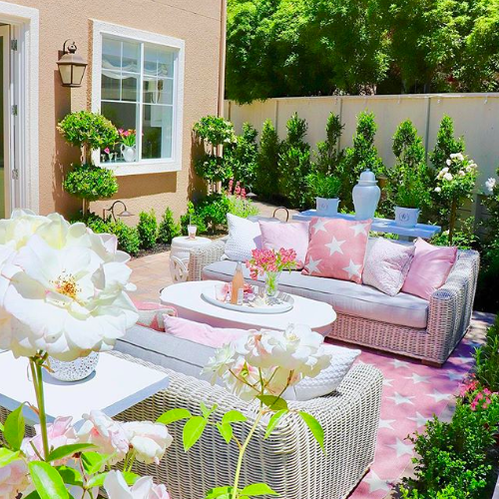
What I have found from my years of project management is that you generally have 3 key items that come together to make the perfect project. Resources (including mula), time, and quality. The three are generally at odds with each other and thanks to so many home renovations we see on social media and tv, we generally are looking for all three to be quick, amazing, and affordable. In this series, I help guide you to making only a few trade-offs when it comes to time so that you can maximize your budget for the most high quality, items of your dreams. So without further ado here are some helpful tips for styling your outdoor space or patio with time. Best Time of Year to Buy:
FURNITURE
SPACE HEATERS
PILLOWS, POTS AND ACCENTS
GARDENING SUPPLIES
GRILL & BBQ SUPPLIES
Get the best Outdoor Decor Style with Time Checklist to help plan all the pieces for your Living Room and best time of year to buy to make the most of your budget.
Hope the guide helps you guys, and don't forget, all good things take time!
xoxo,
Jessica
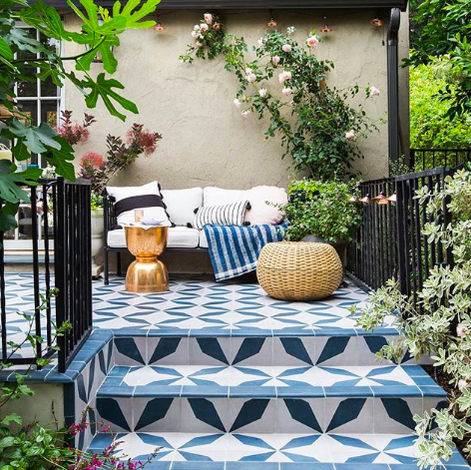
Our Favorites: Outdoor Decor Inspo
6/12/2018 0 Comments DIY Table Lamp UpgradeThis post contains affiliate links. See affiliate disclaimer here.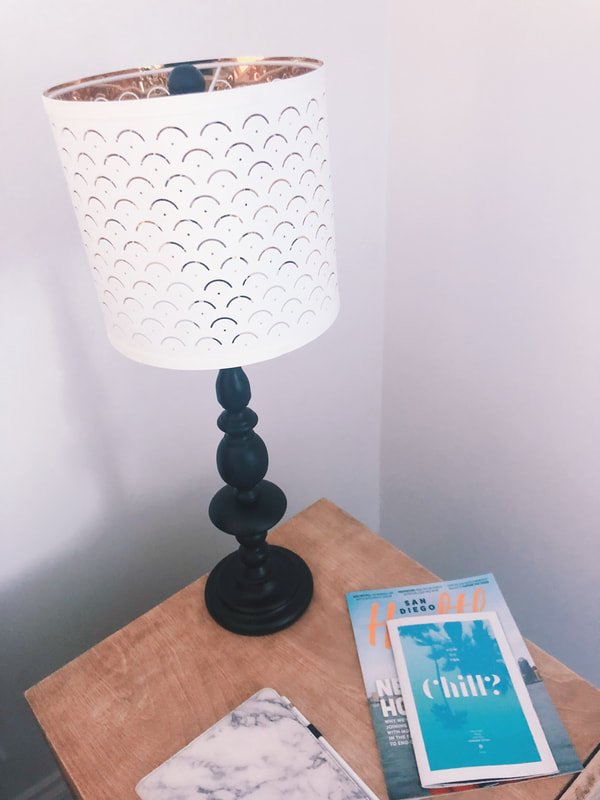 
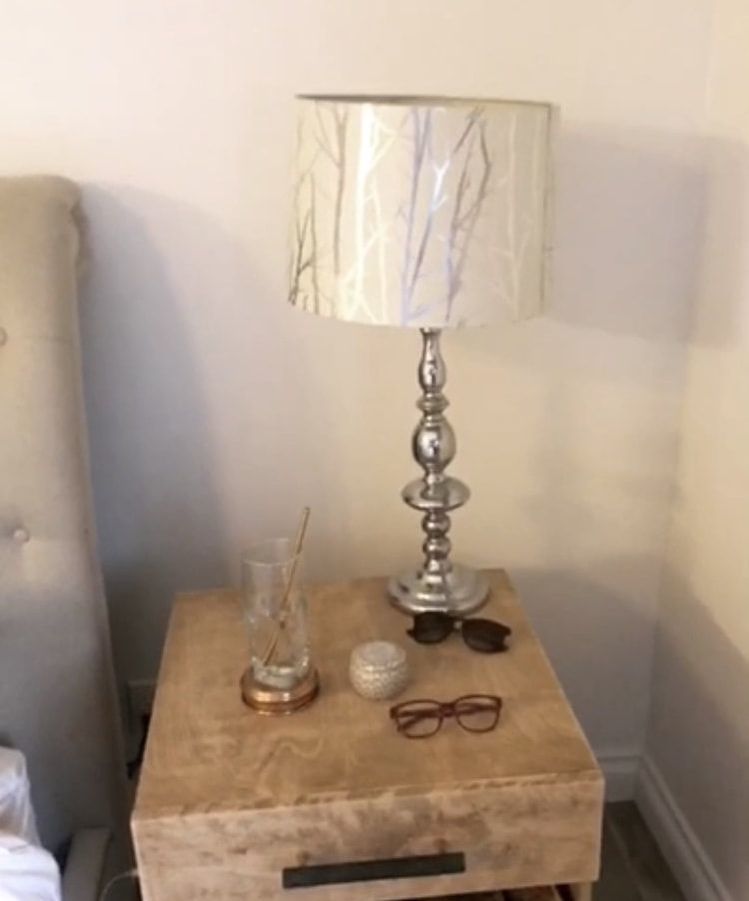
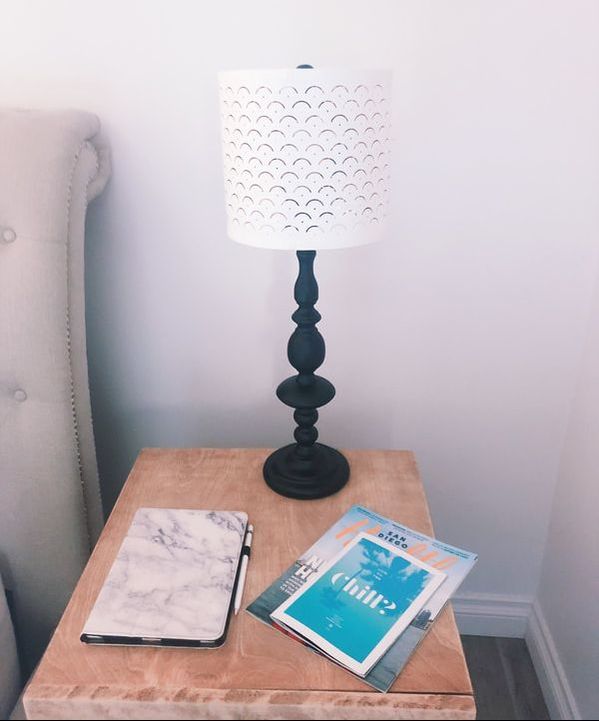
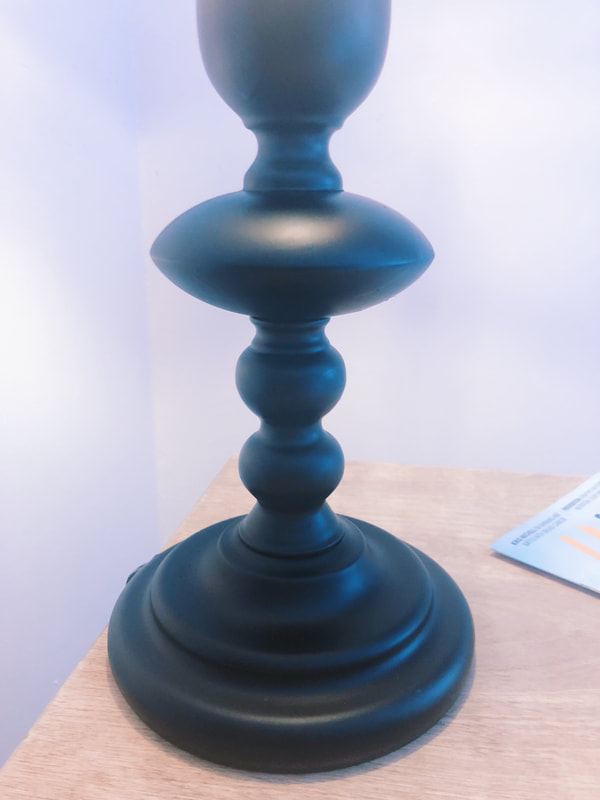 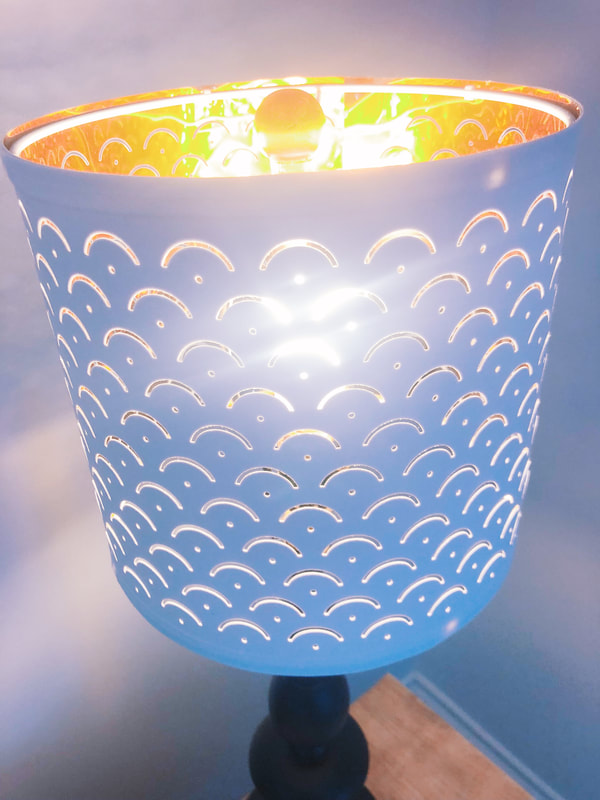 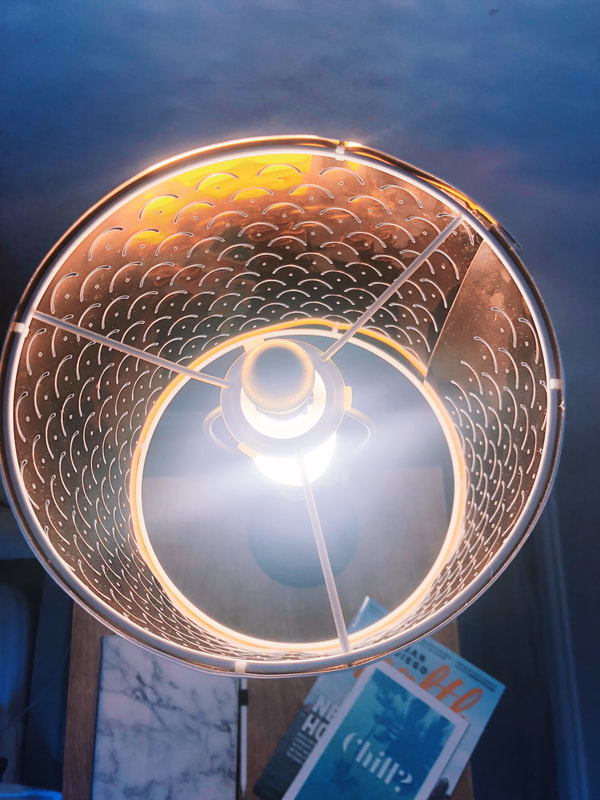 For those of you who have been following along my master bedroom upgrade, you know that I've been looking for creative ways to refresh the space (see the DIY night stands here). Just like with the night stands, I had been looking for a while to find some lamps that combined the industrial and airy modern look to go with the rest of the room. Sadly, once again I was coming up either empty or looking to spend $350 per lamp. The pair that I fell in love with was on sale over Easter weekend and I was ready to go on a big purchase when my dad talked some sense into me and said, "you DIY tons of things anyways, why not just DIY to upgrade the lamps you already have". I started brainstorming immediately that if I found the perfect shade, I could repaint the stand and add a contraption so that the switch was much easier to use. That's what led to this project and I have to say it was super quick and easy to do and cost less than $50. See the step by step below and check out the video tutorial here. Supplies
Stand
Shade and Electrical
If you have any lamps needing a refresh, send a picture to [email protected] and I'll help source the perfect upgrades. Have a great Tuesday! xoxo,Jessica
|
Archives
October 2019
CategoriesAll Accent Pieces Action Planner Basket Baskets Bathroom Bedroom Branch Floral Arrangements Bud Vase Candles Cherry Blossoms Curtains Cylinder Vase Decor Accents DIY Door Mat Family Flare Vase Floral Notebook Floral Water Bottle Flowers Flower Wreath Flower Wreaths Furniture Gifts Greenery Guest Room Home Home Decor Indoor Plants Jeans Living Room Mirrors Narrow Neck Vase Nightstand Outdoor Living Pastels Personal Development Productiity Rugs Seat Cushions Shelf Decor Shower Sneakers Spring Spring Decor Spring Ideas Storage Ideas Style With Time Styling Tips Sunglasses Table Lamp Throw Blanket Vase Vases |

 RSS Feed
