|
9/15/2019 0 Comments DIY Tile Door Mat for Under $15How to give your front door a high-end designer look
There are thousands of different door mats out there and even customizable ones from Etsy, but even after searching for a long time, I wasn't able to find one that I loved and really stood out as unique and high-end without spending a fortune.
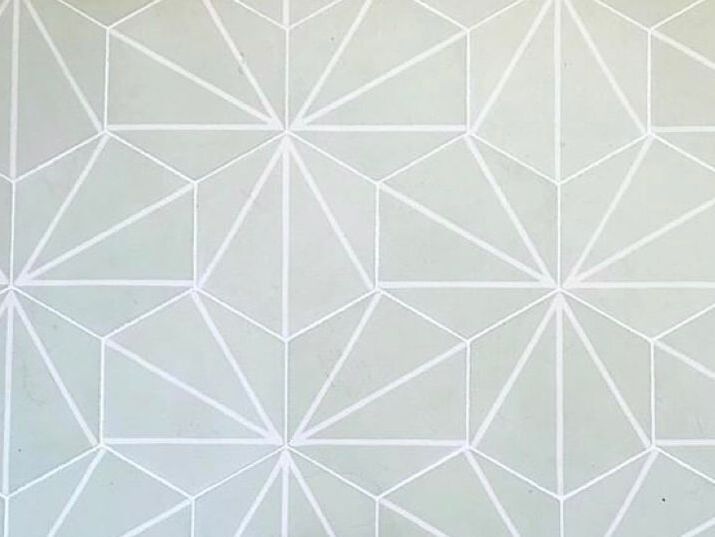
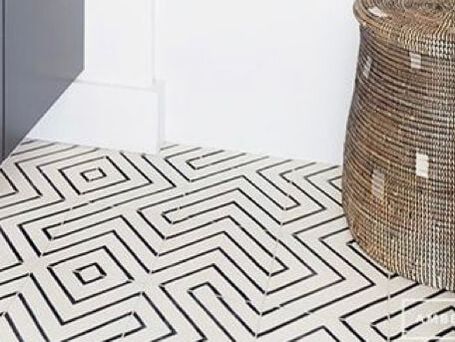
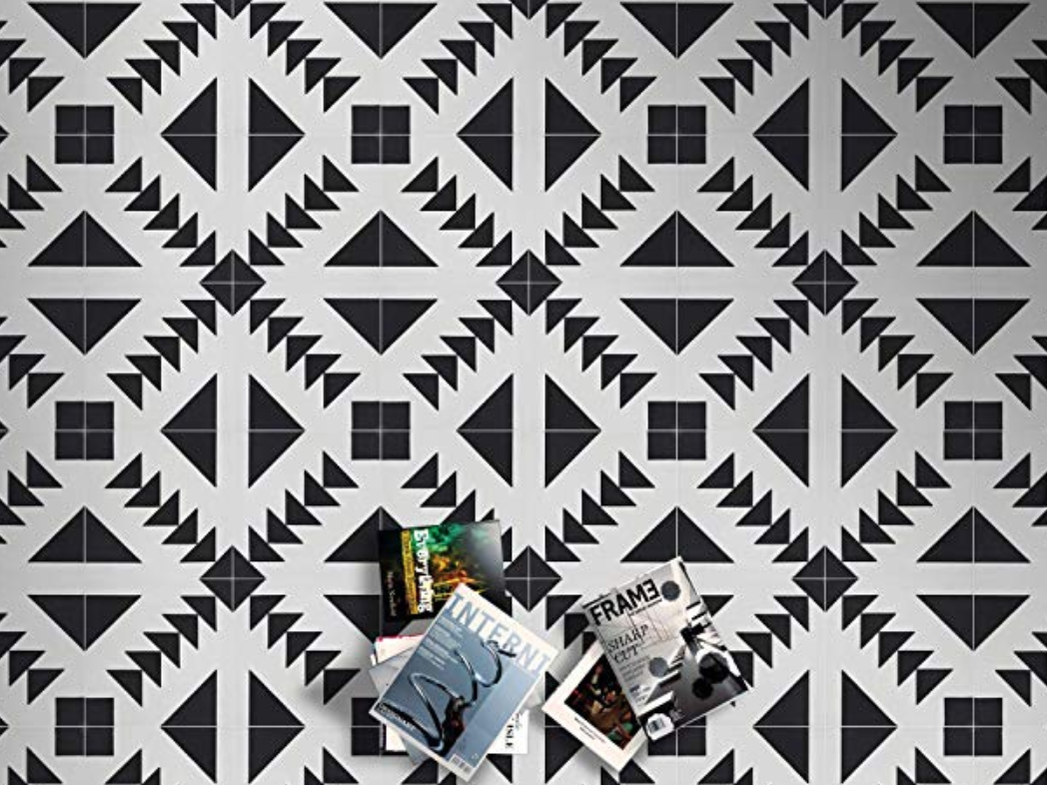
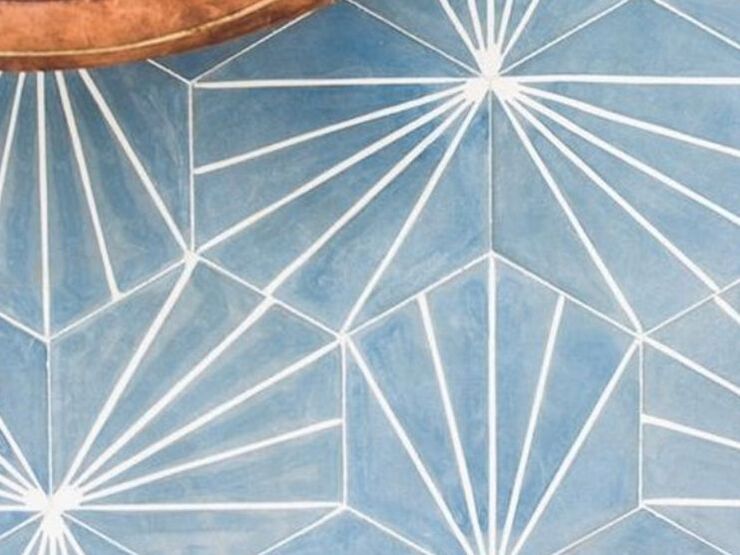
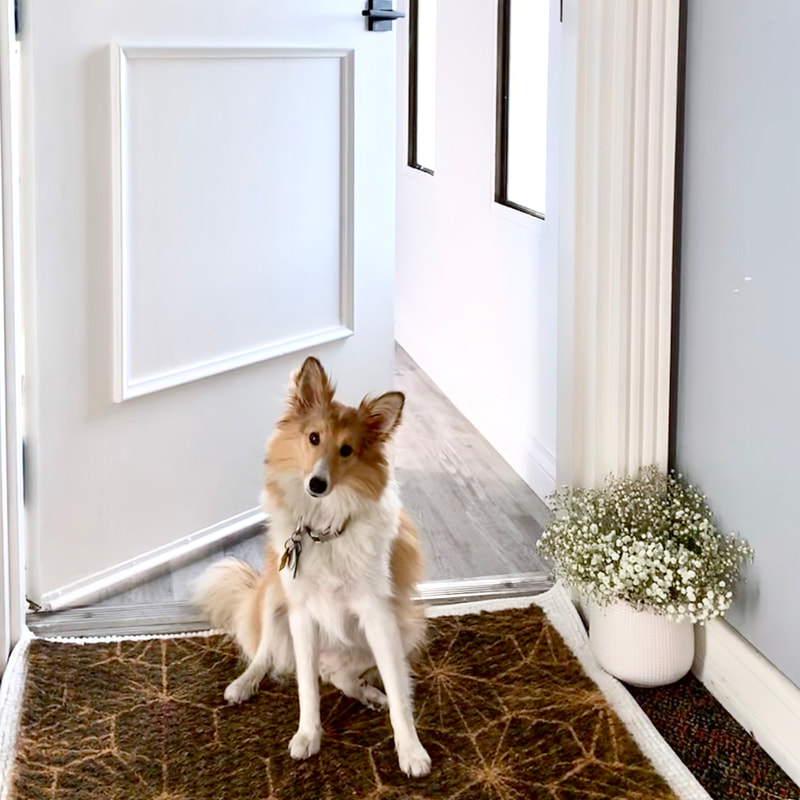
I have seen a lot of people do painted tiles in their home lately, so I thought I'd give it a try on my front door mat and I couldn't be more excited about how it turned out. I love the pattern and since I don't have tile in my home to paint or a remodel on the horizon, it was an easy and affordable way to add that high-end look without spending a fortune (for less than $15 actually)! You can do this one too! Not only is it affordable, but it's super easy to do and takes less than an afternoon (once you finally pick your tape design) That part actually took me the longest. I just didn't know which one I wanted to commit to! Here were some of the contenders for layout.
I ended up going with option 4, but there are so many great tile designs that are geometric and you can use tape to create or you could try a stencil for something with more curves. The options are also endless in terms of colors you can use to completely customize the mat to your space. Whichever avenue you choose, here is the complete breakdown so you can make your own designer tile door mat.
SUPPLIES:

INSTRUCTIONS:
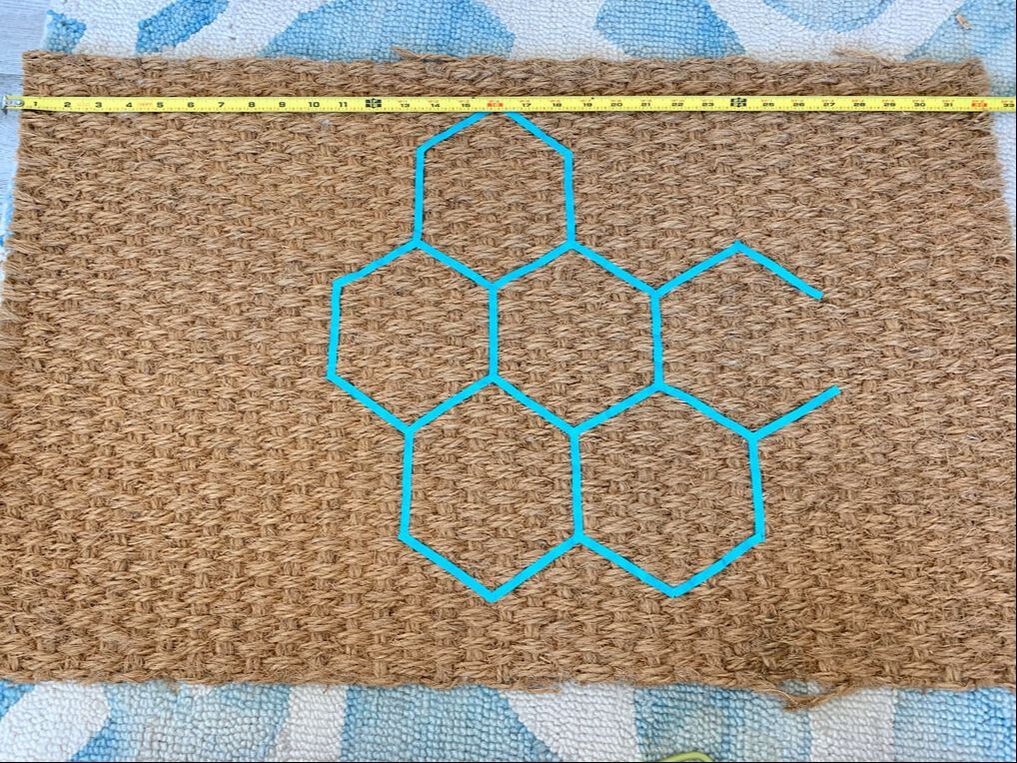
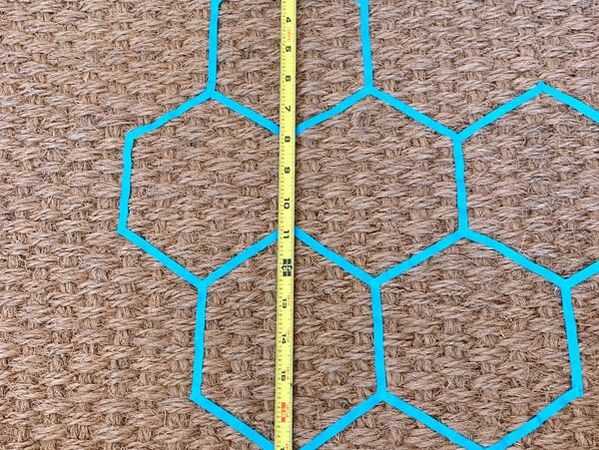
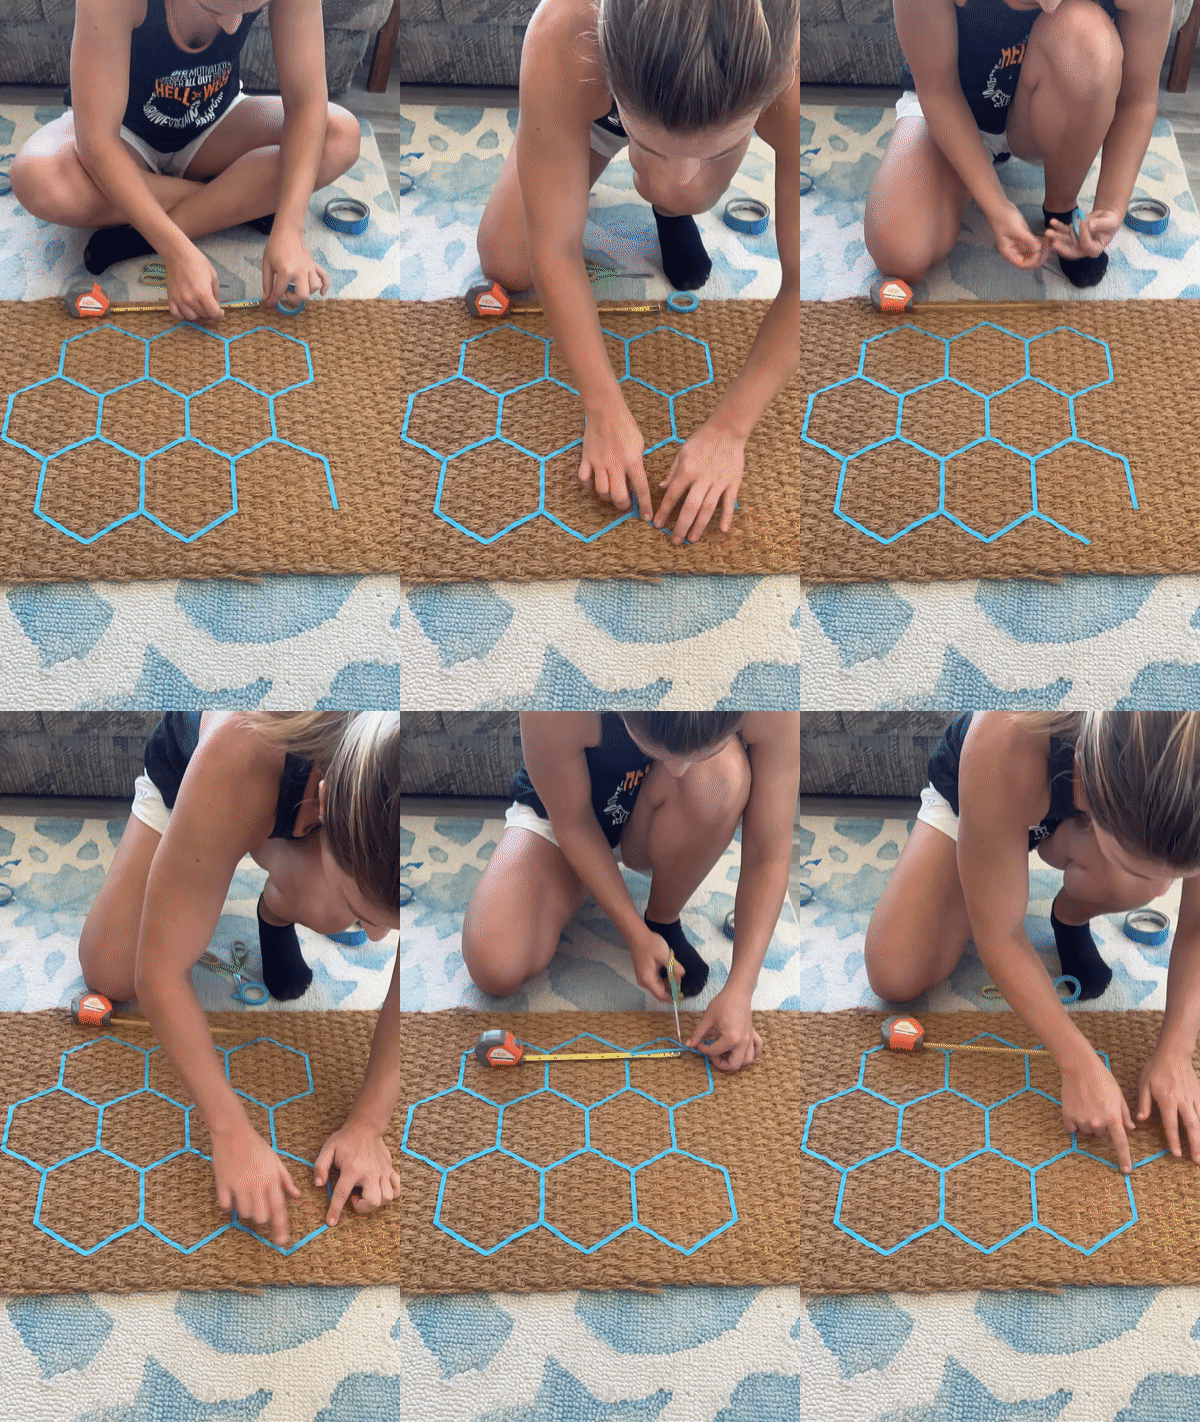
Once you decide on the style you want, you can decide on the scale you want to utilize it with. I cut 3" strips to form the hexagons. Keeping all of them consistently 3" kept the pattern on track. I centered the center of the first hexagon across the width and aimed to center the overall pattern across the length too. Once I had centered the core of the design, I proceeded with the rest of the design, taping away!
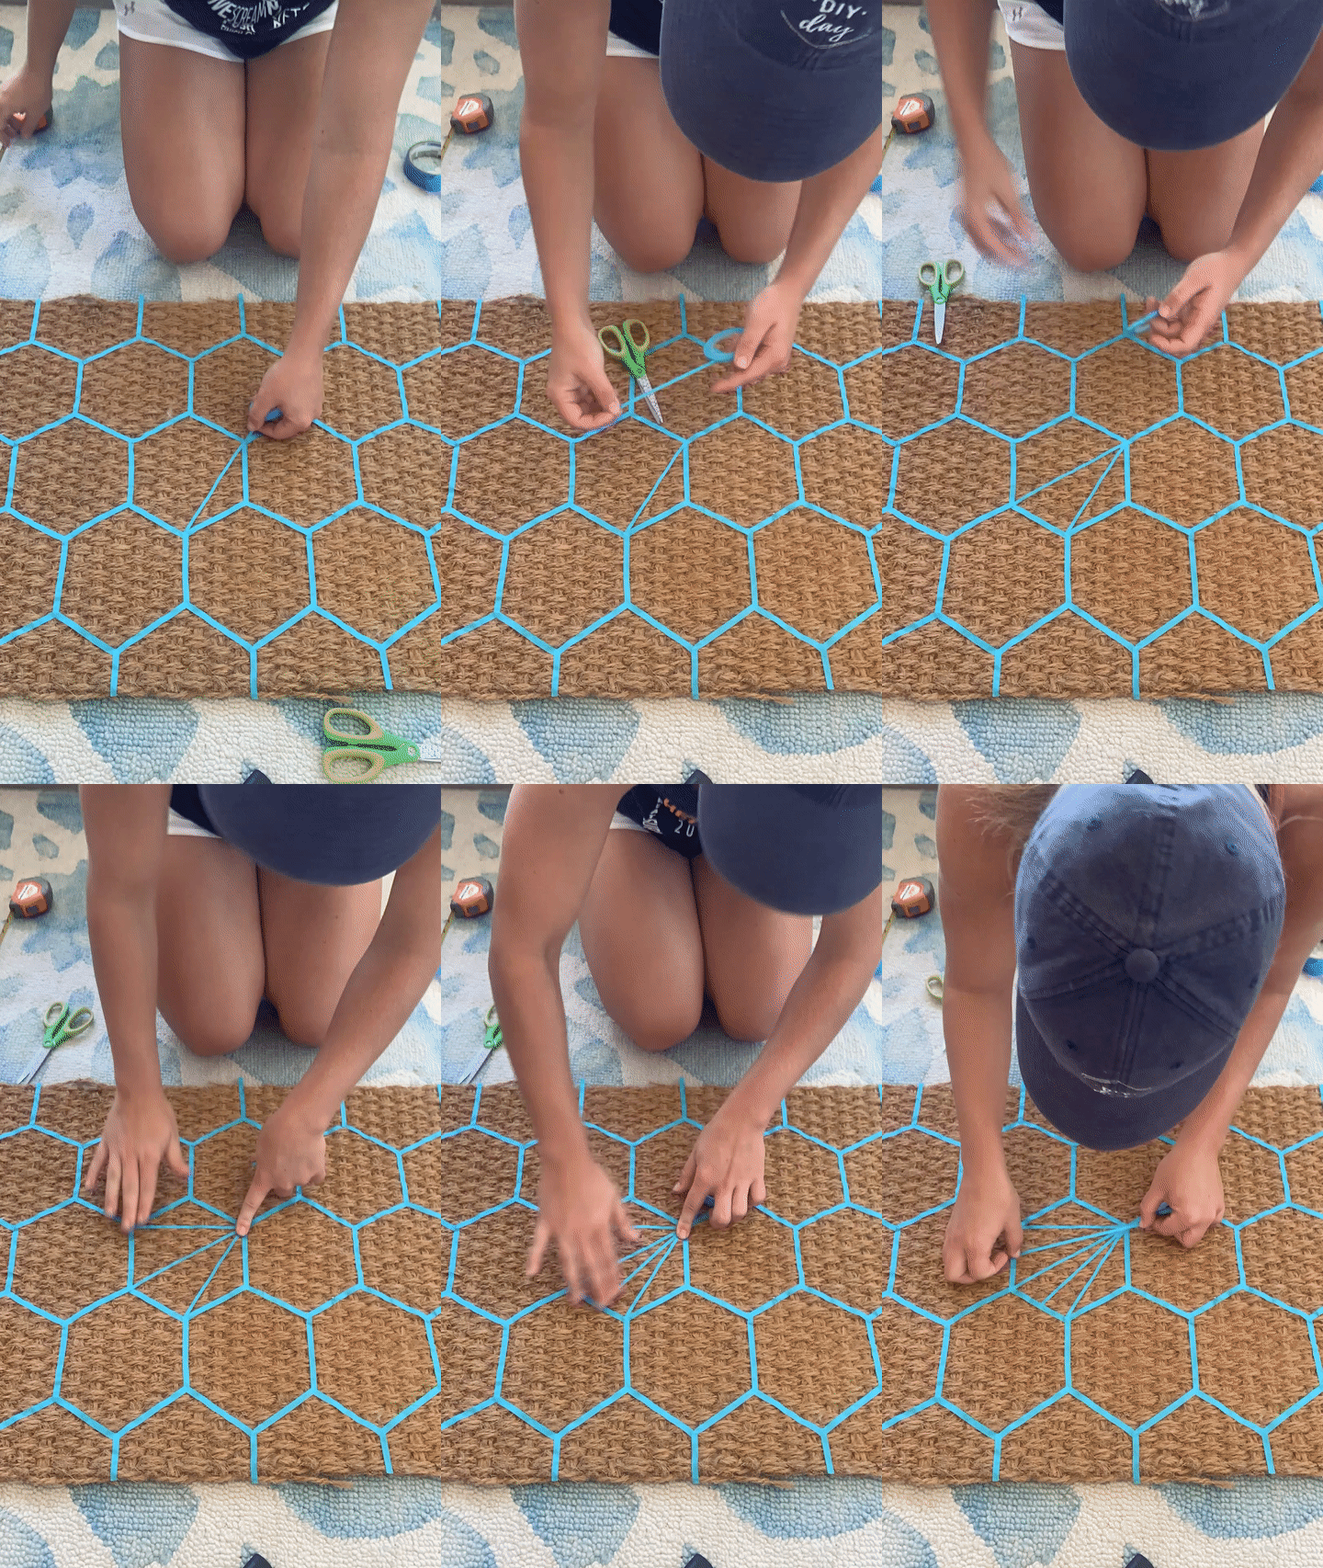
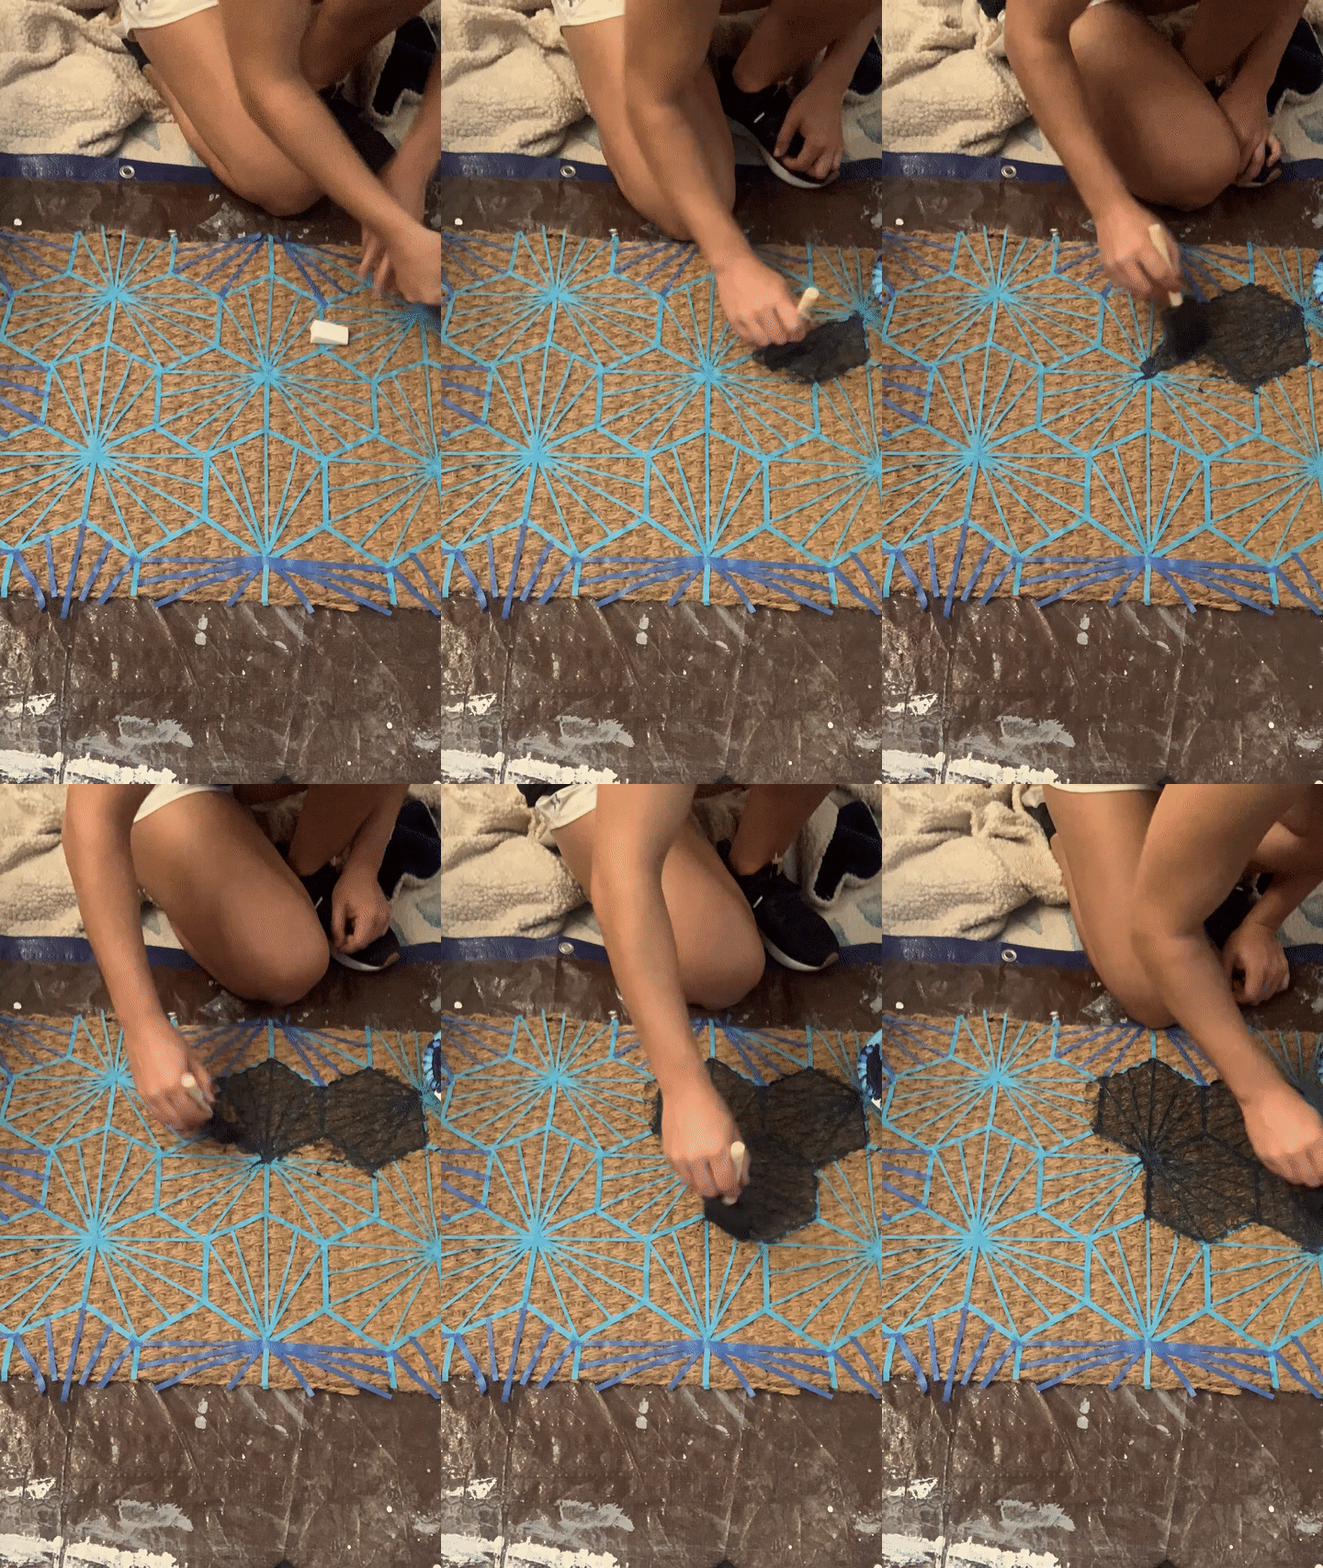
Next continue to tape the finer details.
Now it's time to paint. To make sure the tape stays in place, I sponged the paint onto the mat. Pressing the tape down as I went and avoiding any sideways motion so that I didn't accidentally paint underneath the tape.
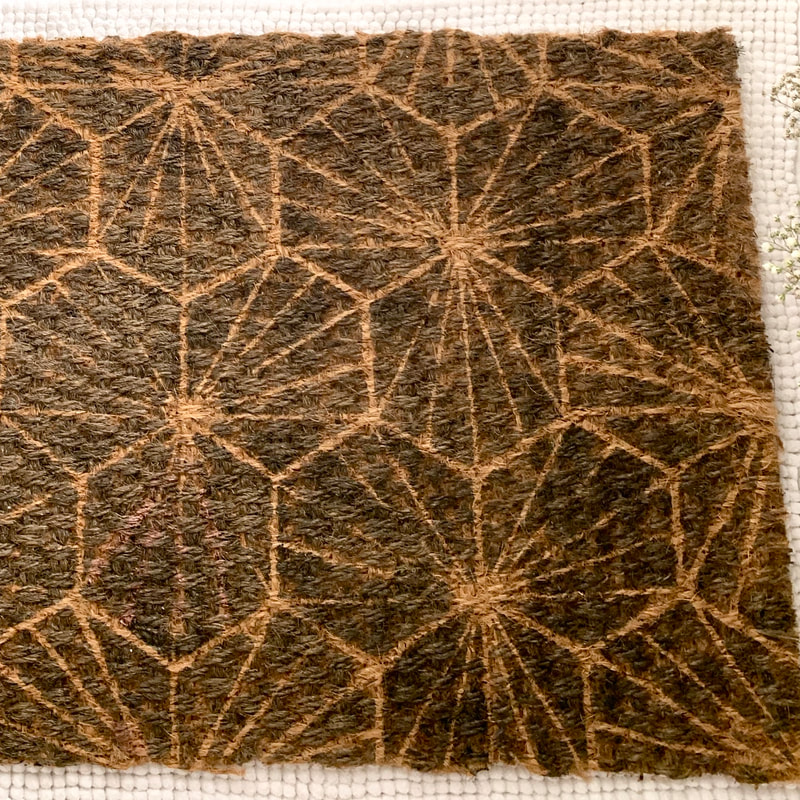
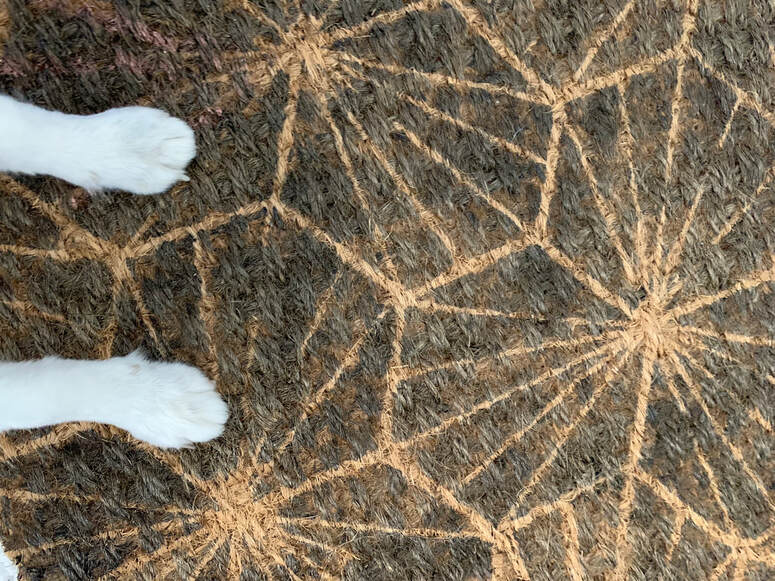
Luckily the paint dried pretty quickly (I think it just soaked right into the rug) which was amazing because I didn't have to wait long to take off the tape. This is seriously the best part! Such a fun reveal to see the crisp pattern emerge!
That's it! A super easy and quick DIY that will add a big upgrade to your entryway and give you a designer look without the cost of retiling your entire entryway. Be sure to tag #btcproject on your door mat transformations so I can repost them and we can start a painted door mat revolution! Haha or at least share the creative love! Can't wait to see how yours turn out!
xoxo,
|
Archives
October 2019
CategoriesAll Accent Pieces Action Planner Basket Baskets Bathroom Bedroom Branch Floral Arrangements Bud Vase Candles Cherry Blossoms Curtains Cylinder Vase Decor Accents DIY Door Mat Family Flare Vase Floral Notebook Floral Water Bottle Flowers Flower Wreath Flower Wreaths Furniture Gifts Greenery Guest Room Home Home Decor Indoor Plants Jeans Living Room Mirrors Narrow Neck Vase Nightstand Outdoor Living Pastels Personal Development Productiity Rugs Seat Cushions Shelf Decor Shower Sneakers Spring Spring Decor Spring Ideas Storage Ideas Style With Time Styling Tips Sunglasses Table Lamp Throw Blanket Vase Vases |
 RSS Feed
