|
10/29/2018 0 Comments The Ultimate Pumpkin Carving & Decor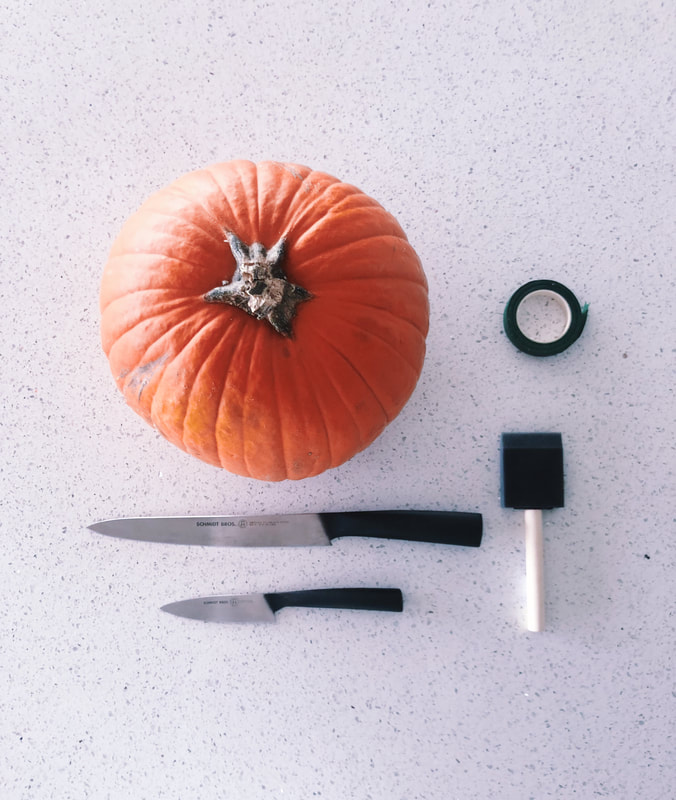 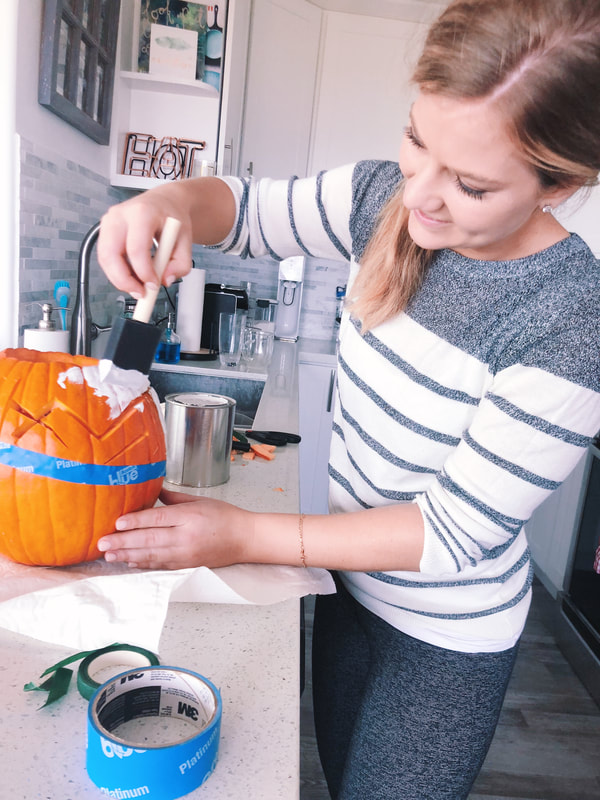 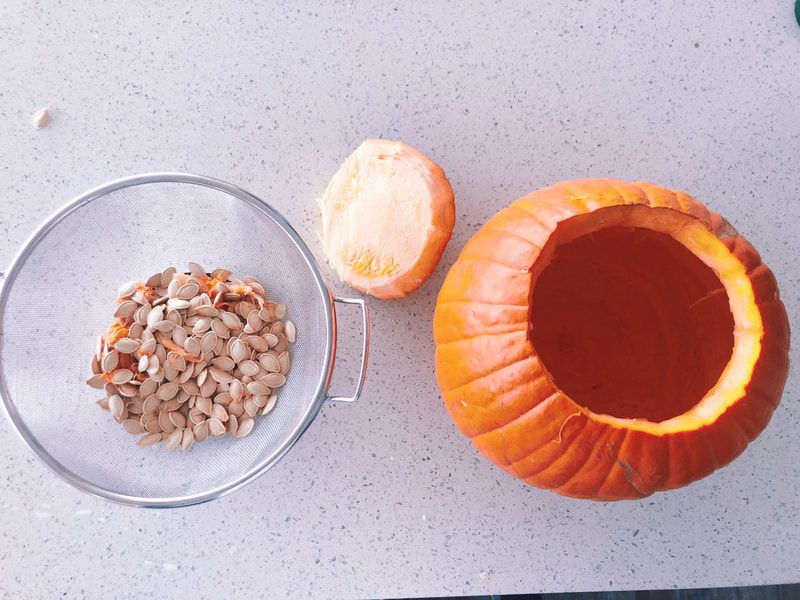
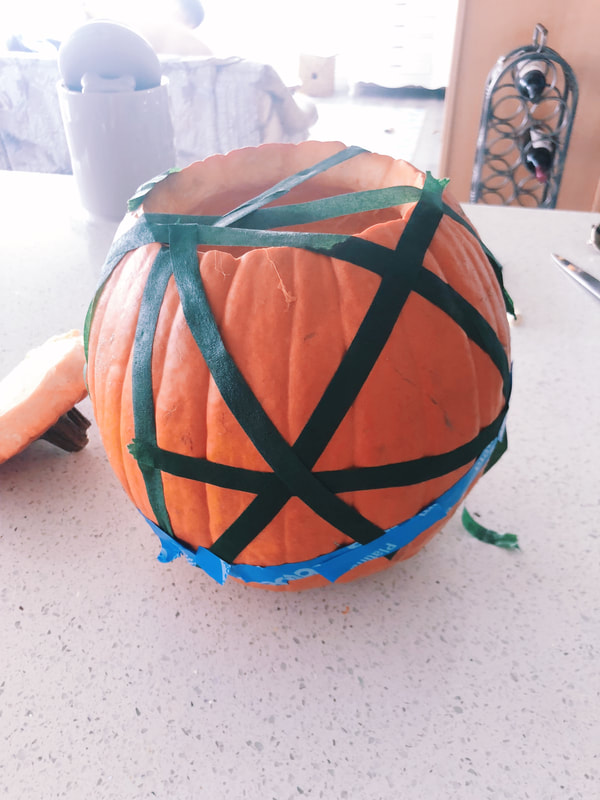
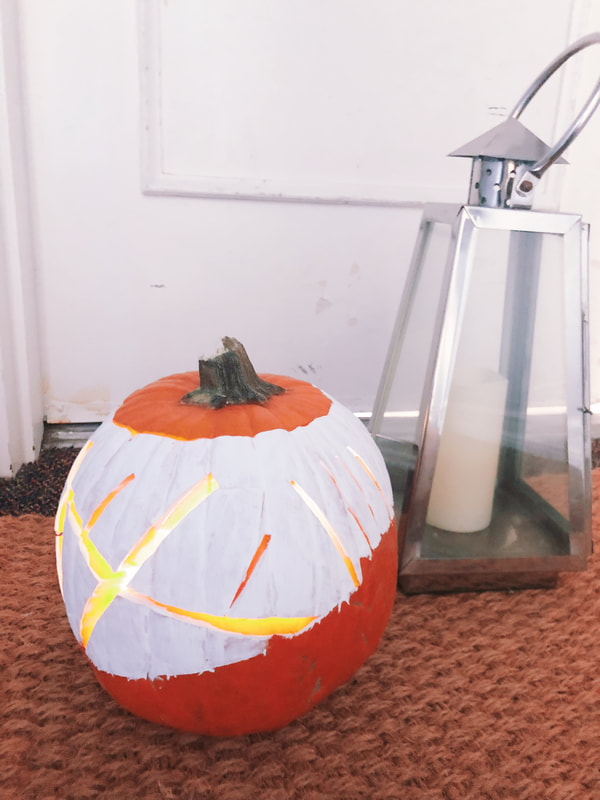 It's been a few years since my husband and I carved pumpkins, but we always have the best time. No matter what I'm doing, I always think about the entire experience rather than just the one task to be done. (In college I had a dream of opening a dermatology clinic with manis, pedis and champagne in the waiting room. I know I know, today that's a medspa, but it was my "complete experience practice" at the time). Anyways, I took the same approach to pumpkin carving this year and have some of my best tips for the ultimate pumpkin carving experience plus how to make your pumpkin a work of art.
0 Comments
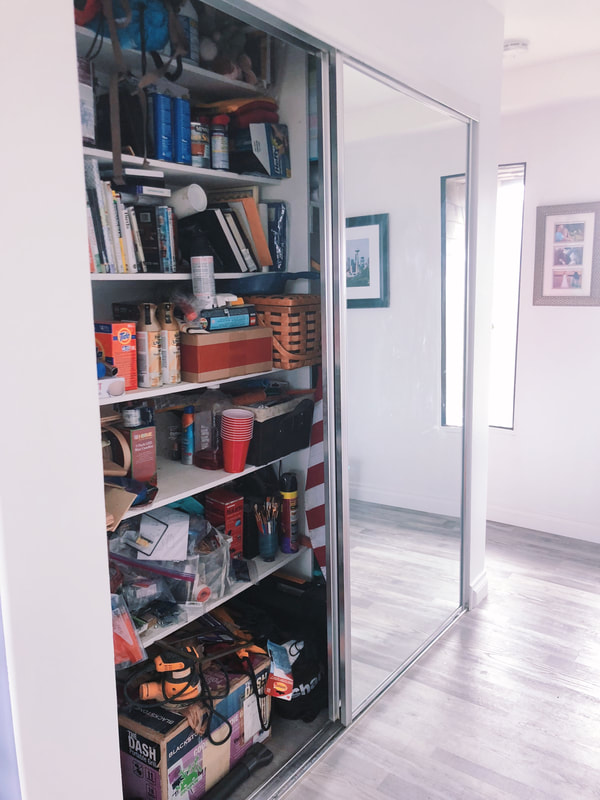
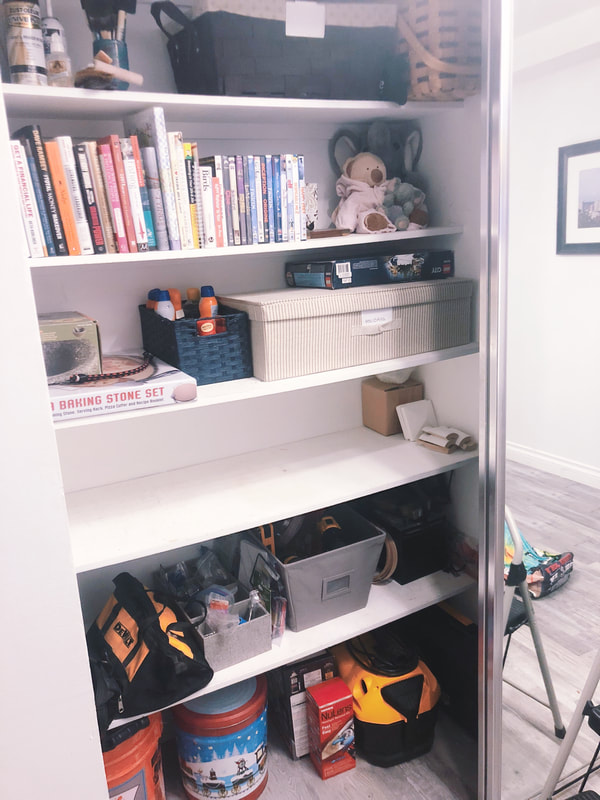
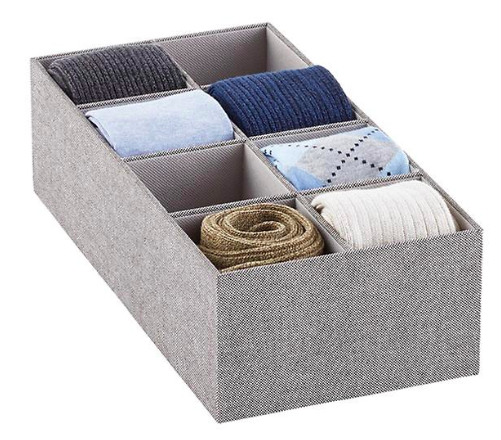
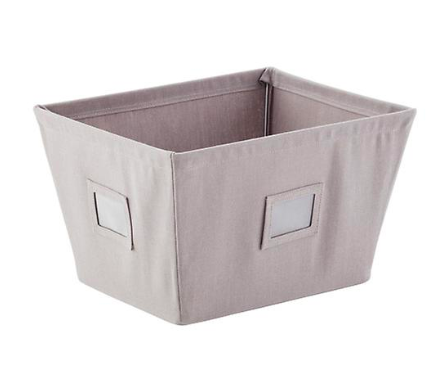
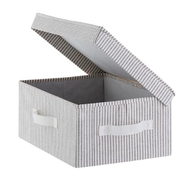
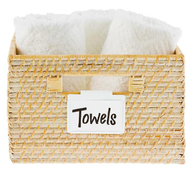
10/10/2018 0 Comments How to Organize on a BudgetWhen I scroll through Instagram and see how people have organized their pantries or refrigerators, my eyes normally widen, my mouth drops and my brain starts to dream of all things container store. I feel like organizing any closet, pantry, or area of the house can become overwhelming. I recently decided to organize the hallway closet. Since we don't have a garage, this closet is filled with items like paint cans, power tools, and other more rugged accouterments. It is also a media closet filled with DVDs, books and photo albums and on top of all that, it also has a few "miscellaneous" things (aka junk closet). I knew I needed to clean it out (it had been way too long) but I also had that feeling, you know the one where you know you need to workout but don't want to. It was the same dread, but once I got started, I started finding things I had forgotten about, categorizing similar things and envisioning my clean and crisp future closet state. To help you all not have the same overwhelming feeling that I faced at the beginning, I put together my quick and easy tips to organize your closet on a budget. 1. EmptyThe first step in every organization project I do is to empty everything out. It may look like a hurricane has just gone through the hallway, however, it also allows you to see and find all the items that were hidden in corners and enables you to see the full space you have to work with. 2. BatchWhile I am removing everything, I start to form piles of similar like items. While I was going through the closet, I found 7 different sunscreen sprays. Although this was a sad reality that my lack of organization had led to inefficient excess purchases, it also allowed me to keep them together so that in the future I can see the entire status of what is in the closet. 3. BucketOnce you have batched similar elements, you can start to find the right containers to put them in. For some items, a basket or box may not be feasible (i.e. my paint cans just got stacked neatly together on a shelf rather than in a box). For other, smaller items, see if you can measure the type of box or basket you would need to contain them. I had a large section of holiday supplies and DIY supplies so I measured the needs and categories and then set out to the container store to find the right "buckets". I ended up finding the perfect drawer organizer to keep all my small nails and screws neatly sorted as well as cute farmer boxes with a lid for my holiday things. This way they could stay dust free and protected when stored. I linked all my finds below! Remember, not every single item needs container and not all containers have to match exactly. In order to make your space work for you in the long-run and keep you organized, you should find the right type of container for the use of what you are storing in it. 4. LabelNow that you have your shelves situated with your containers and "loose buckets" or items that standalone on the shelf but are still sitting with similar materials. You can begin labeling. I think labeling is one of the most important ways to make sure your efforts of organization stick around long after the day you organize. This is also the secret of sticking to your budget. You can find all sorts of labels at the container store, target or amazon ranging in price and once you have your labels on your buckets or areas on your shelf, it will be pretty difficult for someone to place something where it shouldn't belong. Think about your silverware drawer in the kitchen. It's normally pretty rare for that drawer to get too messy because everything has a spot. Labels have the same effect in closets or pantries. Without much effort, they train your brain (or any passerby) to only place items where they belong. If they don't have a spot, it will force you to stop and think before throwing something into a place it doesn't belong and becoming a junk area. I know it can be hard to get started on an organization project, but hopefully with these things in mind, you can make the transformation you are looking for and keeping looking fresh for a long time. Here is the before and after of my weekend activities as well as my favorite finds from the container store to help with the process.
Happy organizing! And remember if you every have any questions or need any help, send me an email or direct message on Instagram. I love chatting about how to make your home better :-). xoxo,
|
Archives
October 2019
CategoriesAll Accent Pieces Action Planner Basket Baskets Bathroom Bedroom Branch Floral Arrangements Bud Vase Candles Cherry Blossoms Curtains Cylinder Vase Decor Accents DIY Door Mat Family Flare Vase Floral Notebook Floral Water Bottle Flowers Flower Wreath Flower Wreaths Furniture Gifts Greenery Guest Room Home Home Decor Indoor Plants Jeans Living Room Mirrors Narrow Neck Vase Nightstand Outdoor Living Pastels Personal Development Productiity Rugs Seat Cushions Shelf Decor Shower Sneakers Spring Spring Decor Spring Ideas Storage Ideas Style With Time Styling Tips Sunglasses Table Lamp Throw Blanket Vase Vases |
 RSS Feed
