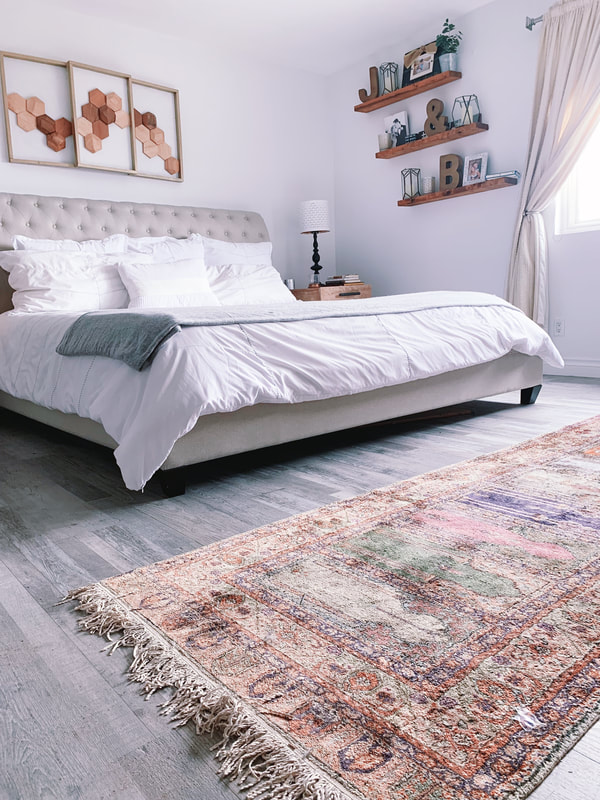
before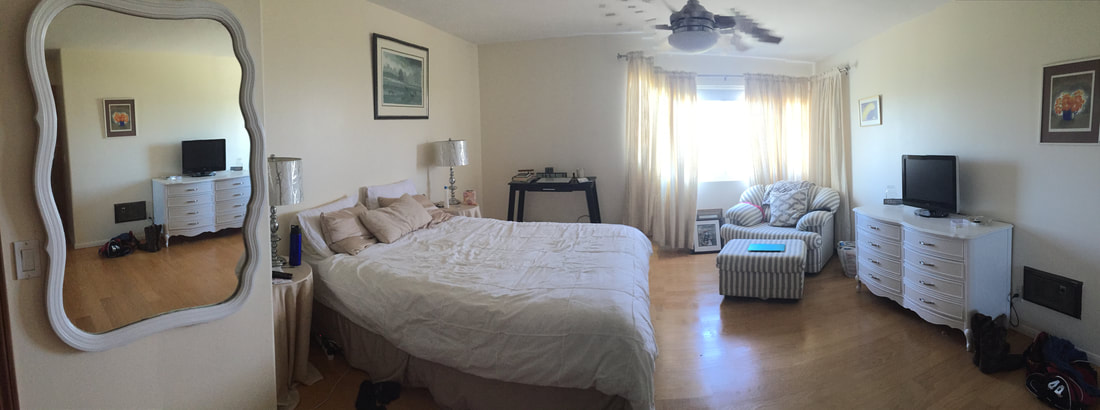 after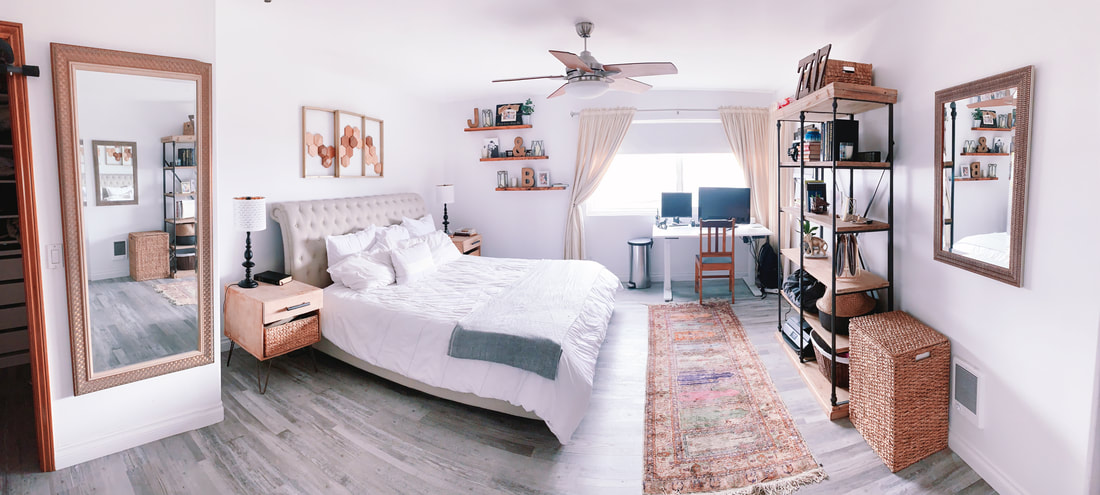
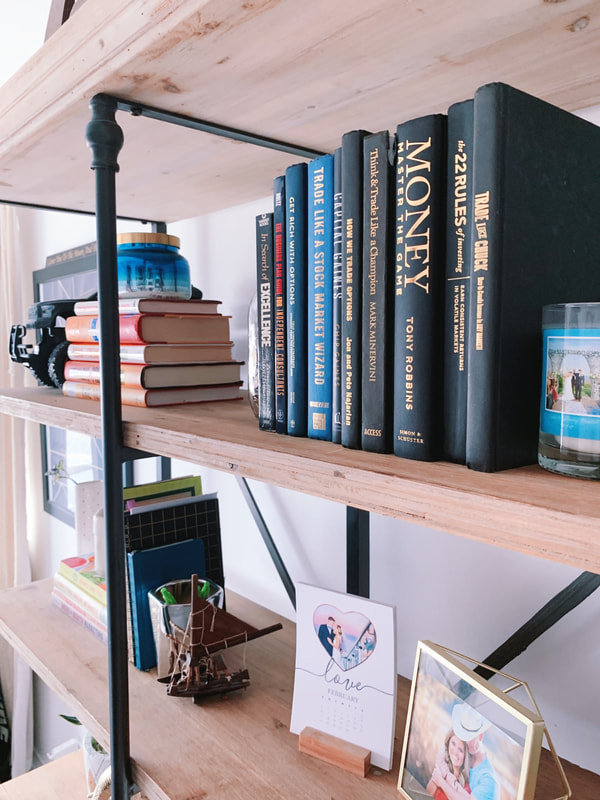
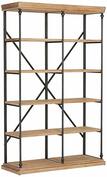
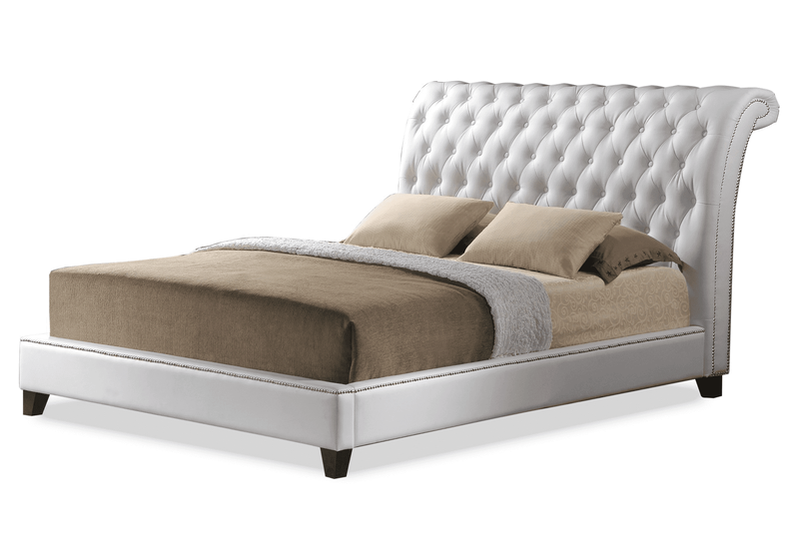
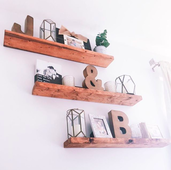
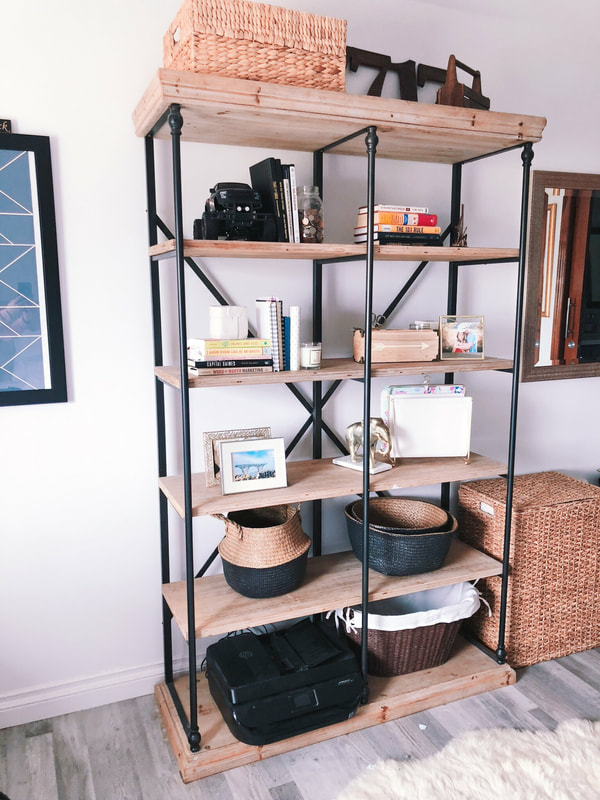 This post has honestly been a long time coming! And the reason for that is the foundational mission of Beyond the Clock which is to style with time. I have had a vision for our master bedroom for probably almost 3 years. It took savings and slowly moving things around, upgrading furniture pieces and styling with the perfect details that I gathered throughout the years. I know a lot of you followed along the way as I put these together and now is the big reveal of the full master bedroom transformation! The thing is, as much as we would all love to click our heels together and transform a room instantly, one of the best things about styling a room is seeing how things come together. It helps both on a budget perspective, but also as an organic way for things to fit together and evolve as your day to day changes as well. When I first began getting inspiration for the room, we had an office. Shortly into starting the room, we changed that into a guest room and had to find a place for some of the office furniture. With a bit of rearranging, we brought the bookshelf into our room since we don’t really watch TV there and then moved the TV stand to the living room. It ended up being a great way to refresh all 3 rooms and make good use of the space for how we were using it. So here is the big reveal, all items and DIY upgraded projects linked. My curtains and rug are family heirlooms but I linked similar ones for you guys. Thank you for stopping by the blog today! Hope you all have a wonderful weekend. Make sure to CLICK HERE and subscribe so you never miss a post or giveaway! UPDATED: Style with Time - Bedroom, the complete guide for styling a room overtime to fit your style and budget.
P.S. Don't miss out on bonus tips and content by subscribing to the newsletter. CLICK HERE to learn more.
2 Comments
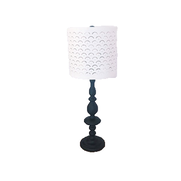
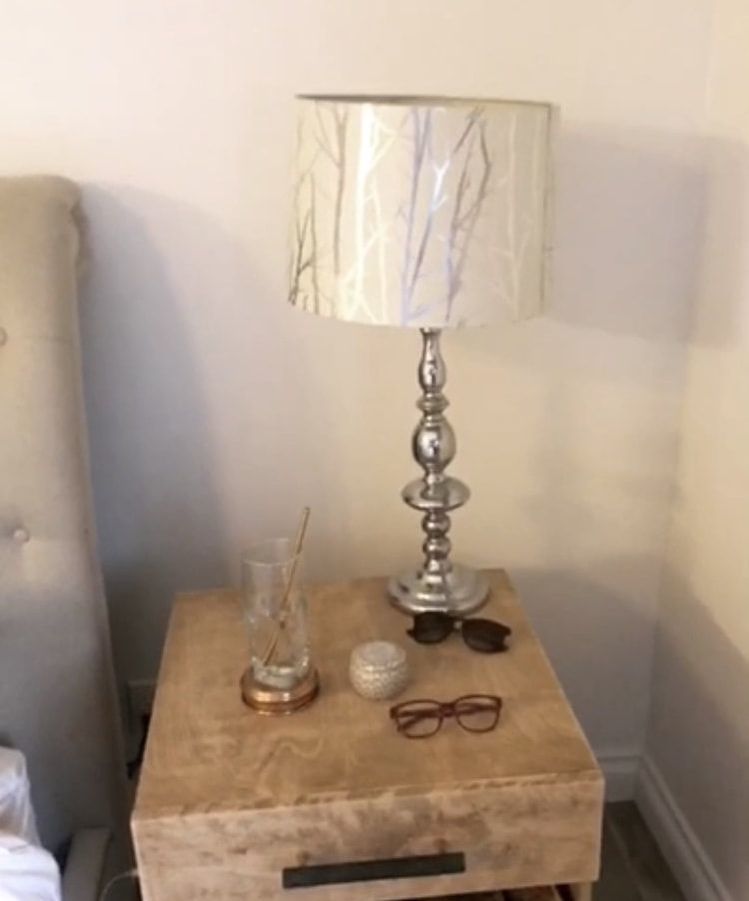
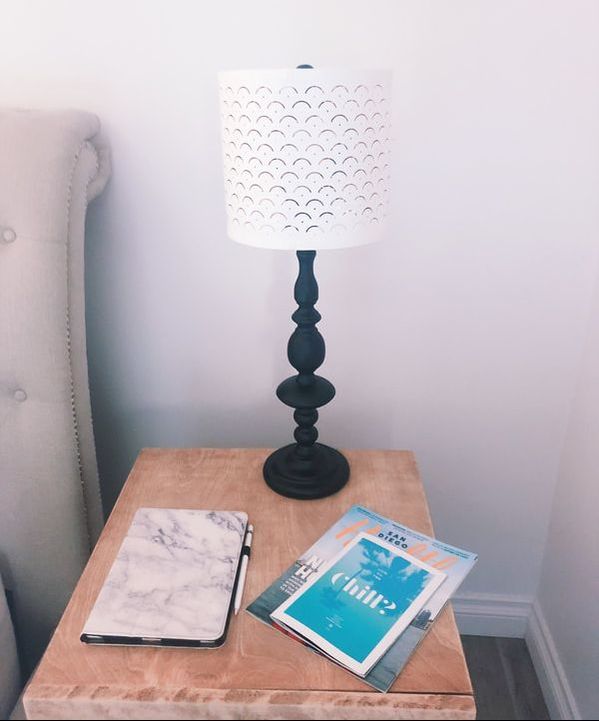
6/12/2018 0 Comments DIY Table Lamp UpgradeThis post contains affiliate links. See affiliate disclaimer here.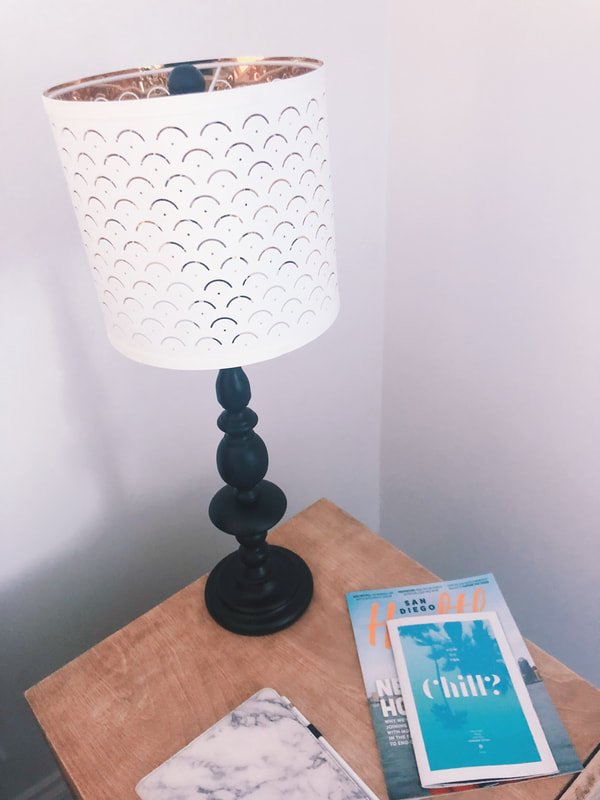 
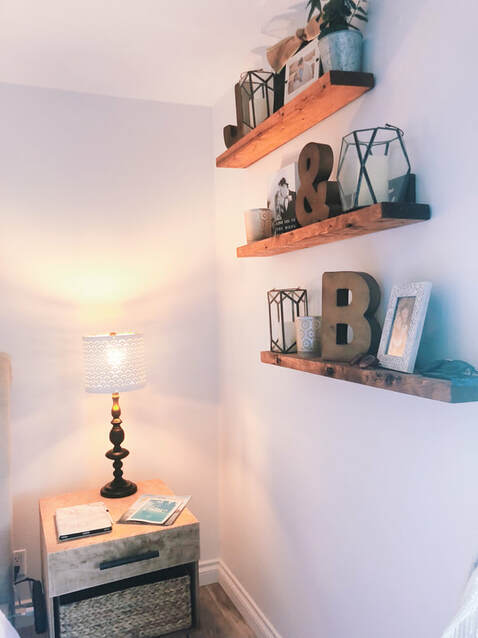
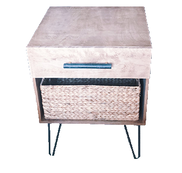
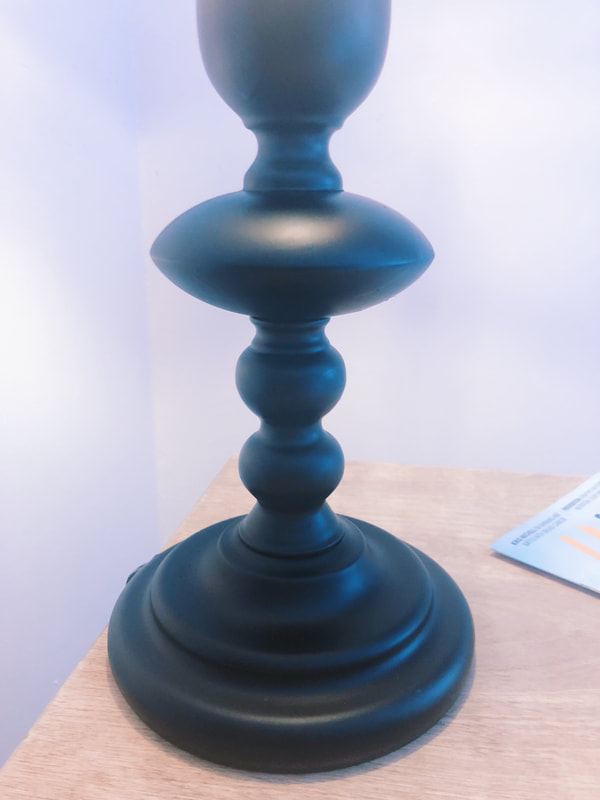 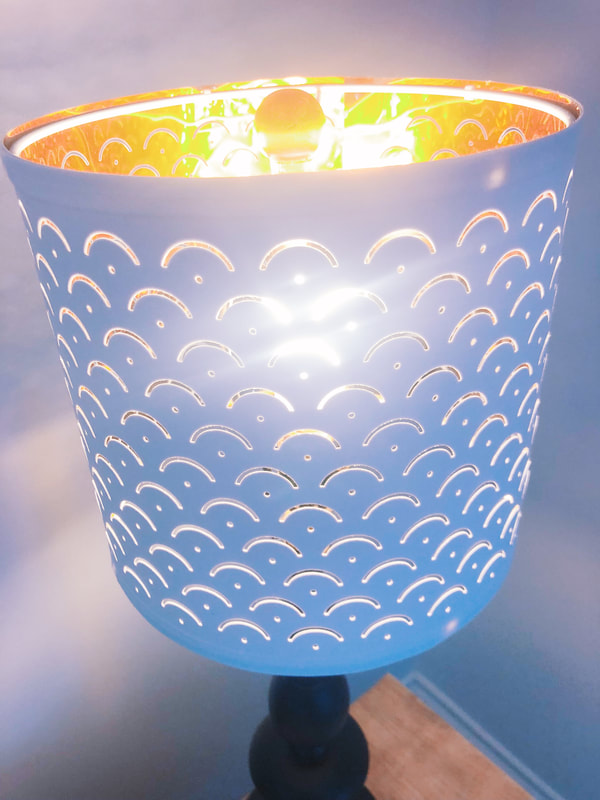 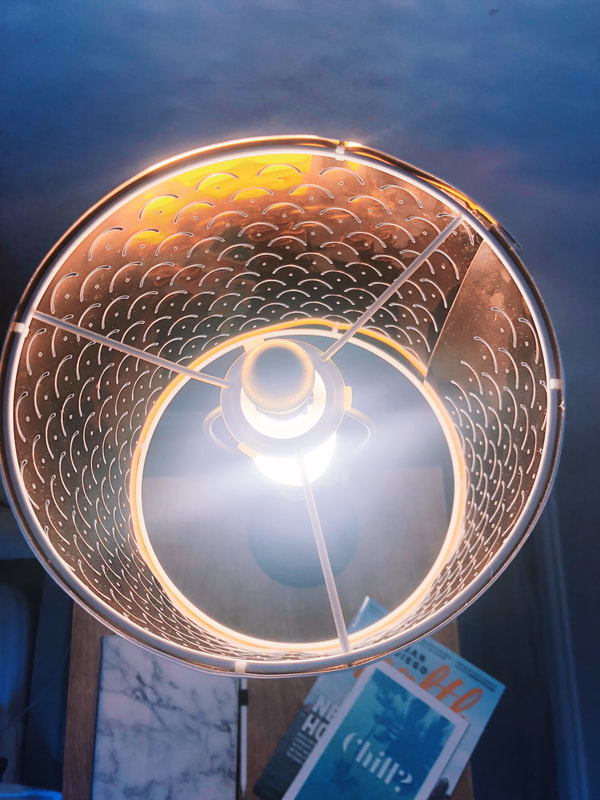 For those of you who have been following along my master bedroom upgrade, you know that I've been looking for creative ways to refresh the space (see the DIY night stands here). Just like with the night stands, I had been looking for a while to find some lamps that combined the industrial and airy modern look to go with the rest of the room. Sadly, once again I was coming up either empty or looking to spend $350 per lamp. The pair that I fell in love with was on sale over Easter weekend and I was ready to go on a big purchase when my dad talked some sense into me and said, "you DIY tons of things anyways, why not just DIY to upgrade the lamps you already have". I started brainstorming immediately that if I found the perfect shade, I could repaint the stand and add a contraption so that the switch was much easier to use. That's what led to this project and I have to say it was super quick and easy to do and cost less than $50. See the step by step below and check out the video tutorial here. Supplies
Stand
Shade and Electrical
If you have any lamps needing a refresh, send a picture to [email protected] and I'll help source the perfect upgrades. Have a great Tuesday! xoxo,Jessica
|
Archives
October 2019
CategoriesAll Accent Pieces Action Planner Basket Baskets Bathroom Bedroom Branch Floral Arrangements Bud Vase Candles Cherry Blossoms Curtains Cylinder Vase Decor Accents DIY Door Mat Family Flare Vase Floral Notebook Floral Water Bottle Flowers Flower Wreath Flower Wreaths Furniture Gifts Greenery Guest Room Home Home Decor Indoor Plants Jeans Living Room Mirrors Narrow Neck Vase Nightstand Outdoor Living Pastels Personal Development Productiity Rugs Seat Cushions Shelf Decor Shower Sneakers Spring Spring Decor Spring Ideas Storage Ideas Style With Time Styling Tips Sunglasses Table Lamp Throw Blanket Vase Vases |


 RSS Feed
