Outdoor space and balcony refresh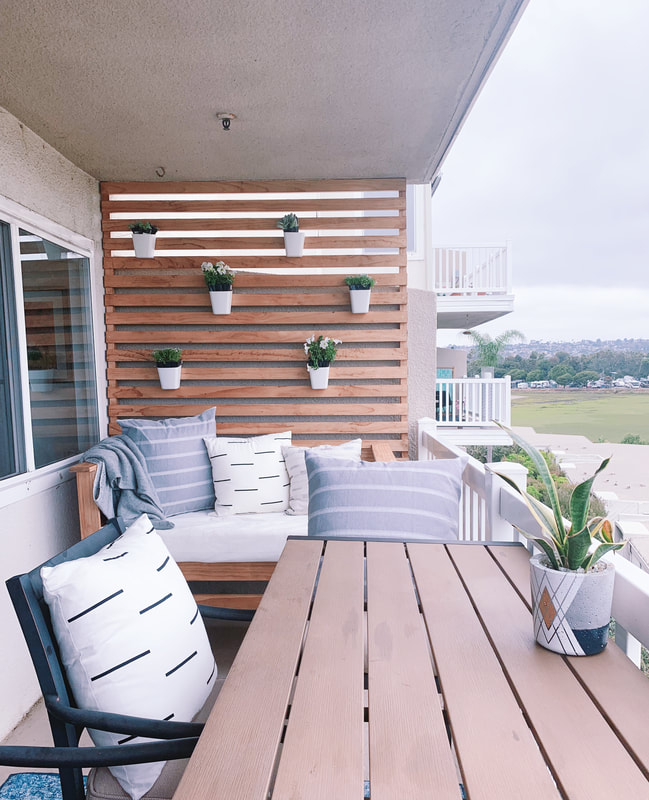 The balcony refresh is here! From planning to the glider swing to the now fully finished privacy wall/trellis, I'm beyond excited about how it turned out. In the last couple weeks, I have spent more time on the balcony than ever before and love cherishing how all the elements came together. I still can't even pick my favorite part. I knew that one of the things about the balcony that I wanted to change was the privacy wall from the building. It's made out of concrete and stucco so there really isn't anything you can add to it. I also really didn't like the slanted piece, #allaboutsymmetry. So I decided to take a stab at this DIY Free-standing wall/trellis in order to create the cozy space I was going for. Honestly, the most difficult part of this was figuring out how to make the base strong enough to be freestanding and after about 2-3 tries, these planters were the perfect solution and I'm super excited about the boxwood I planted to grow and create an awesome framing around the glider chair. Ok so here it is. the quick and easy DIY. (Ok quick is about 2 days quick and easy is easy to build but you will definitely more than one person to move it around to it's final destination, it gets a little heavy) SUPPLIES:
WOOD: Quick note: Common terms for wood sizes is full inches, but the actual size is to the quarter or half inch so you'll see that in the images below, but stores will label it to the closes whole rounded number
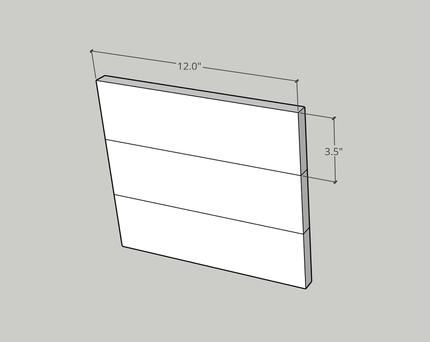
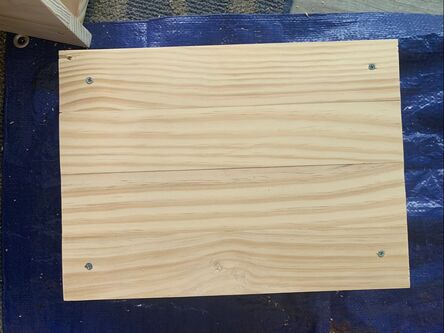
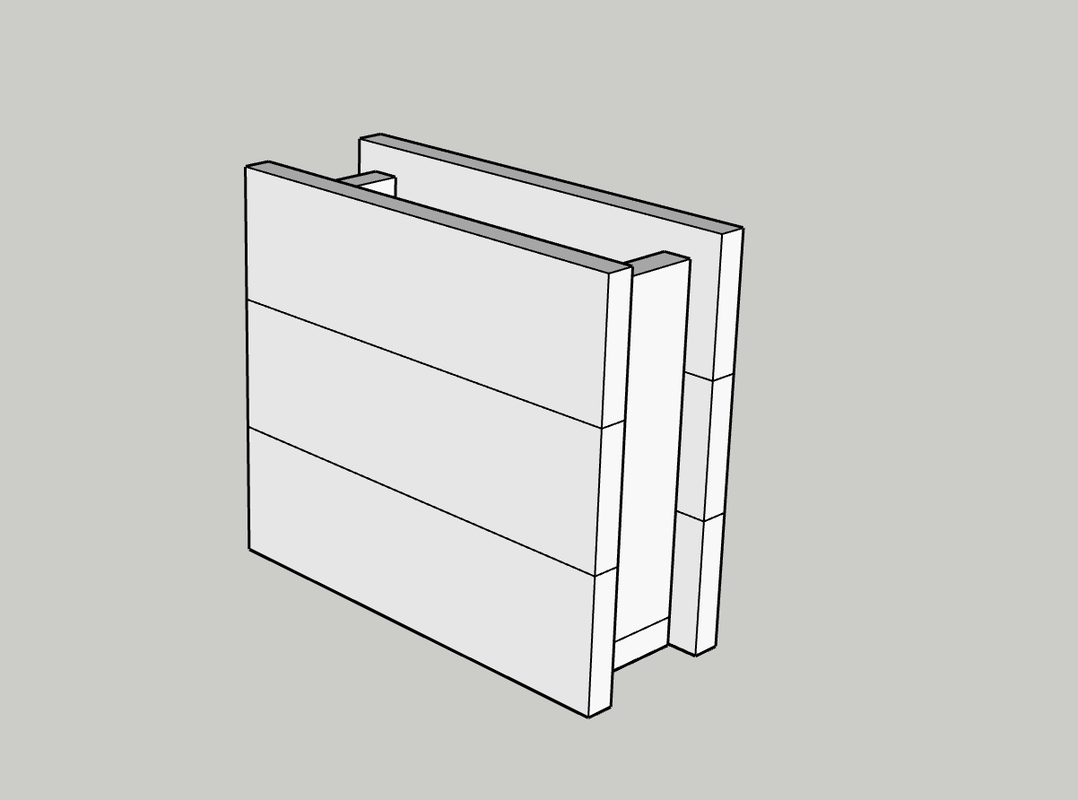
PLANS & INSTRUCTIONS: For this project you will need a bit of space (it is a wall after all ;-)) I was still able to do it in the living room of our apartment by clearing some space. Then start by measuring and cutting your 2" x 2" pillars to the height of the space you will be building in. I had to trim mine just a couple of inches. Next, lay them out the distance of your wooden slats. Next up, trim the 1" x 3" slats to the width of your space. I trimmed mine to 5 feet, 5 inches. Now it's time to put it together! Use the 1/8" drill bit to make holes in the center of the 1" x 3" slat lined up on the edges with the 2" x 2" pillars. Then use the #6 1-1/2" wood screws to tighten the wood into place. It's important to use the drill bit to create a hole for the screw to go in so that you don't split the wood when you drill down (I've done this plenty of times in the past trying to take the lazy route). 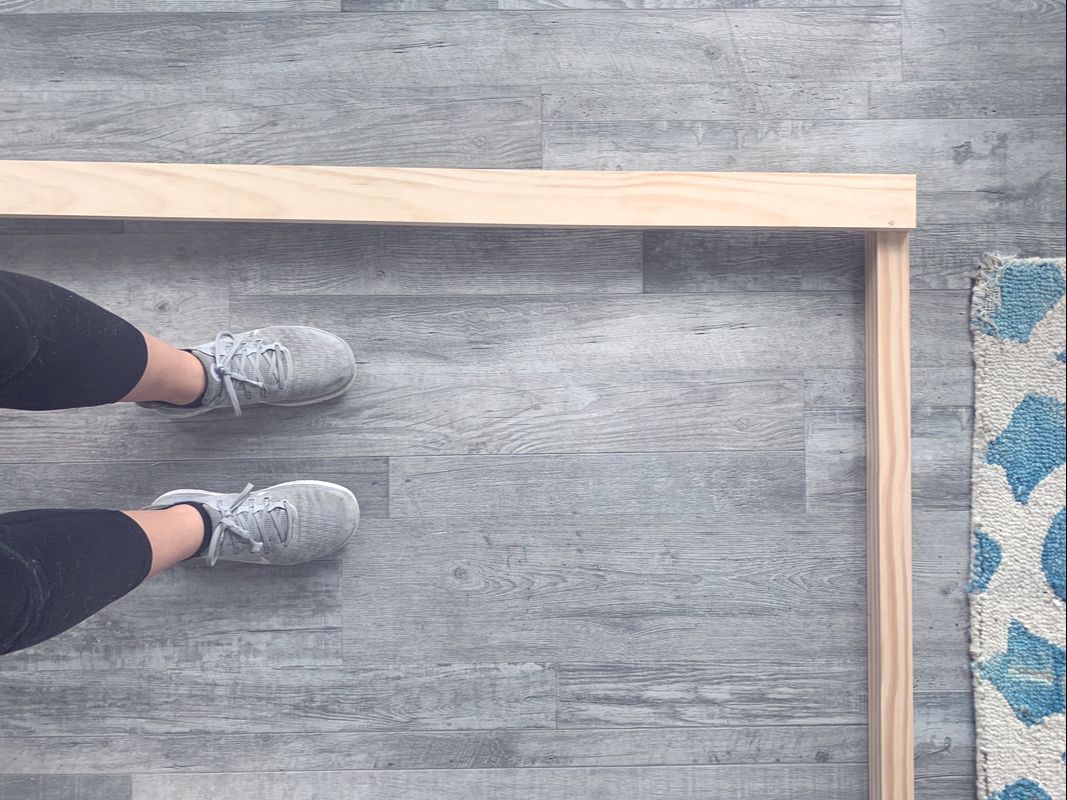 Then, continue this step with all 20 slats. **Quick Tip** In order to keep the spacing between the slats even, buy an extra 2" x 2" and use it as a spacer. Wedge it between the screwed in piece and the new piece, then screw the new piece down and then remove and move to the next slat. It takes out all the measuring and leveling and is a total time saver! 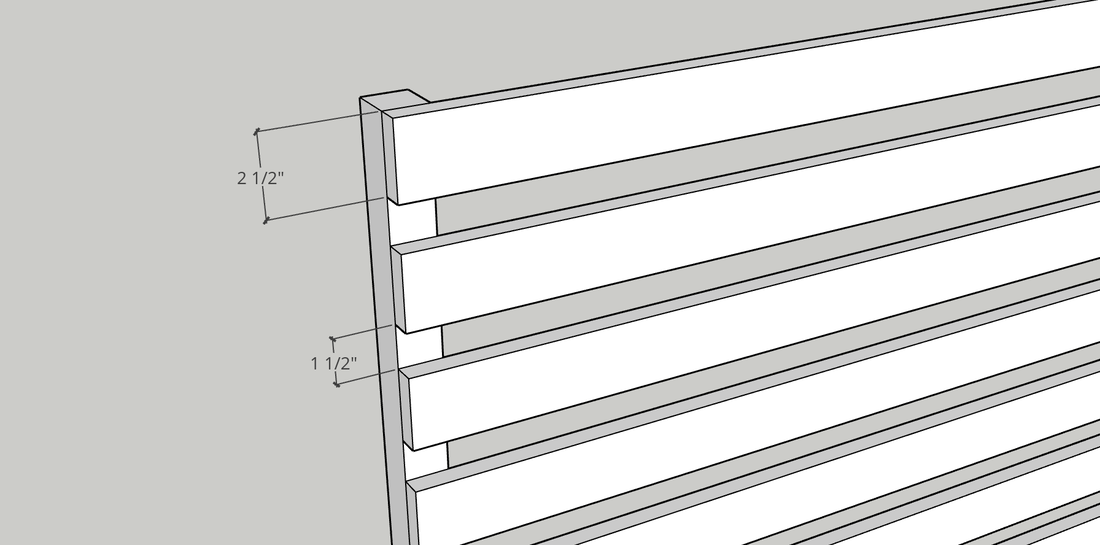 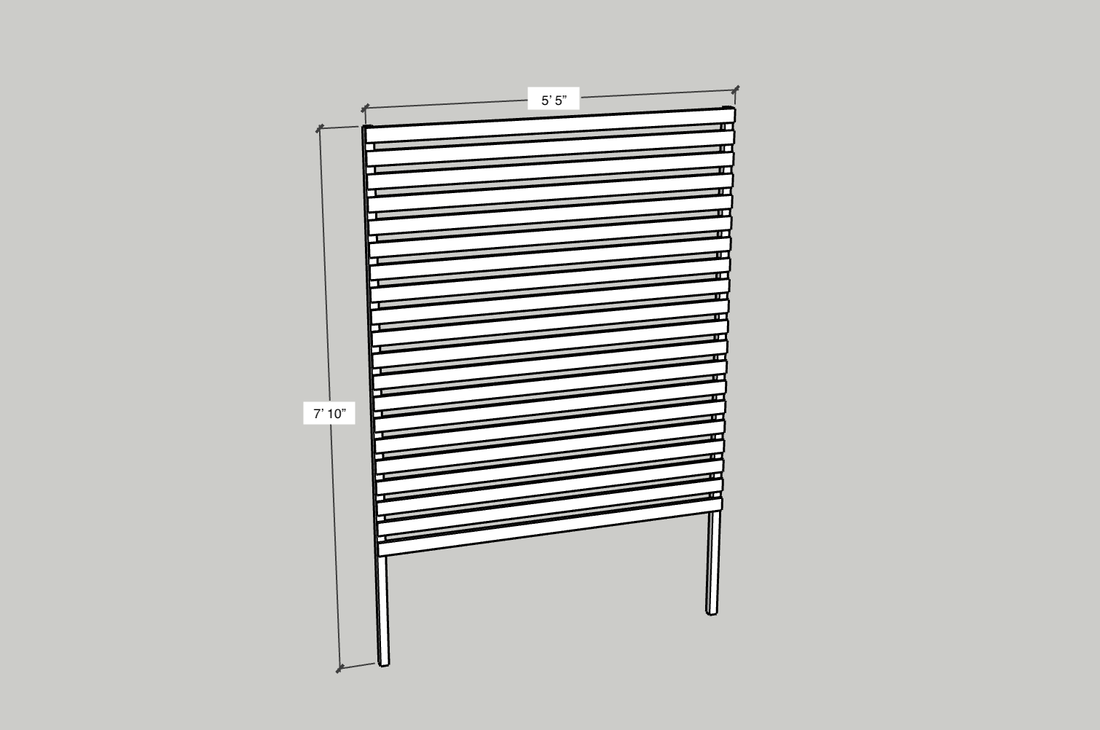 Next up is the planter base, you could totally make these without the wall and they are a great way to add wood texture to any outdoor space. There aren't normally a lot of wood planter options so I was so excited with how these turned out and because of the wood glue, they sealed really well! First cut the 1" x 4" pieces into the following: 12 x 12" pieces 2 x 10.5" pieces 4 x 9" pieces For each planter, take 2 of the 9" pieces and 1 x 10.5" piece to build the base and sides. Apply wood glue to the inside edge of the 12" piece. 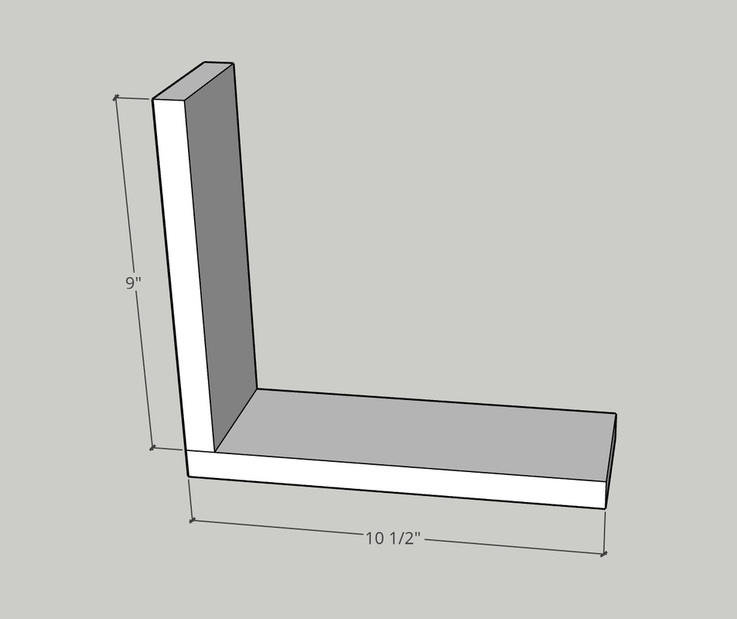 Next take 3 of the 12" pieces and use the wood glue to seal them edge to edge. Make sure to wipe up the excess glue right away so that it doesn't ruin your stain later.
Let the glue sit for 20-30 minutes before moving onto the next step. It takes a bit of time, but is so worth it so you don't nudge things around when joining them together. Once all the glue is dry, apply the face edge to the side edge with a 3/4" overlap on each side. Use the wood glue and let sit for 20 min and then come back and add 4 #6 1-1/3" screws to the corners for extra stability. (You probably don't need the screws, but I wanted to be sure they would stay together once I added the sand and soil.) 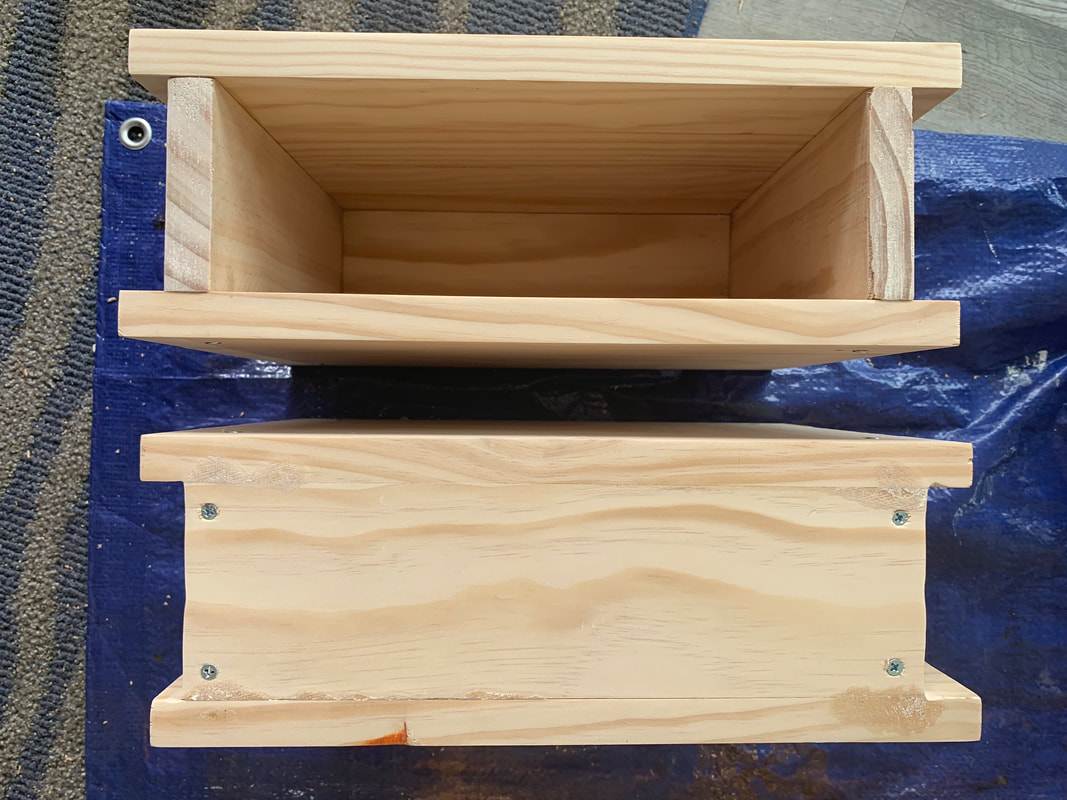
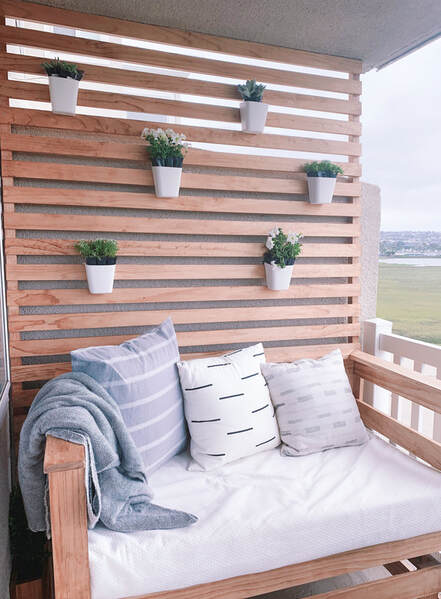
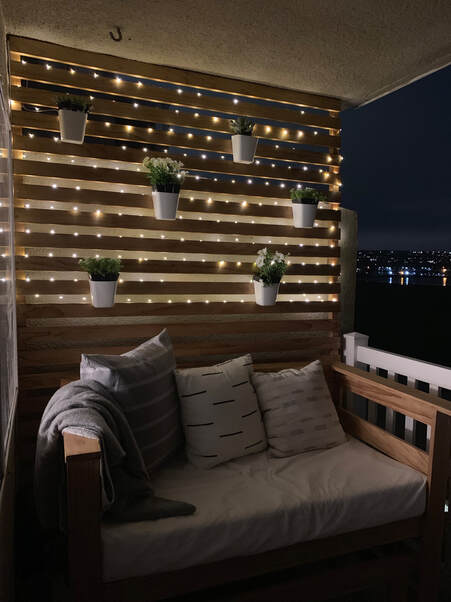
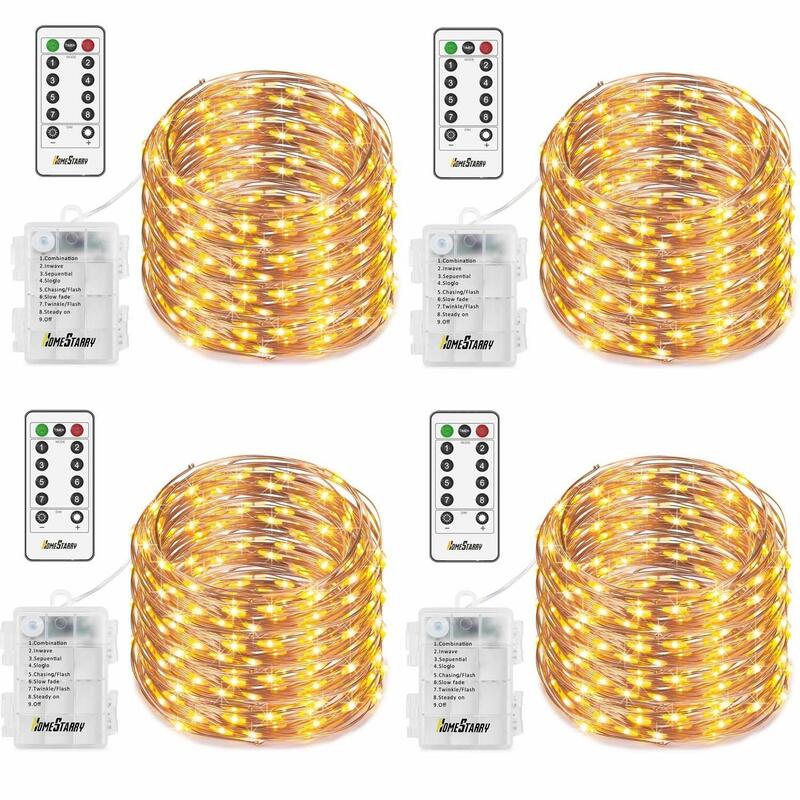
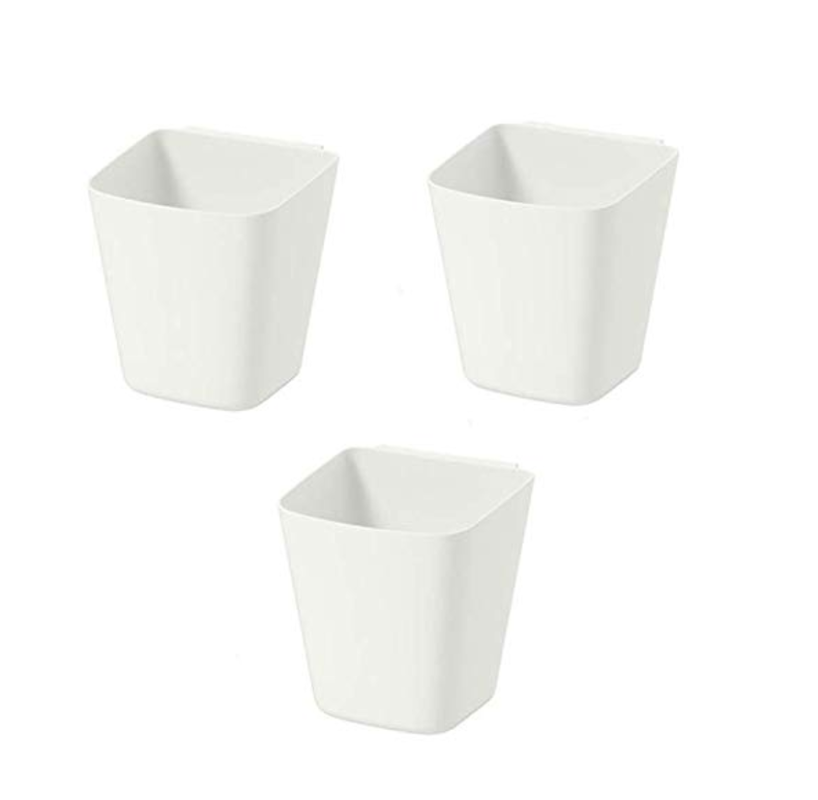
Lastly, use the sander to sand down and smooth off any of the places you want. I just sanded the planters and left the trellis wall, but you can do all of it or none and it should work well. Apply the wood stain wood stain - You can use a deck stain that is waterproof, I decided to use a finishing stain (Golden Oak) followed by a clear sealant so that it matched the glider bench I had built a couple weeks before. Once that all dries, it's time for the finishing touches. First, I had my husband help me move the all into place and we put it in the planters while they were empty so they could be as deep in them as possible. Then, I used sand as a weight to fill the planters about halfway. Lastly, I added the soil and plants to bring it to life. The final pieces on the slats were these amazing remote controlled fairly lights and these planters from ikea. They are actually for office organization, but I added these planter liners to it so that the flowers had a place to drain the water. I put the battery packs for the lights in ziplock backs and then hid them at the bottom of the planter while using tape to hold the lights in place. Here is the final transformation:
 Shop the Post
Thank you guys so much for following along and being a part of these DIY projects. I love sharing with you and getting your feedback along the way. Make sure to click here so you never miss a post or giveaway! (I promise, no spam and only the good stuff) and be sure to tag @beyondtheclock_ on instagram when you complete yours. I can't wait to see it! xoxo,
|
Archives
October 2019
CategoriesAll Accent Pieces Action Planner Basket Baskets Bathroom Bedroom Branch Floral Arrangements Bud Vase Candles Cherry Blossoms Curtains Cylinder Vase Decor Accents DIY Door Mat Family Flare Vase Floral Notebook Floral Water Bottle Flowers Flower Wreath Flower Wreaths Furniture Gifts Greenery Guest Room Home Home Decor Indoor Plants Jeans Living Room Mirrors Narrow Neck Vase Nightstand Outdoor Living Pastels Personal Development Productiity Rugs Seat Cushions Shelf Decor Shower Sneakers Spring Spring Decor Spring Ideas Storage Ideas Style With Time Styling Tips Sunglasses Table Lamp Throw Blanket Vase Vases |

 RSS Feed
