|
4/16/2018 0 Comments DIY Shadow Box and Trip TychHow to make wall art that stands out in any room. 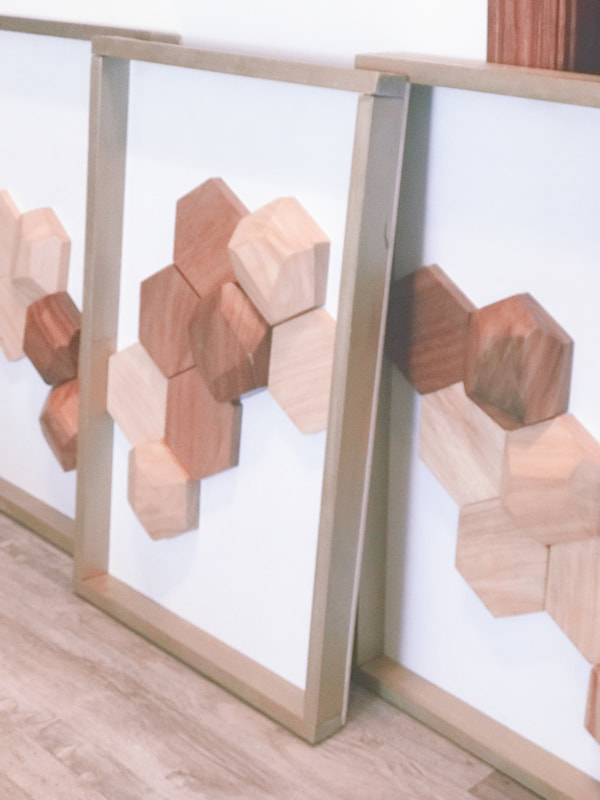
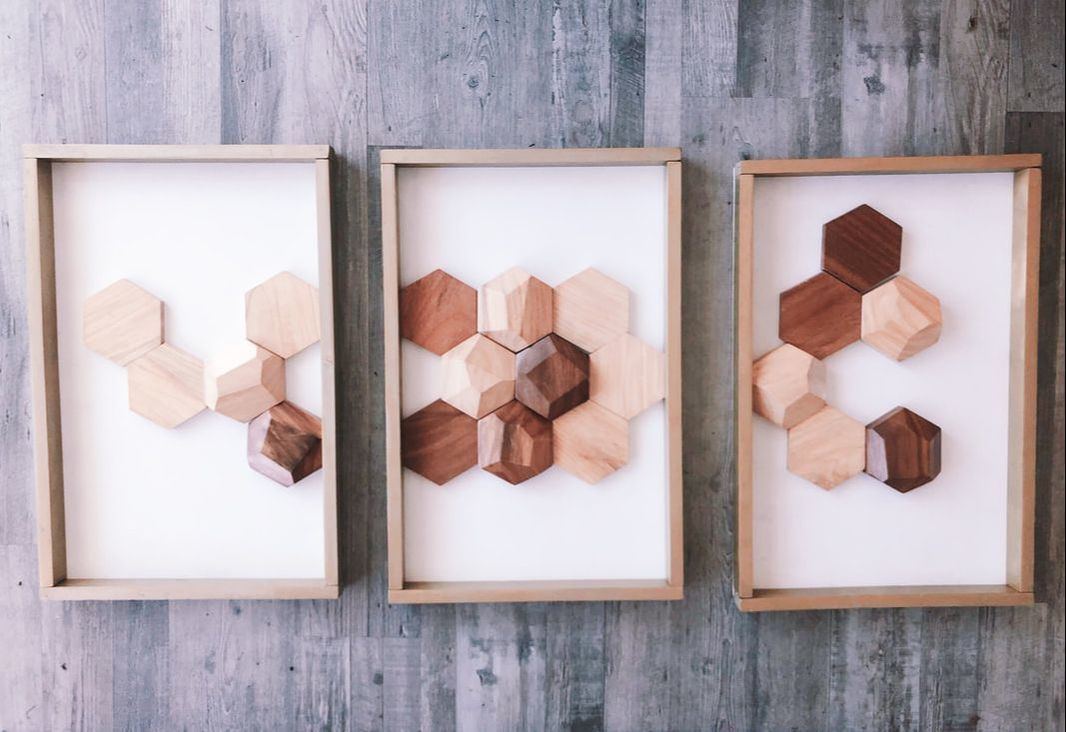
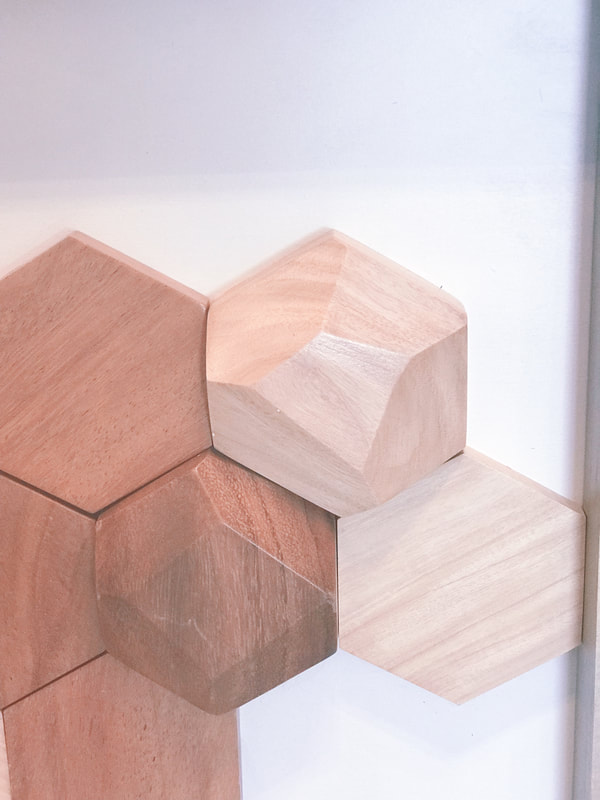
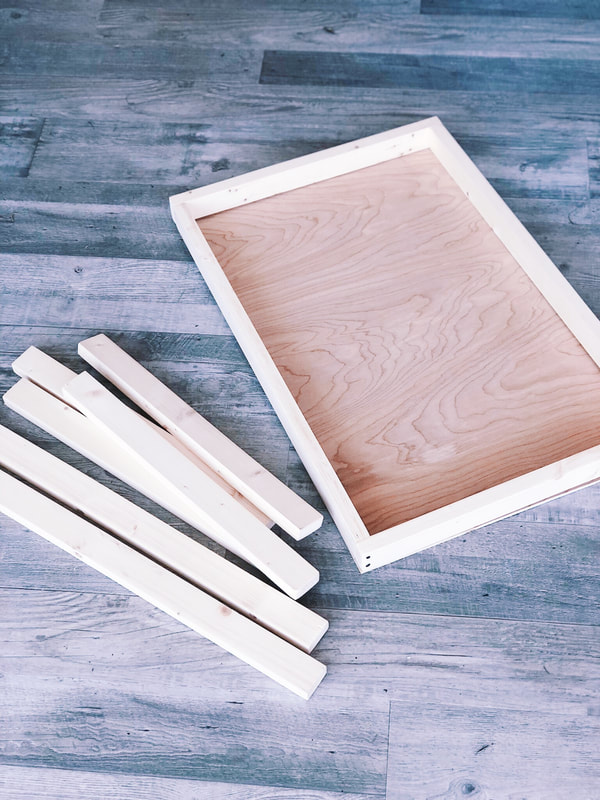
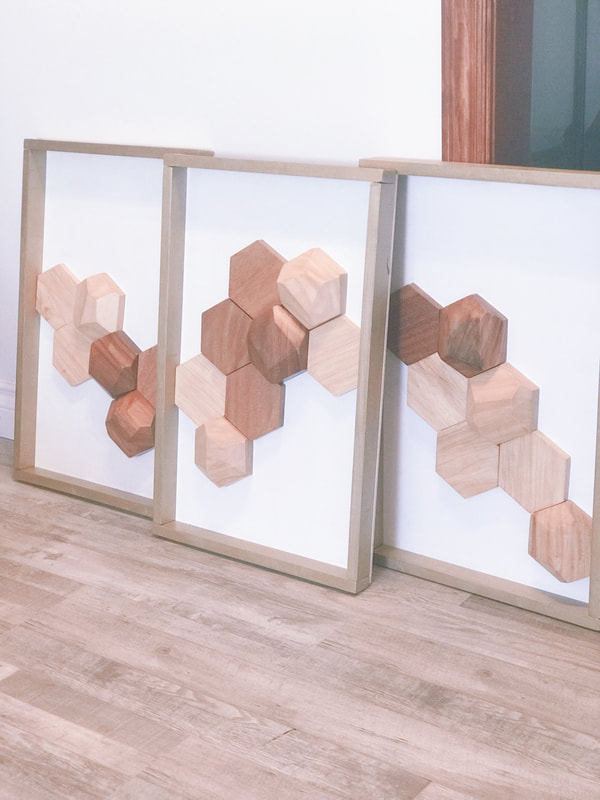
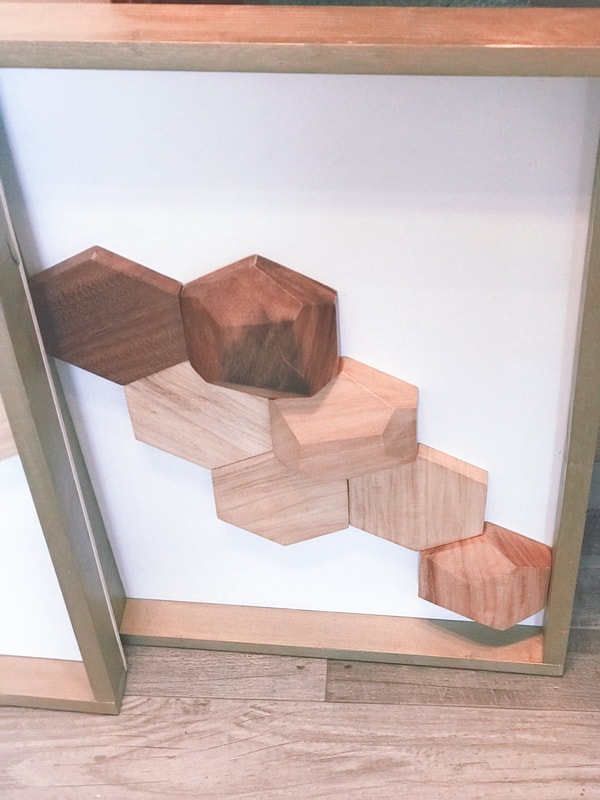
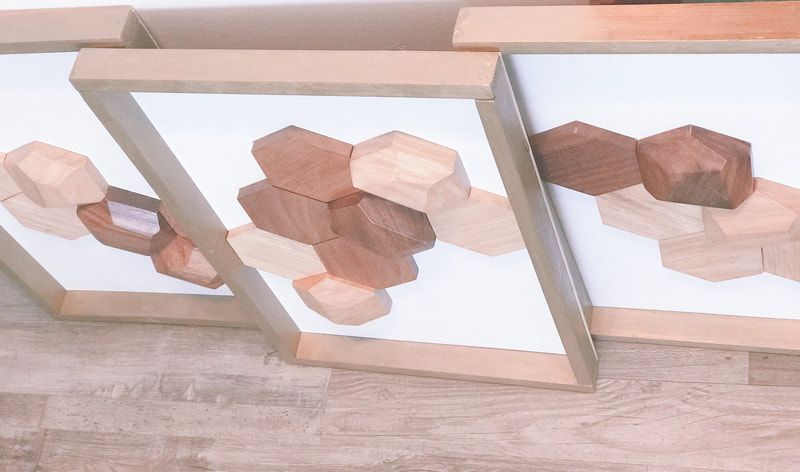 I've been looking for the perfect piece of art to go above my headboard. Something that is unique, gives flow to the room and has a sense of timelessness. After coming across these hexagon tiles for another project, I knew that I wanted to incorporate them with the subtle geometric patterned theme I had started in my bedroom. My idea to create a trip tych with shadow boxes was quickly deterred when a trip to Michael's had me squirming for $60-$100 a frame for the size range I was looking at. I quickly realized that I could build a glassless shadow box that would not only make it a lighter art piece for the wall, but also much lighter on my wallet :-). Plus, I got to customize the frames with my own paint choices. So whether you are going to paint a mural or add some unique 3D objects, give this framing technique a try. Supplies: Steps:1. Draw Your Plan Thinking through your plan before heading to the hardware store saves you many trips back and forth. I suggest thinking through the dimensions and make sure you take into account overlapping measurements and joining points. 2. Let Home Depot Do the Hard Part You can absolutely always measure and saw your pieces yourself, however, if you already have the measurements, I've found that Home Depot is always super helpful and will cut the various pieces I need. 3. Sand the pieces To help with a smooth finish on the paint, give each piece a light sanding so that it is smooth to the touch. I just did a couple seconds per side at 80 grit paper/ 4. Hammer the frame For this one, it is MUCH easier if you can get a partner to help hold the boards in place as you hammer. This will create a cleaner join as well as keep things in line. If you want to switch this up and do a more traditional 45 degree joiner, you can saw the pieces at 45 degrees instead and skip this part, going straight to the next step. 5. Paint You can use spray paint or hand paint, just pick your favorite colors and let it roll. I did 3 coats to get the finish I was looking for. 6. Attach the backboard I used underlayment for this step, but you could just as easily use a cork or canvas backing depending on your project. Just line up your frame pieces with the backboard and then hammer around the edges. I used just 2-3 nails per edge and it had .a really sturdy hold. 7. Glue your dimensional pieces Using some clear gorilla glue, I glued the pieces and let dry for just .a few hours. That's it! Just six super easy steps and Home Depot even did one for you! I loved how simple this project was but how much of a "wow factor" impact it leaves in the room. Can't wait to see what your canvases get filled with! Feel free to share in the comments below. xoxo, |
Archives
October 2019
CategoriesAll Accent Pieces Action Planner Basket Baskets Bathroom Bedroom Branch Floral Arrangements Bud Vase Candles Cherry Blossoms Curtains Cylinder Vase Decor Accents DIY Door Mat Family Flare Vase Floral Notebook Floral Water Bottle Flowers Flower Wreath Flower Wreaths Furniture Gifts Greenery Guest Room Home Home Decor Indoor Plants Jeans Living Room Mirrors Narrow Neck Vase Nightstand Outdoor Living Pastels Personal Development Productiity Rugs Seat Cushions Shelf Decor Shower Sneakers Spring Spring Decor Spring Ideas Storage Ideas Style With Time Styling Tips Sunglasses Table Lamp Throw Blanket Vase Vases |
 RSS Feed
