|
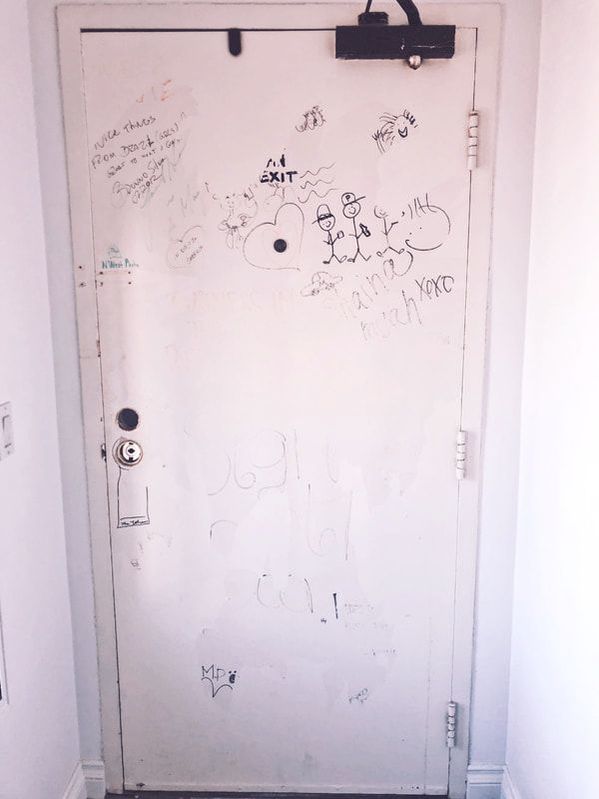
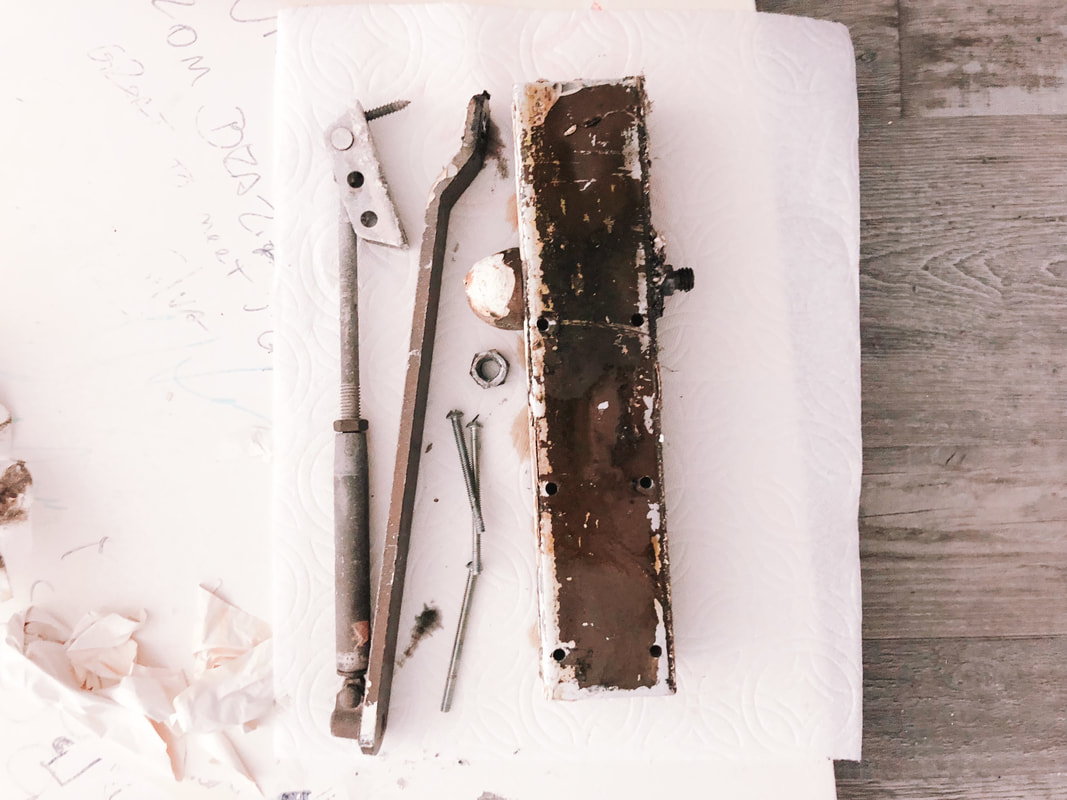
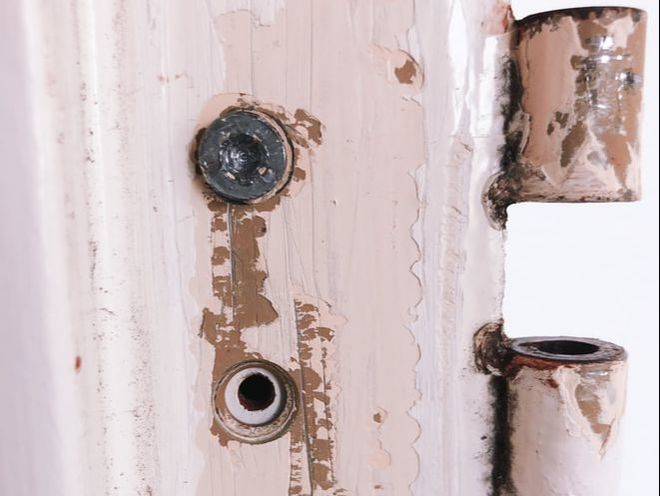
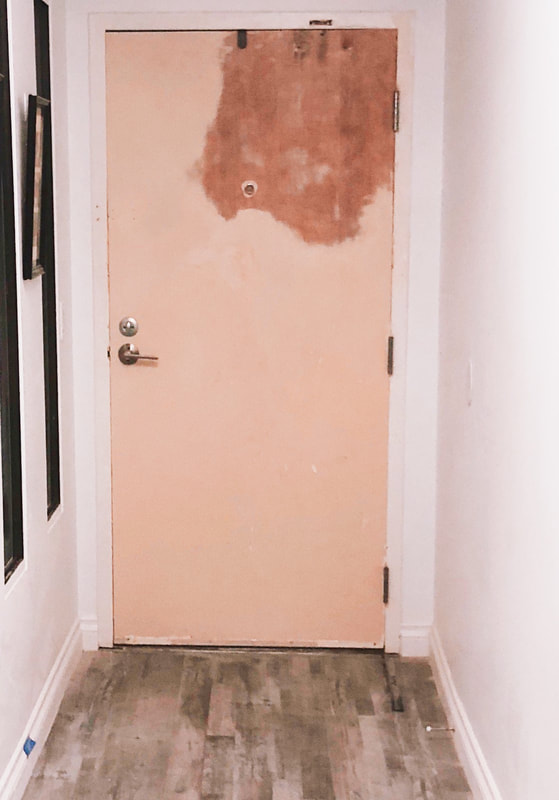
2/20/2018 0 Comments Turning Around a Door DisasterWhen we moved in about 4 years ago, the previous renters had decided to use their front door as a guest book. Although, I do think that is a pretty cute idea, it didn't really look that great nor did it mean anything to us. So we took the quickest and easiest solution and painted the door. Sadly, after about 3 years, the dark marker started bleeding though the paint as pink and yellow hues. Given my love for DIY, I saw the perfect opportunity for a transformation. The building is about 50 years old and everything was definitely original to the building. The hinges had been painted over at least 7 times, the screws were all stripped and the door closer was rusty and leaking oil. Tools Needed:
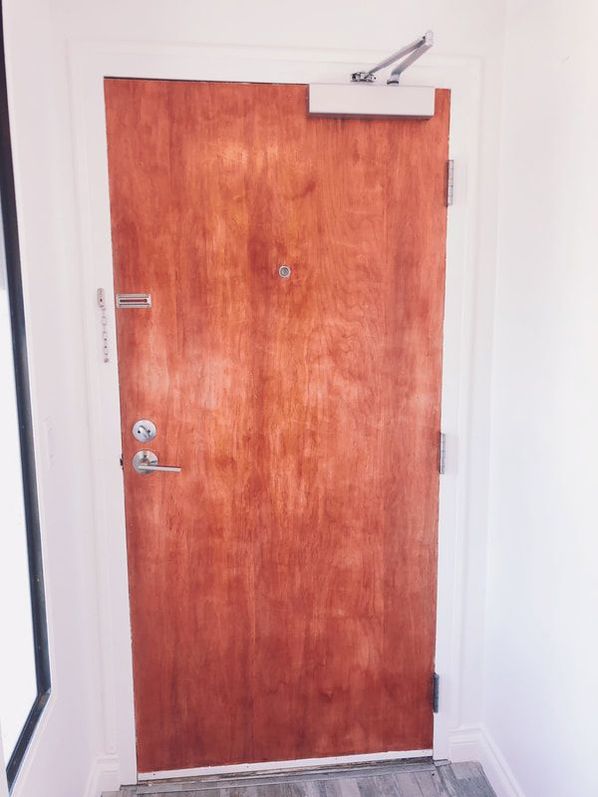
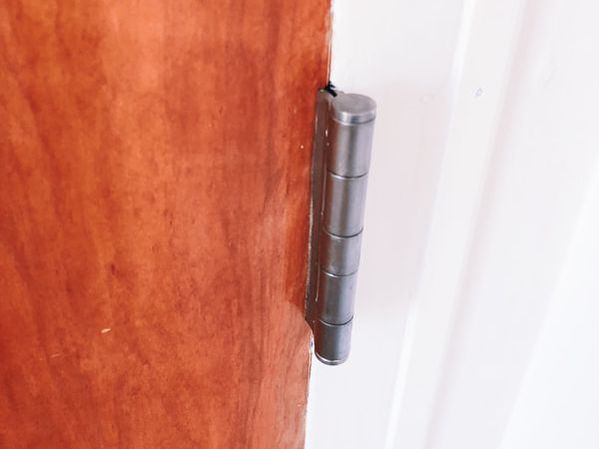
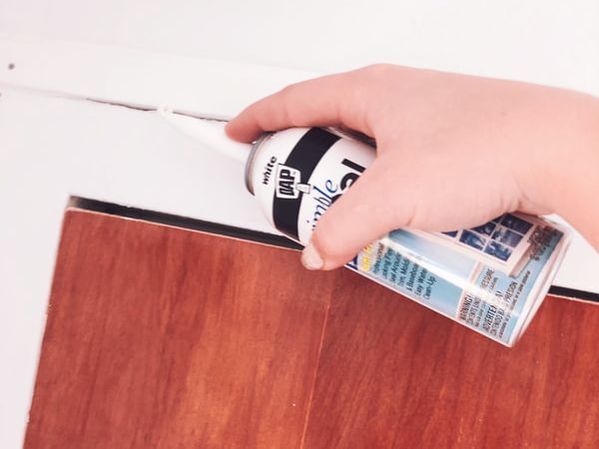
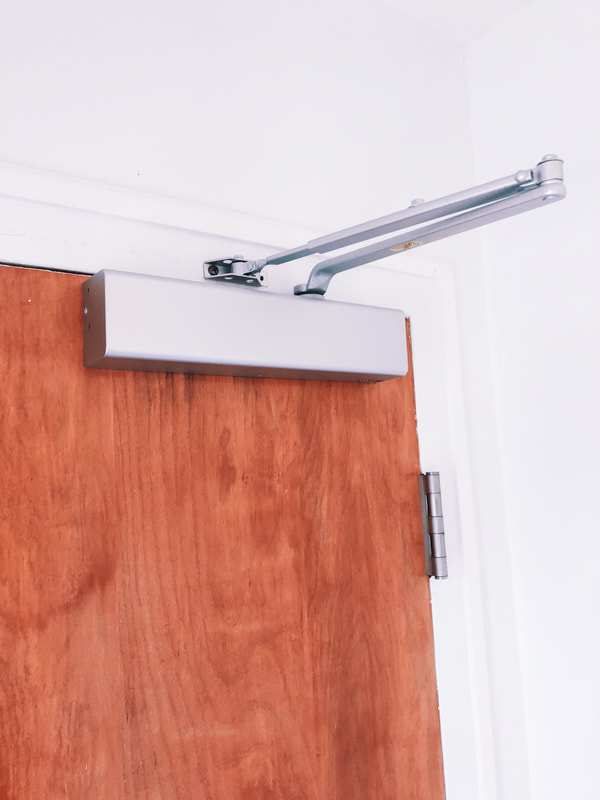
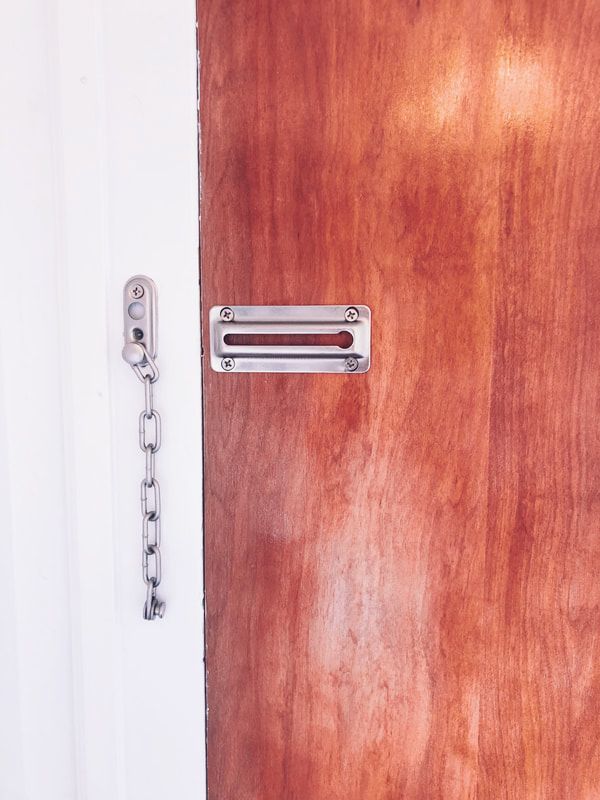
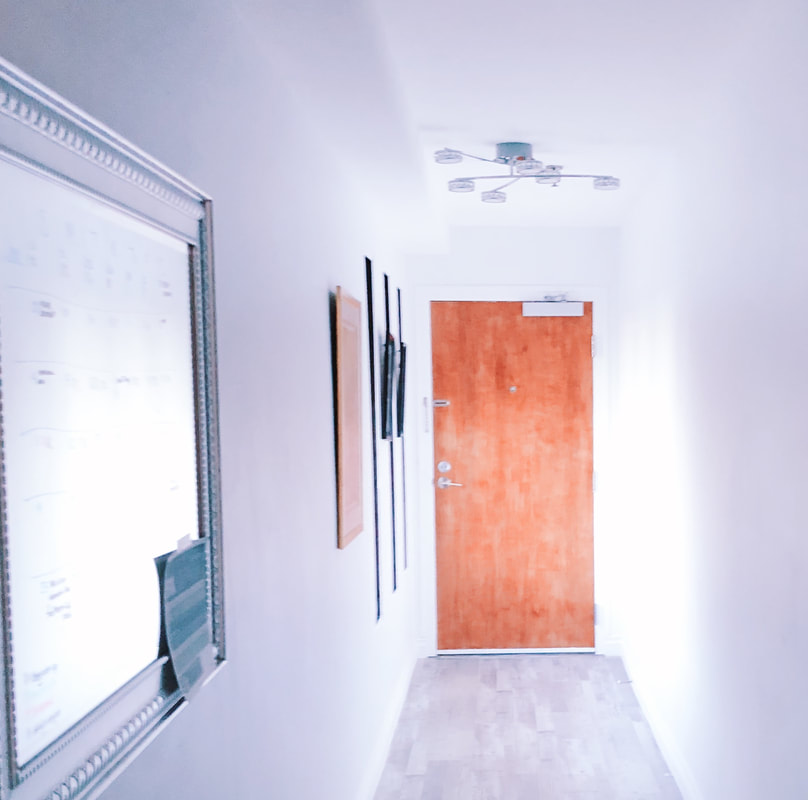
High Level Steps1. Remove the Door and Hardware We started with using the drill to remove all the hardware pieces. The old door closer, chain lock, handle and bold locks. Then we used the screw extractors and digging out the screws. My husband then helped me take down the door and lay it face down. 2. Sand Paint This is the part that took the longest. Since there were about 7 layers of paint it took quite a lot of patience to get to the beautiful wood layer that was underneath. I worked on this project over the course of a few weekends so this was a great shot of a midway point in the sanding process. 3. Replace Hinges Depending on the extent of damage to your door, you may not need new hinges. As you saw above, ours were rusty and covered in paint so a fresh set was definitely needed. We lined up the new hinges with the same holes on that the old ones had and drilled with a fresh set of screws. This part required two people, one to hold the door in place and the other to tighten the screws. 4. Stain the Door Make sure that before you stain the door, you take a damp rag over the entire surface area to ensure that all the little pieces are sawdust are removed. If you are using a stain with polyurethane it will make for an efficient stain giving the wood both color and a gloss finish, however, a rag isn't the best tool for applying something like this. You will want to get either a paint brush made for polyurethane or a foam brush like this one. I ended up doing 3 coats to get a nice even layer and robust color. 5. Measure and Cut Trim Using the miter box for this was amazing. I measured but laying the trim against the wall where I wanted to put it and drew a light pencil mark at the cut point. I then used the miter box's 45 degree angle to cut the pieces with the finishing angle. 6. Apply Trim Utilizing the finishing nails, I hammered at the top of the trim and applied additional nails every 2-3 feet to keep it secure. It looks great as is, however, there is a small gap between the door frame and the trim and that is where our handy dandy caulk comes in. I applied a light single layer to the gap and let it dry for about 2 hours. The last piece to the trim was the paint. I used the same paint color as the walls, but you could always add a contrasting color. I think a navy or black would really make the wood pop (something to add to my to-do list) 7. Add New Hardware The key here was just following the directions within the packaging. Adding the new door closer and lock give the perfect "accessories" to the newly stained wood. The Final ProductThis project was definitely a labor of love, especially because it was not done in one fell swoop. Instead, it was done over the course of a few weekend segments with the door going up and down. There were plenty of frustrating moments but I learned so much along the way and am so happy with the feature at the end of our hallway that we now have. Thanks for stopping by and being a part of the door journey on my instagram stories. See you all soon and looking forward to the next Beyond the Clock DIY. xoxo,Jessica
0 Comments
Leave a Reply. |
Archives
October 2019
CategoriesAll Accent Pieces Action Planner Basket Baskets Bathroom Bedroom Branch Floral Arrangements Bud Vase Candles Cherry Blossoms Curtains Cylinder Vase Decor Accents DIY Door Mat Family Flare Vase Floral Notebook Floral Water Bottle Flowers Flower Wreath Flower Wreaths Furniture Gifts Greenery Guest Room Home Home Decor Indoor Plants Jeans Living Room Mirrors Narrow Neck Vase Nightstand Outdoor Living Pastels Personal Development Productiity Rugs Seat Cushions Shelf Decor Shower Sneakers Spring Spring Decor Spring Ideas Storage Ideas Style With Time Styling Tips Sunglasses Table Lamp Throw Blanket Vase Vases |
 RSS Feed
