|
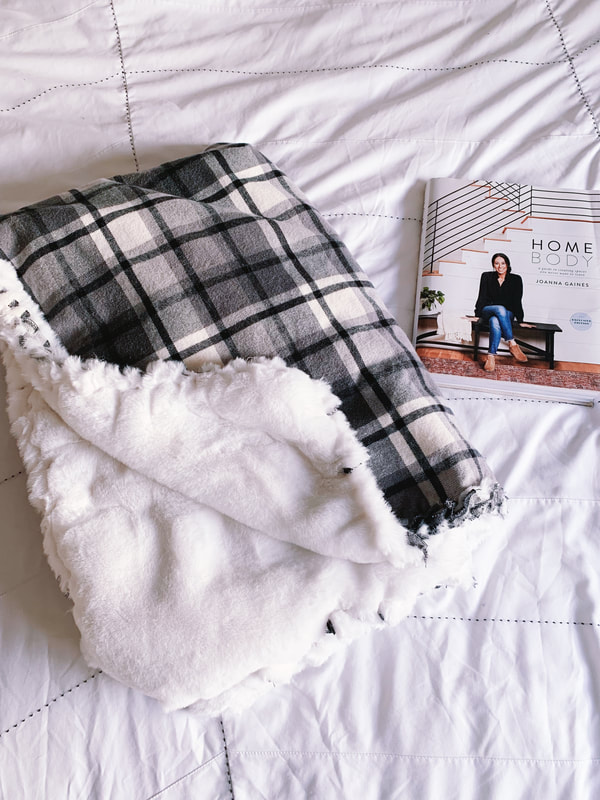
1/30/2019 3 Comments DIY No Sew Blanket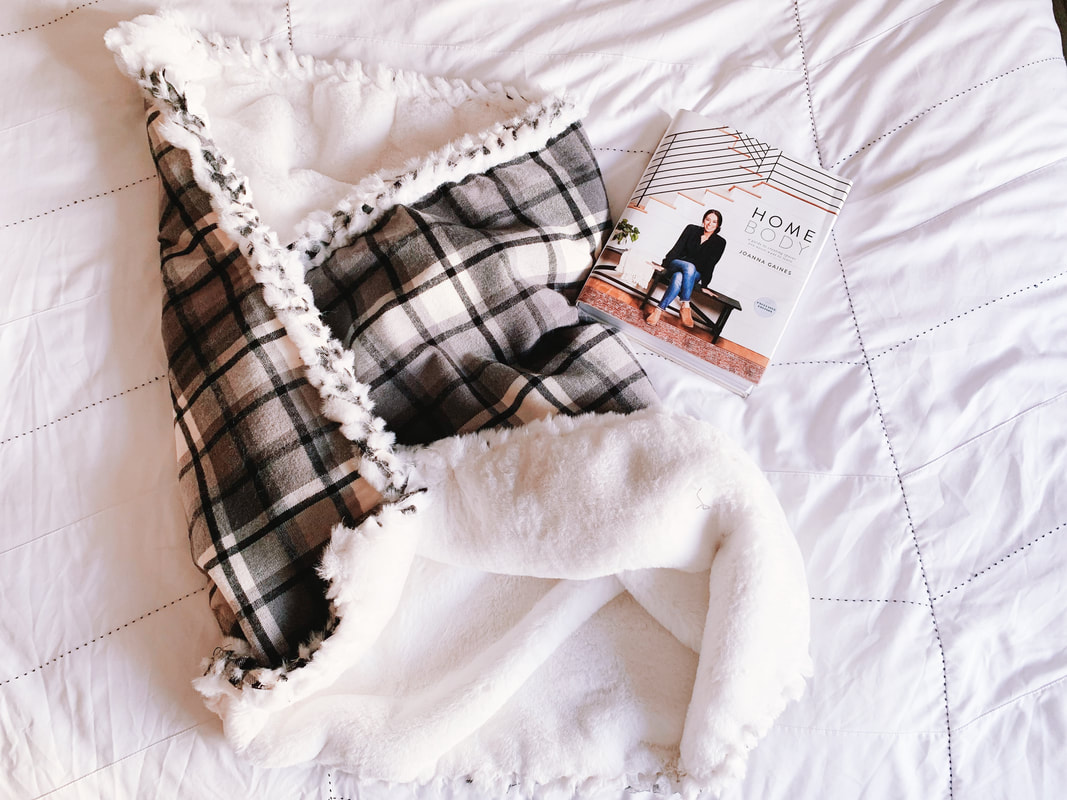
These last couple of weeks have been extra cold around here. I feel like I’ve been walking around the house like a marshmallow with all the layers of clothes and a permanent cape from the blanket that I drag from room to room. Brrr, I love wearing boots outside, but I’m also ready to start getting a tan back. A couple weeks ago, I talked about a great gift idea with a DIY blanket and today I have the full tutorial for you. Supplies
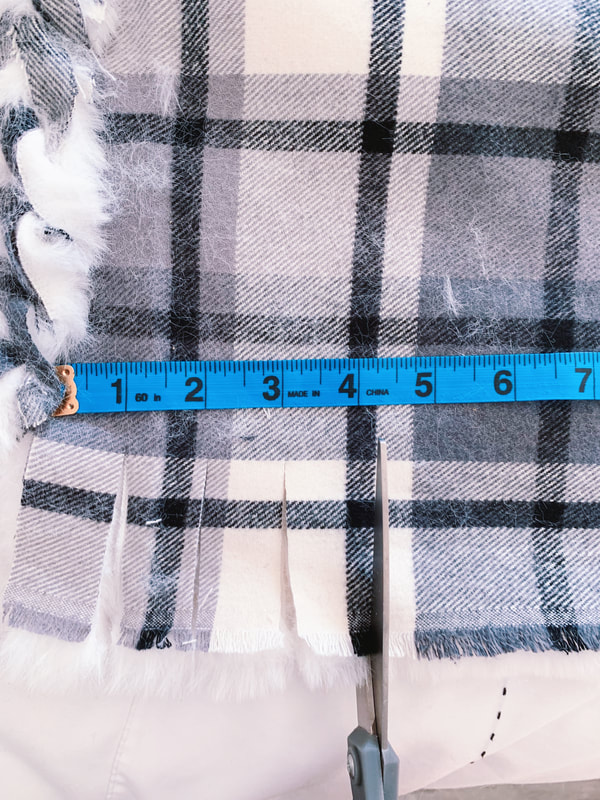
How To:1. Lay the first piece of fabric face down over a large surface. (My dining table isn’t big enough so I did it on the bed) You want the side of the fabric you want people to see facing down. 2. Line up the second piece of fabric face up, directly on top of your first piece of fabric. This time, you want the side of fabric that you want people to see facing up. 3. Trim the edges so that both pieces line up exactly. 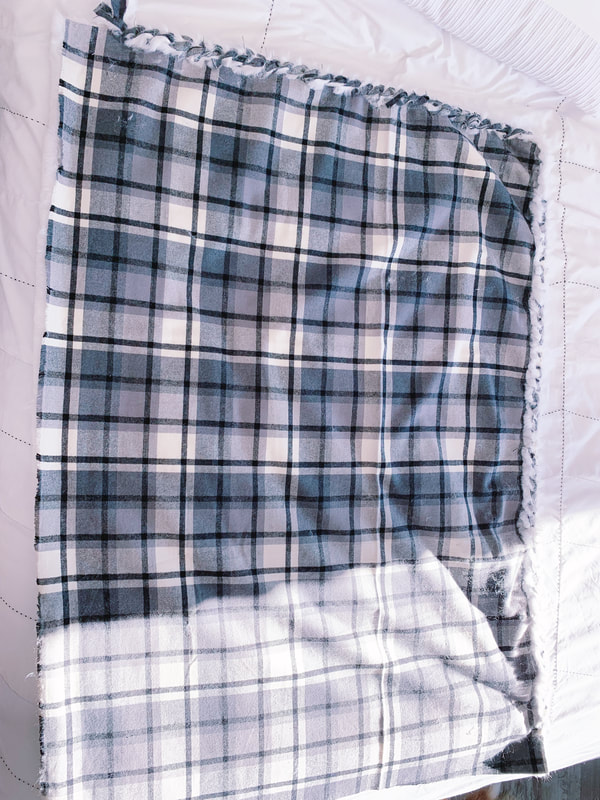 4. Start with one side and measure 2.5 inches in and make your first cut the 2.5 inches up into the fabric. 5. From the first cut measure 1.5 inches horizontally and then make your next 2.5 inch vertically. Keep going with the same pattern along each side. At each corner, you will cut a 2.5 by 2.5 inch square out.
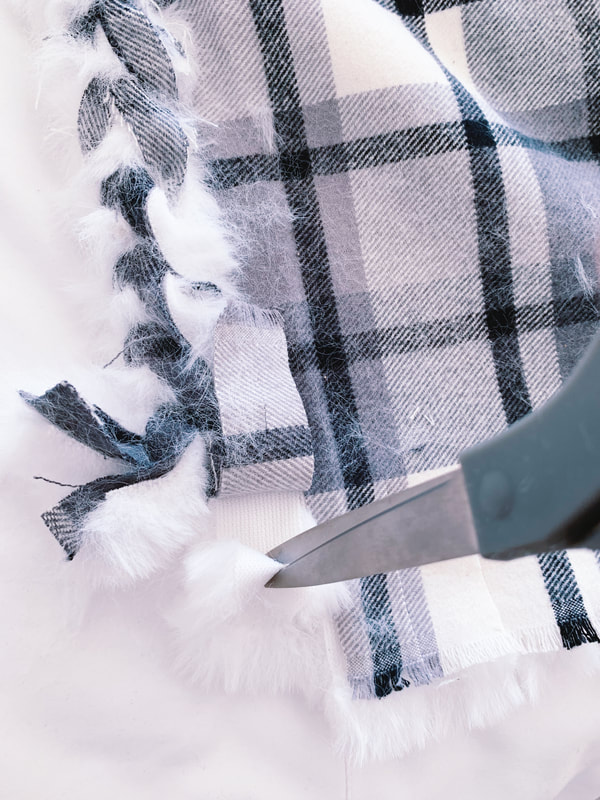
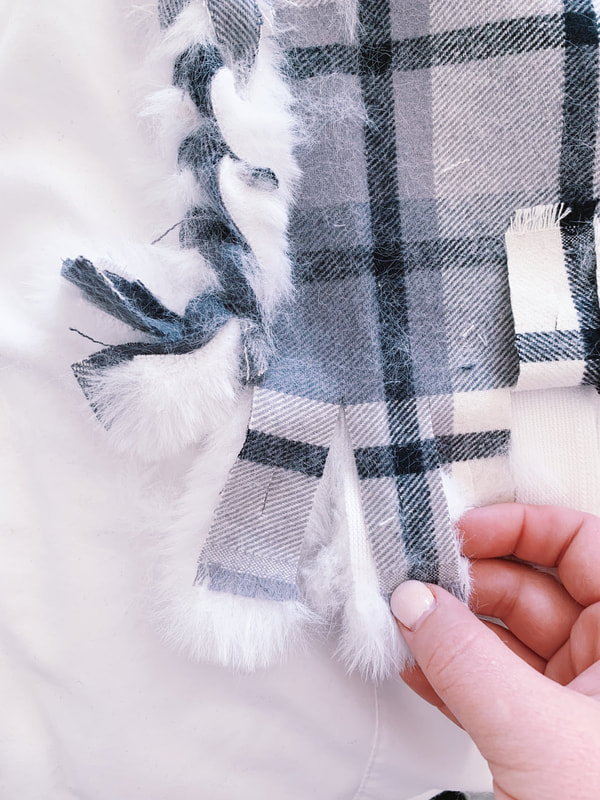
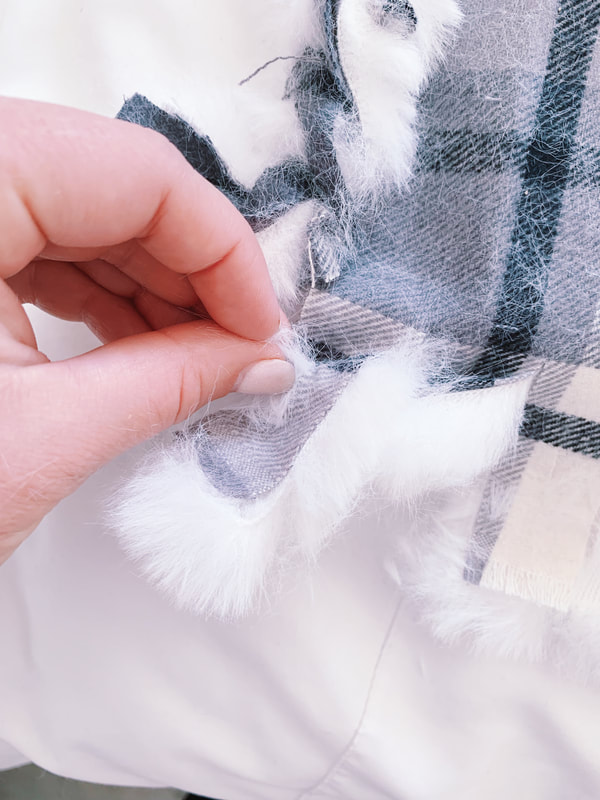
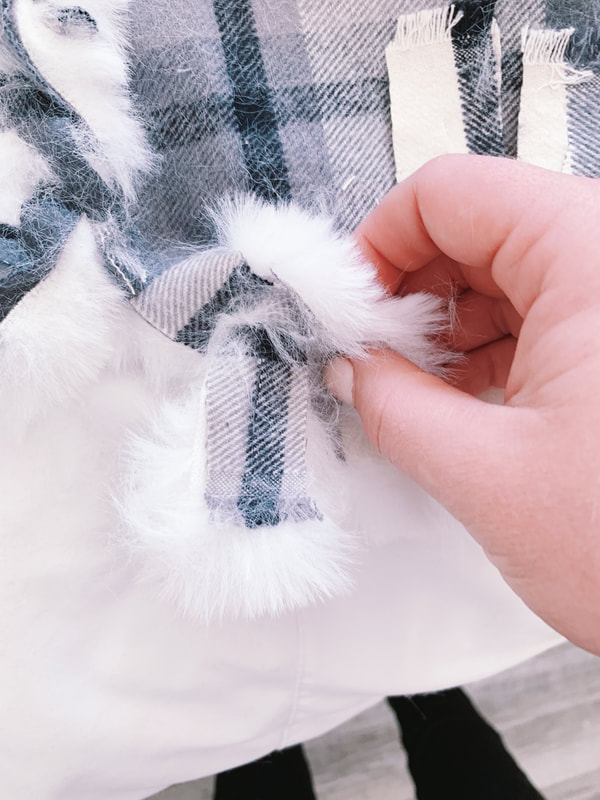
6. Next up comes the finishing details. You can keep it super simple and just do a not between two pieces, I’ve done that in the past and it is really easy to do, but sometimes looks a tad sloppy. So this time I tried the braided finish and really love how it turned out. 7. On each set of cut pieces, fold the piece in half and cut a whole about 0.5 inch long. 8. Take the set from the right side and thread through the hole on the left side and tighten. Towards the left.
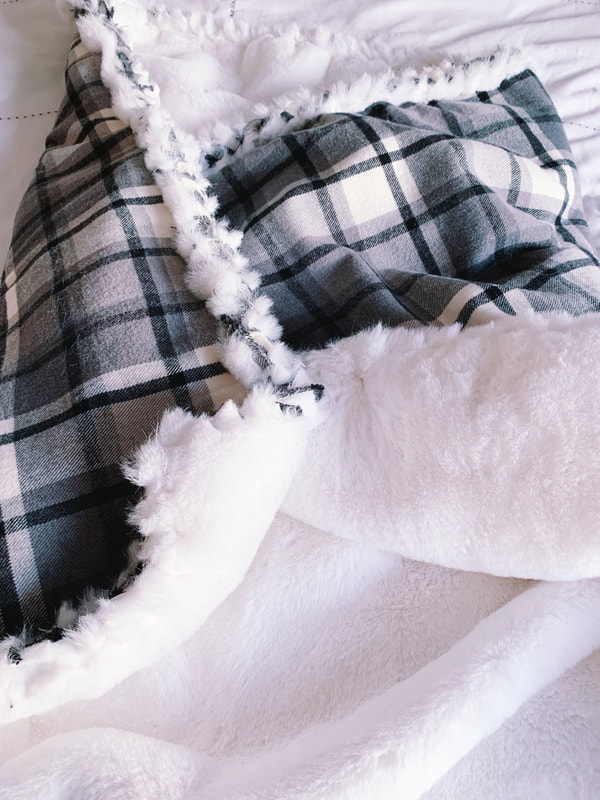
9. Keep doing that all the way around, even with the corner pieces. When you reach the last piece, tuck it into the first whole and by wrapping one piece of the edge through the whole and tying a small knot underneath with the second piece. 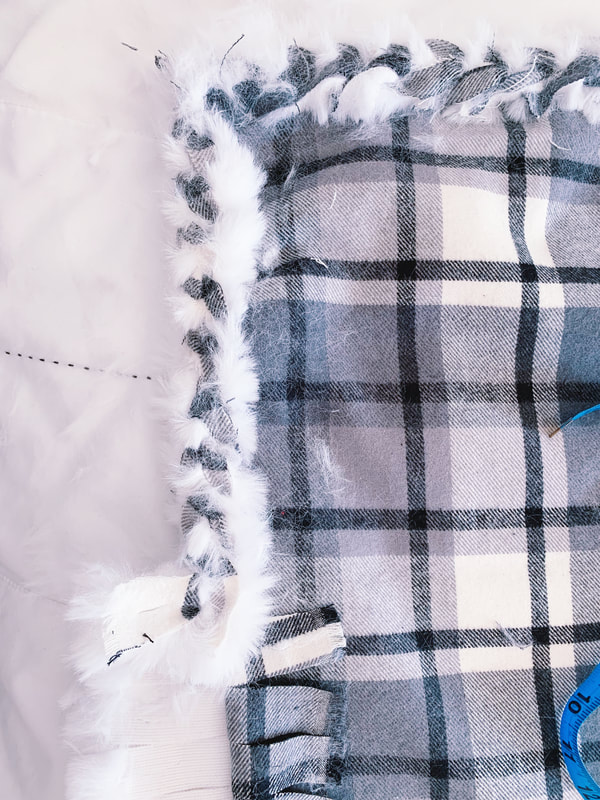 There you have it. This is so easy to do and a great activity to do with kids too while you are bundled inside during winter storms. I’d love to see what you guys come up with. Try it out and be sure to tag @beyondtheclock or hashtag #btcdiy. Can’t wait to see the fun you have! xoxo, |
Archives
October 2019
CategoriesAll Accent Pieces Action Planner Basket Baskets Bathroom Bedroom Branch Floral Arrangements Bud Vase Candles Cherry Blossoms Curtains Cylinder Vase Decor Accents DIY Door Mat Family Flare Vase Floral Notebook Floral Water Bottle Flowers Flower Wreath Flower Wreaths Furniture Gifts Greenery Guest Room Home Home Decor Indoor Plants Jeans Living Room Mirrors Narrow Neck Vase Nightstand Outdoor Living Pastels Personal Development Productiity Rugs Seat Cushions Shelf Decor Shower Sneakers Spring Spring Decor Spring Ideas Storage Ideas Style With Time Styling Tips Sunglasses Table Lamp Throw Blanket Vase Vases |
 RSS Feed
