care . grow . strengthen |
|
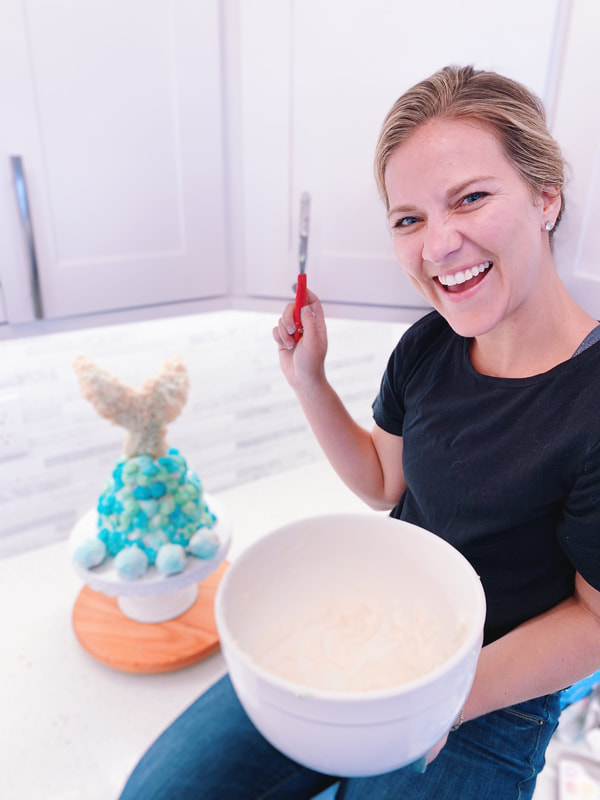
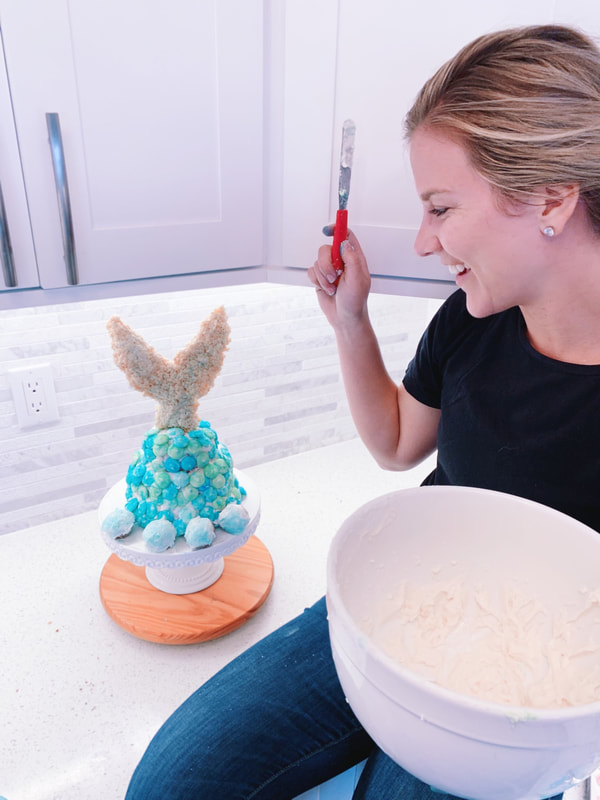
6/19/2019 0 Comments Mermaid Cake For Your Summer PartyEver since I made my husband his leopard birthday cake earlier this year, he's been begging for another one. I was thinking for a while about what type of cake to make, so when Disney asked to help celebrate the 30th Anniversary of The Little Mermaid, I knew exactly what type of cake to make. It ended up tasting so good that it was completely eaten within 24 hours. A few of you guys asked how to make it so I put together a guide for you. Hope you enjoy it for your next birthday party or summer soiree, it will definitely make a splash with your guests. :-) INGREDIENTS:
SUPPLIES:
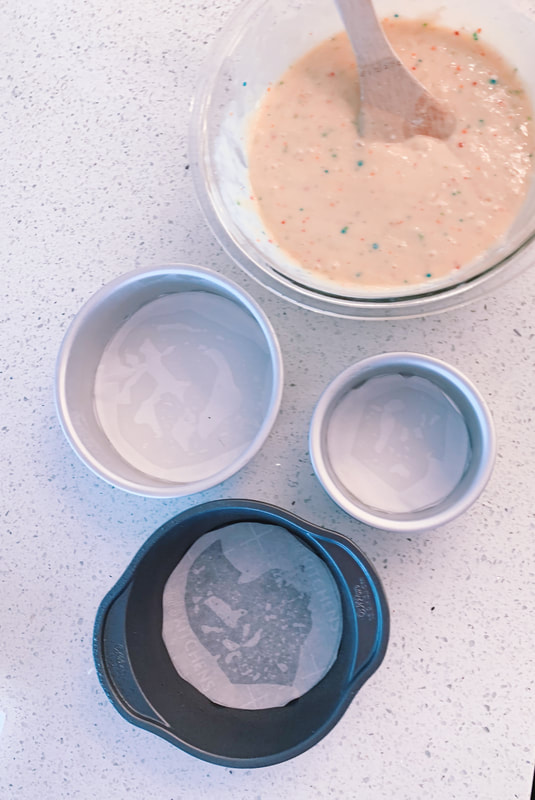
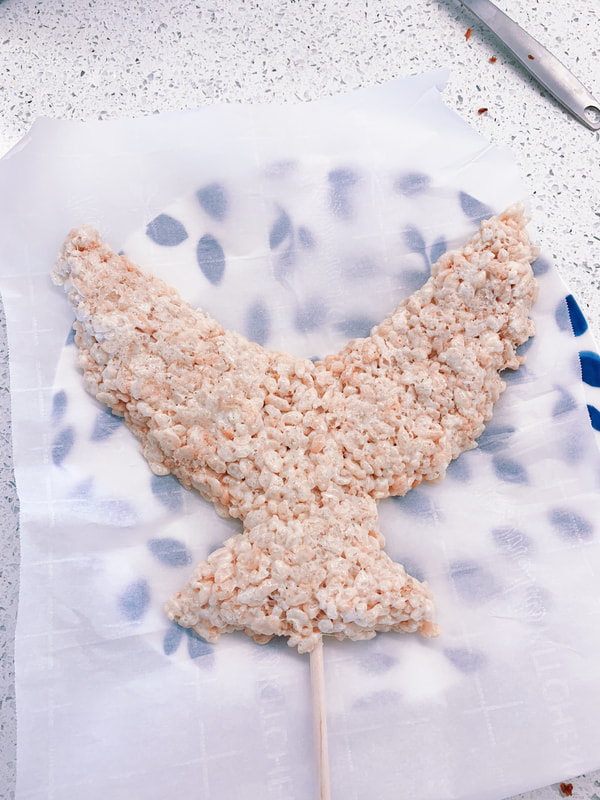
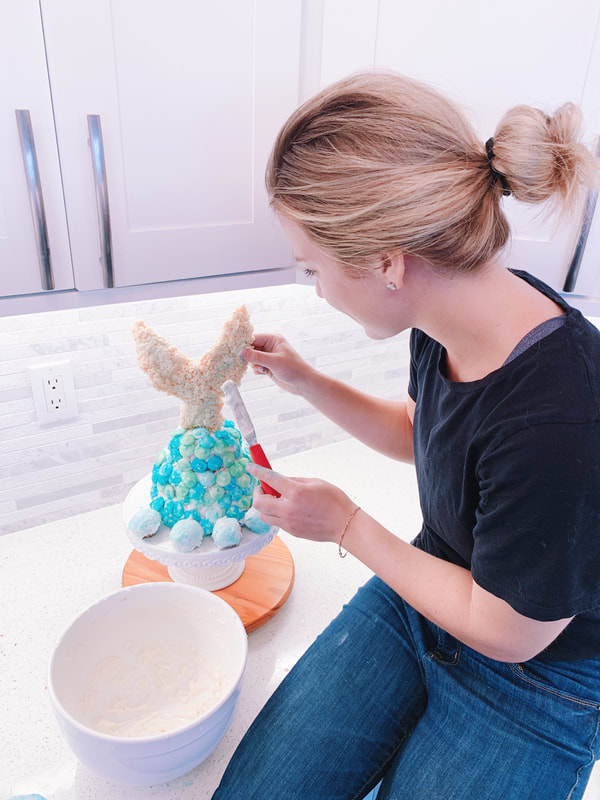
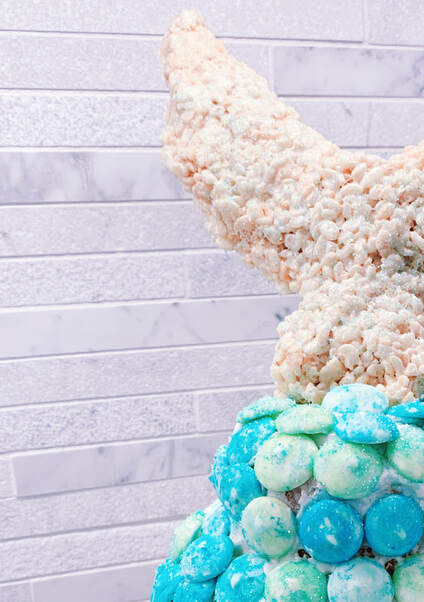
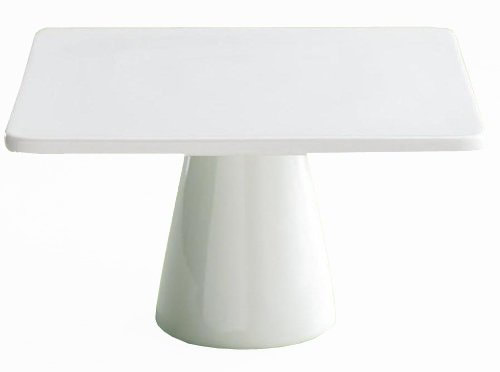
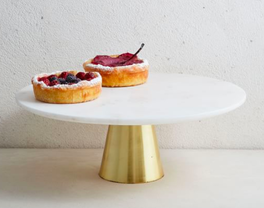
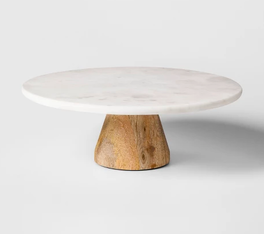
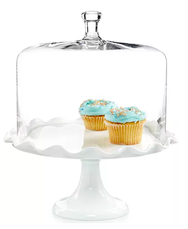
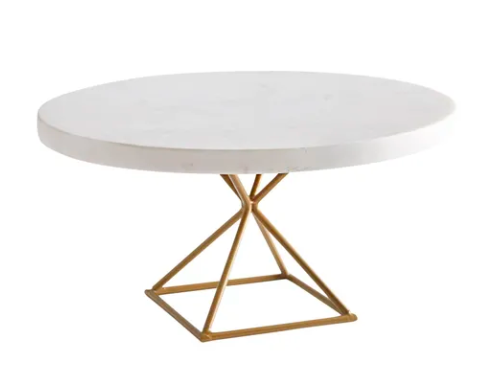
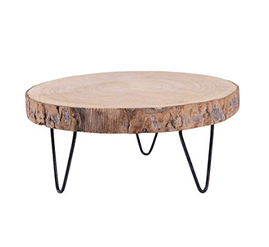
TIME: About 2 hours hands-on time but lots of waiting steps in between. Prepare for 6 hours in total. STEPS: The first few steps are super easy, just follow the back of the Funfetti box! Grease the bottom of the pans, and then place parchment paper at the bottom. This will save you from scraping your cake out of the pan, or worse, having it break as it cools. Next, follow the recipe on the back of the Rice Krispy's Cereal box to make a batch of Rice Krispy Treats. (I told you the first few steps were easy!) Let the mixture cool for 2-5 minutes. Cut the one of the wooden dowels in half, I used just a pair of scissors and rotated the towel around as I cut. This is what you will use to create the mermaid tail. Lay parchment or wax paper on a board or plate, take about 2 cups of the Rice Krispy mixture and start forming it around the wooden dowel in the shape of a tail. In order to make sure the tail stays full supported, I would keep it to a maximum of 4-5 inches at it's widest and 3-5 inches high. Place the tail in the fridge to cool for at least 6 hours, a full 24 hours would be great so that it doesn't melt when out the fridge and on your cake. Take the rest of the Rice Krispy mixture and place it in your favorite pyrex dish and cool for another treat later. Once your cakes are cooked, place the on the drying rack to cool for a few hours. You want to ensure that they are fully cooled before icing. (Otherwise, your ice will melt while you are applying it and none of your decorations will stick, they will melt too.) While you wait for the cake to cool, you can start making the "scales" of your mermaid body using the white chocolate rounds and some food coloring. Choose your favorite color combination. I used green and blue but you could do pink and purple or yellow and orange, so many fun possibilities! Put a teaspoon of food coloring in a disposable cup, (mine were not disposable and they now have a permanent color tinge to them, whoops). Then mix 2-3 tablespoons of water in and swirl until an even and smooth liquid. You want the color to be fairly vibrant in the cup since it will take some time to transfer to the chocolate chips. Most people suggest using oil food coloring instead of water based for chocolate, but since I wasn't trying to permanently change the color of the chocolate and rather give it a watery effect, it worked well for me and didn't change the taste of the chips. Next place the chips in the cups and let sit for 5 min. I did mine in batches of about do chips at a time, then I scooped them out with a strained spoon and placed them individually on a paper towel to dry. Let them dry for 10-20 min before applying to your cake. Now is the fun part where you bring all the little pieces together. Prepare your homemade icing, or use the store purchased one and ice your cake. I like to put about a 1/2 inch thick application of icing between cake layers. For the exterior icing, use your turntable and icing knife to get an even coat on all surfaces. It doesn't need to be too pretty since we will be covering it with chocolate, but even and uniform will help. Then take your chocolate rounds and starting from the bottom, begin applying them around the cake. With each layer, offset the round so that the layer above hangs just barely over the gap between two on the layer beneath. Continue applying until the cake is covered. Lastly, take your tail out of the fridge and place it in the top of the cake. Apply sprinkles or for a bit of a glitter effect and get ready to party! To me, every cake looks better on a cake stand, so I rounded up some of my favorite cake stands below. Can't wait to see how your creations turn out and thanks for following along! I'm so glad you are here. Make sure to subscribe so you never miss a post or giveaway and tag #beyondtheclockcreation so we can check out all your masterpieces! xoxo,
|
Archives
January 2020
CategoriesAll About Beach Boost Action Planner Clean Eating Cleaning Cookies DIY Easter Energy Bites Family Family Time Fitness Fourth Of July Gift Guide Gifts Growth Healthy Healthy Snacks Holidays Home Hosting Kitchen Lifestyle Little Foodie Local Spots Morning Routine Mother's Day Must Reads Organization Personal Care Personal Development Popsicles Productivity Protein Bars Puppy Recipes Reviews Routines San Diego Season Picks Snacks Style Summer Tablescape Talents Tips Traditions |
 RSS Feed
